Latte Art: How to Draw a Tulip on Your Coffee
Welcome to our guide on the art of latte making! Today, we’ll dive into the world of latte art and explore how to create a beautiful tulip design on your coffee. With a little practice and patience, you’ll be able to impress your friends and loved ones with this lovely floral masterpiece. So, let’s get started!
The Basics of Latte Art
Before we delve into the tulip design, let’s go over the basic techniques of latte art. To create latte art, you’ll need the following:
- A shot of espresso
- Steamed milk
- A barista’s milk pitcher
- A steady hand
Now that we have the essentials, let’s move on to creating the tulip pattern.
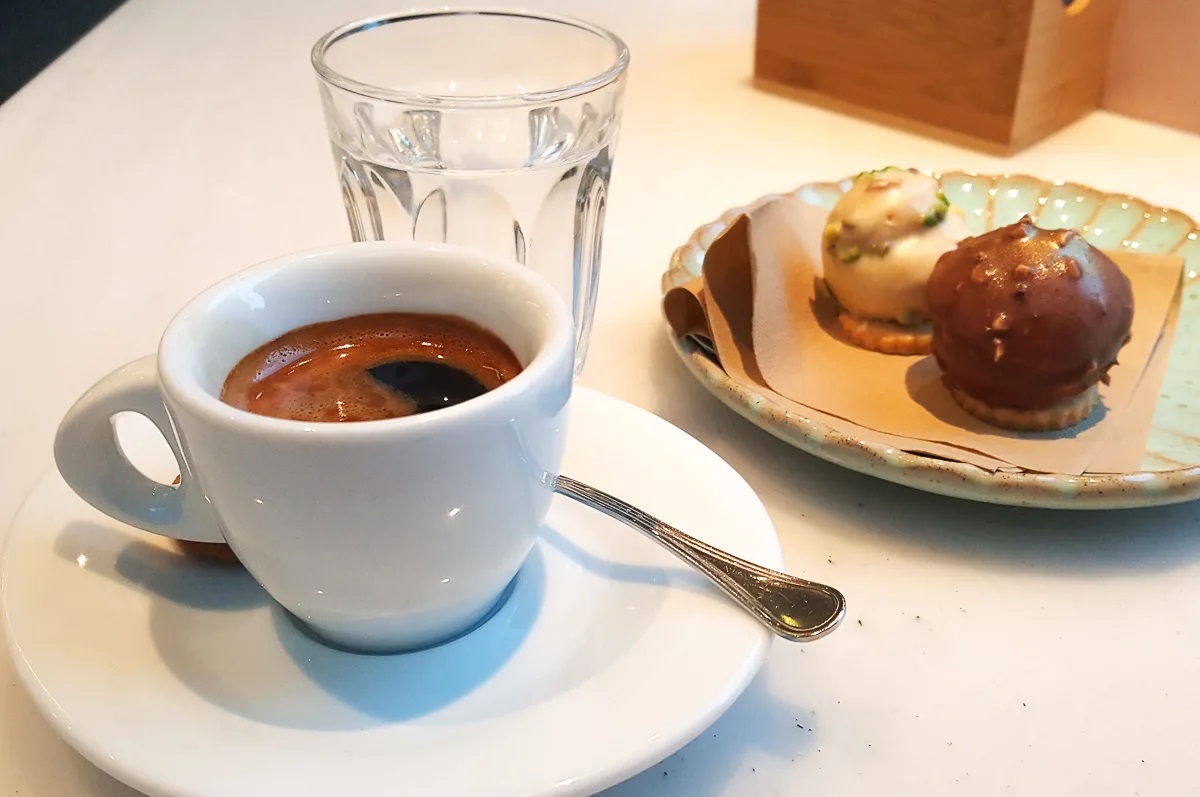
Step 1: Preparing Your Canvas
Start by preparing your espresso shot and pouring it into a coffee cup. It’s crucial to use a wide-mouthed and shallow cup, as this will provide a larger surface area to work with when creating your design.
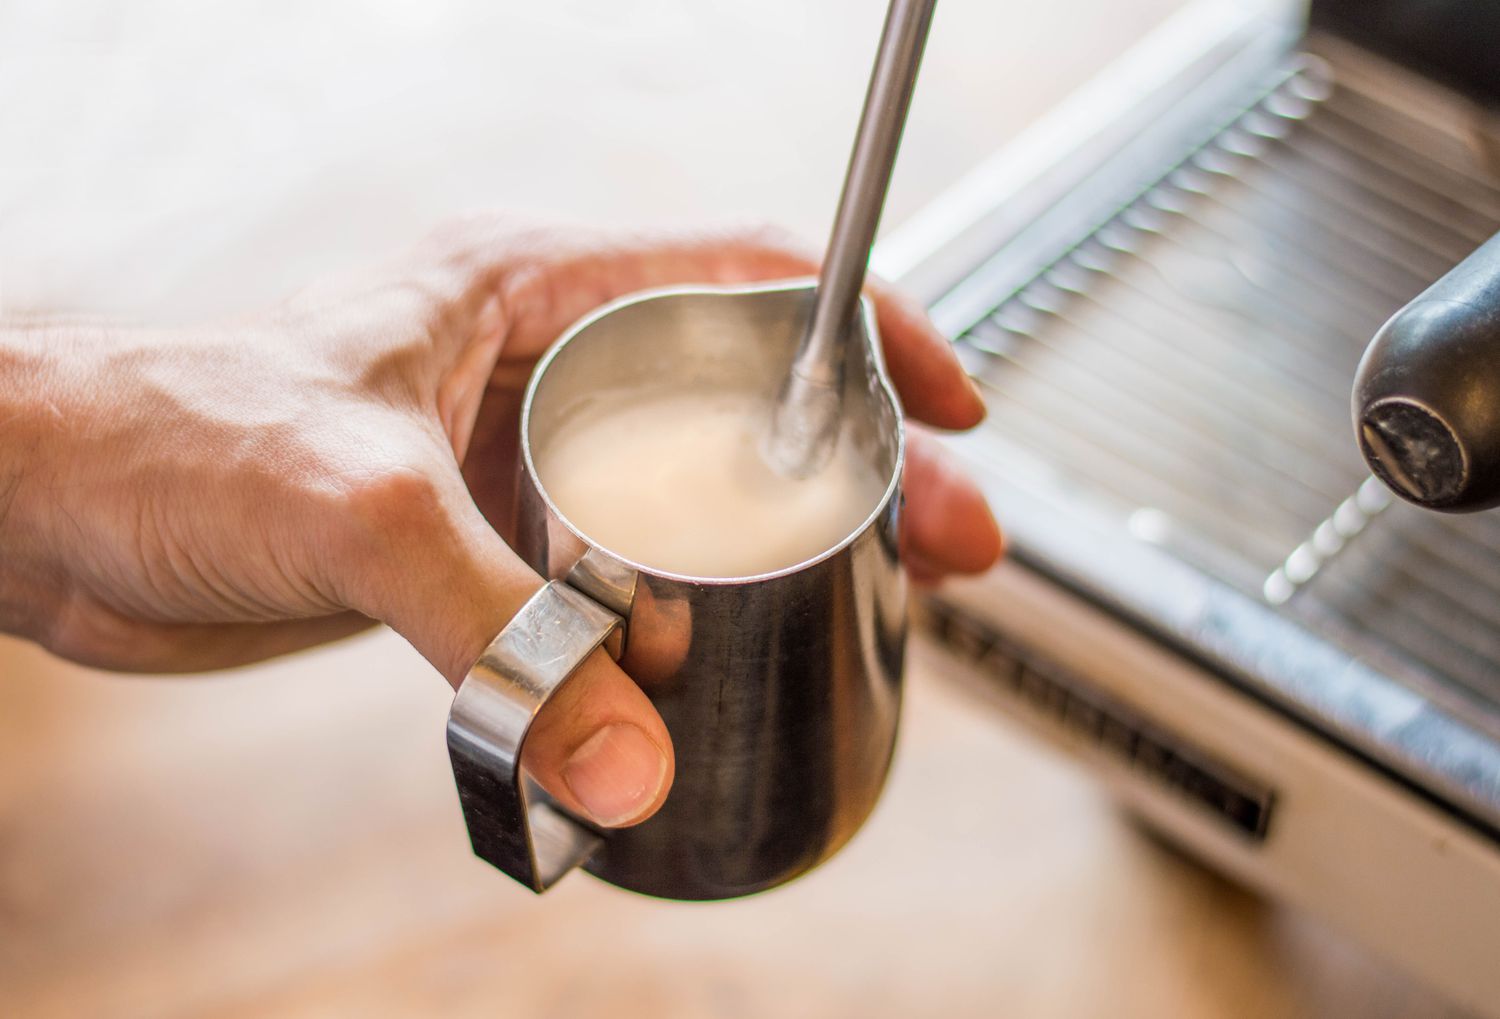
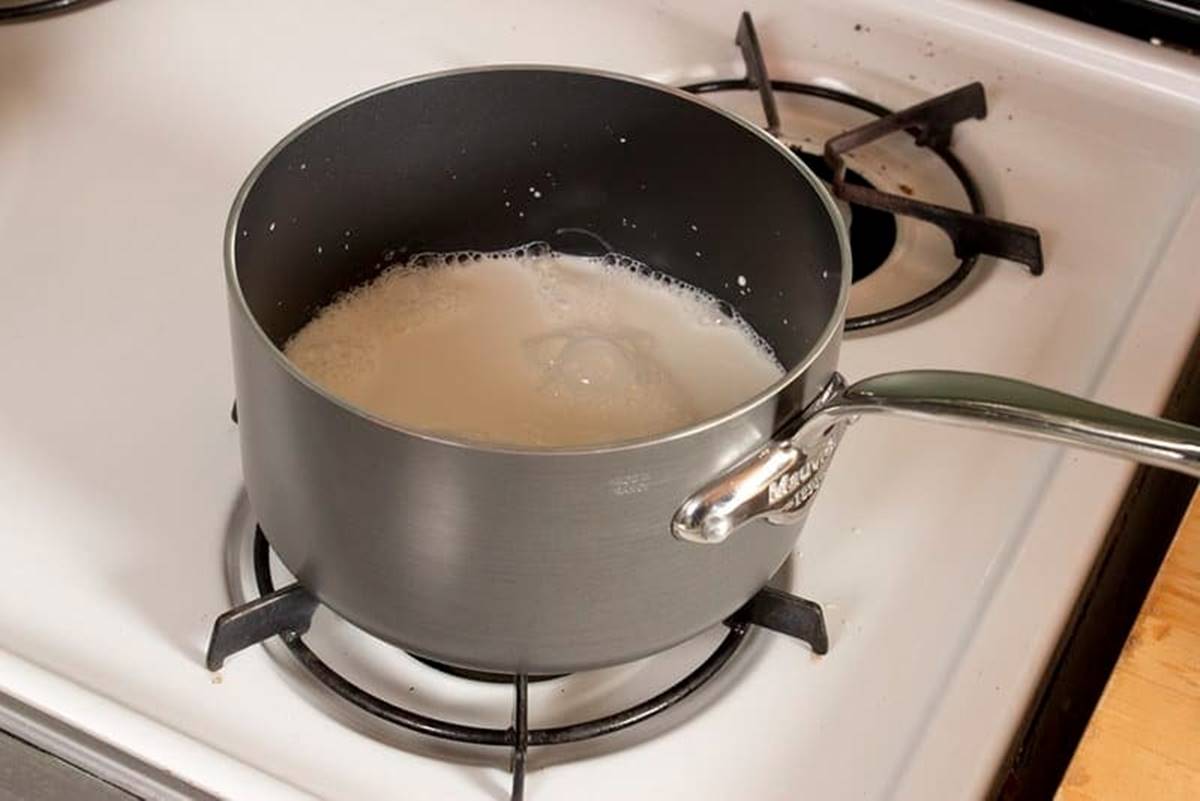
Step 2: Frothing the Milk
Now, it’s time to froth the milk. Begin by filling your barista’s milk pitcher only halfway to leave enough space for the milk to expand. Submerge the steam wand just below the surface of the milk and turn on the steam. Gradually lower the pitcher to allow the milk to stretch and create a smooth and shiny texture.
Remember, the key to achieving the right consistency lies in finding the sweet spot between under-frothing and overheating the milk.
Step 3: Pouring the Milk
Once you have perfectly frothed milk, it’s time to pour it into the espresso-filled cup and create the tulip design. Here’s how:
- Hold the milk pitcher close to the surface of the coffee cup.
- Pour the milk slowly and gently into the center of the cup, starting with a thin stream.
- As you continue pouring, move the pitcher in a back-and-forth motion to create the base of the tulip.
- Once the base is complete, slowly raise the pitcher while maintaining a thin and steady stream.
- As the milk reaches the surface, guide it back and forth to create the layers of the tulip petals.
Remember, practice makes perfect! Don’t be discouraged if your first few attempts don’t turn out exactly as you envisioned. The key is to keep refining your technique and experimenting with different pour speeds and heights.
Additional Tips for Mastering Latte Art
Here are some additional tips to help you become a latte art pro:
- Use freshly roasted and finely ground coffee for the best espresso shot.
- Ensure your milk is properly frothed with a velvety texture.
- Experiment with different patterns and designs, such as hearts or rosettas, once you have mastered the tulip.
- Invest in a good espresso machine and quality steaming equipment for consistent results.
- Join latte art classes or workshops to learn from experienced baristas and hone your skills.
Now that you have the knowledge and tools to create a stunning tulip design on your coffee, it’s time to unleash your inner barista! Remember, practice and perseverance are the key to becoming a latte art maestro. So, grab your favorite coffee mug and start pouring your way to latte art perfection!
1. Prepare your espresso shot and pour it into a cup.
2. Steam your milk to create a smooth and creamy foam.
3. Begin pouring the milk into the cup from a higher position to create a white circle in the center.
4. As the cup fills, gradually lower the milk jug and start pouring thin lines in an upward motion, similar to an upside-down “V” shape.
5. Create more lines inside the initial shape, forming petals to resemble a tulip.
6. Once you’ve finished drawing the tulip, gently tap the cup on the counter to remove any air bubbles and create a more refined design.
– Use a steady hand and maintain a consistent pouring speed to create smooth and even lines.
– Experiment with different pouring techniques and angles to achieve various tulip designs.
– Practice on a flat surface before attempting to draw on your coffee to become more comfortable with the movements.
– Take your time and be patient – latte art requires practice, so don’t get discouraged if it doesn’t look perfect right away.
– Enjoy the process and have fun with it – even if your tulip doesn’t turn out exactly as planned, it will still taste delicious!
Was this page helpful?
Related Articles