How To Make Chicken Parmesan
Ingredients
Marinara Sauce
• Olive Oil: I prefer to use extra-virgin olive oil to cook the onion and garlic in, while I use a more neutral oil to fry the chicken. Use your favorite olive oil here, or check out our list of the best olive oil brands.
• Yellow Onion & Garlic: You know the drill: Cook down finely chopped yellow onion and garlic in olive oil before adding in your crushed tomatoes and basil. Cook until the onion and garlic are soft, sweet, and translucent.
• Crushed Tomatoes: The base to our sauce, crushed tomatoes create a smooth, slightly sweet base that is truly superior. I prefer crushed tomatoes to tomato purée to maintain a few tomato chunks. Really opposed to making your own sauce homemade? I won’t judge (too much) if you use jarred pomodoro sauce or marinara instead.
• Basil: Please, please do me a favor: don’t take your basil off the stems. The stems are where all the flavor lives, so toss it all in your pasta sauce.
The Chicken
• Panko Bread Crumbs: Panko is what creates the crispy coating on the chicken Parmesan. To really ensure a crispy, even coating, I recommend adding even more panko than you need to your bowl (more panko is never a bad idea).
• Parmesan: I use Parmesan in two ways here: I add it to the panko to create extra flavor, and to the shredded mozzarella for a richer cheese mixture. Panko doesn’t have a super strong flavor on its own, so the addition of Parmesan amps up the flavor and richness of the coating.
• Chicken Cutlets: The thickness of the chicken will determine how every bite tastes in the end product, so make sure those chicken cutlets are 1/4" thick, no exception. Can’t find cutlets? Buy chicken breasts and pound them! Simply place the chicken breast in between 2 layers of plastic wrap and gently use a meat mallet to thin out the chicken. You don’t have to go too hard on it—a slight pounding will do the job. No mallet? No problem—you can use a rolling pin or the bottom of a small saucepan.
• Mozzarella: Freshly shredded mozzarella is the way to go here. I know it’s extra effort, but trust me: pre-shredded just won’t melt as well here, and you deserve the cheesiest, meltiest chicken Parm possible.
• Vegetable (Or Canola) Oil: Use a neutral oil here, like vegetable or canola oil, instead of olive oil. They have a higher smoke point than olive oil, and I prefer to use an oil with a neutral flavor for this recipe.
• Basil: I use chopped fresh basil as the garnish to add a touch of green and freshness to our cheesy and saucy fried creation, but if you’d prefer to leave it off, you can.
Step-By-Step Instructions
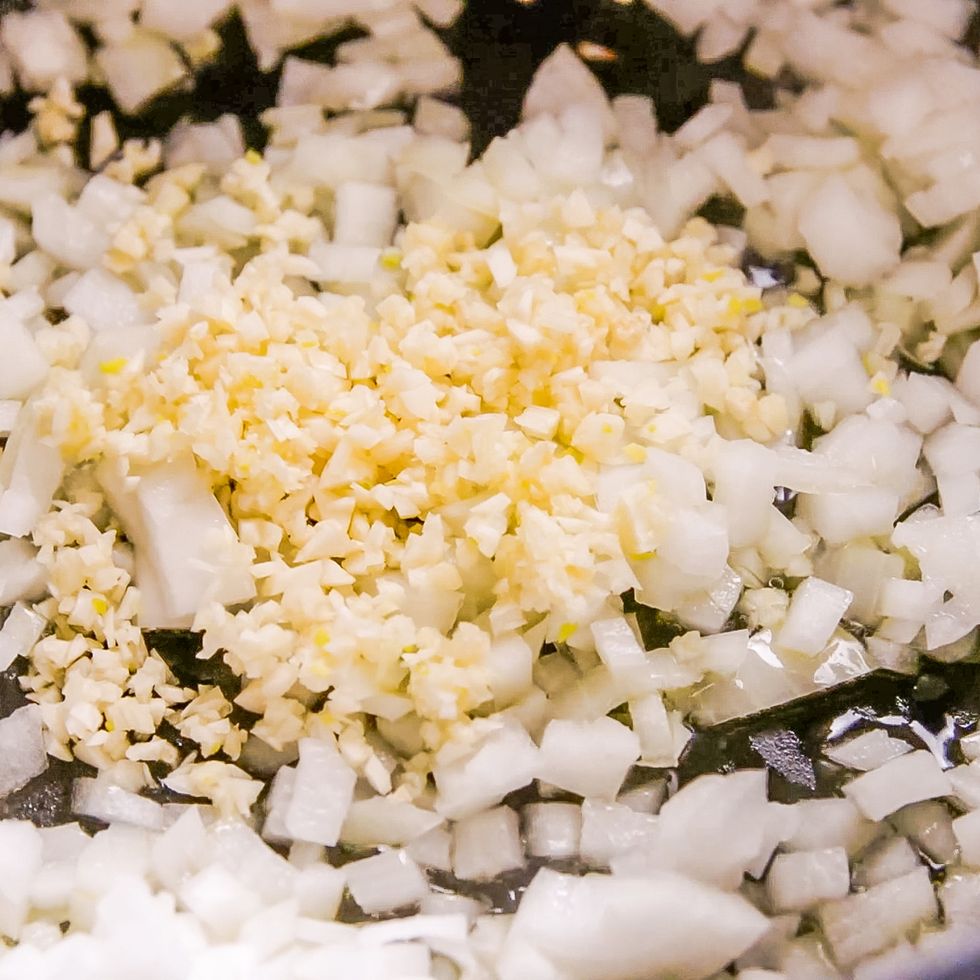
Like all good things, this recipe starts with cooking down chopped yellow onion and garlic in olive oil. I choose to cover the pot to speed up the process, occasionally stirring the garlic and onion to prevent burning. You’re looking for a few things when cooking your garlic and onions: they should taste sweet, be soft, and appear completely translucent. Once you’ve achieved the 3 golden rules, you’re ready to continue on your journey.
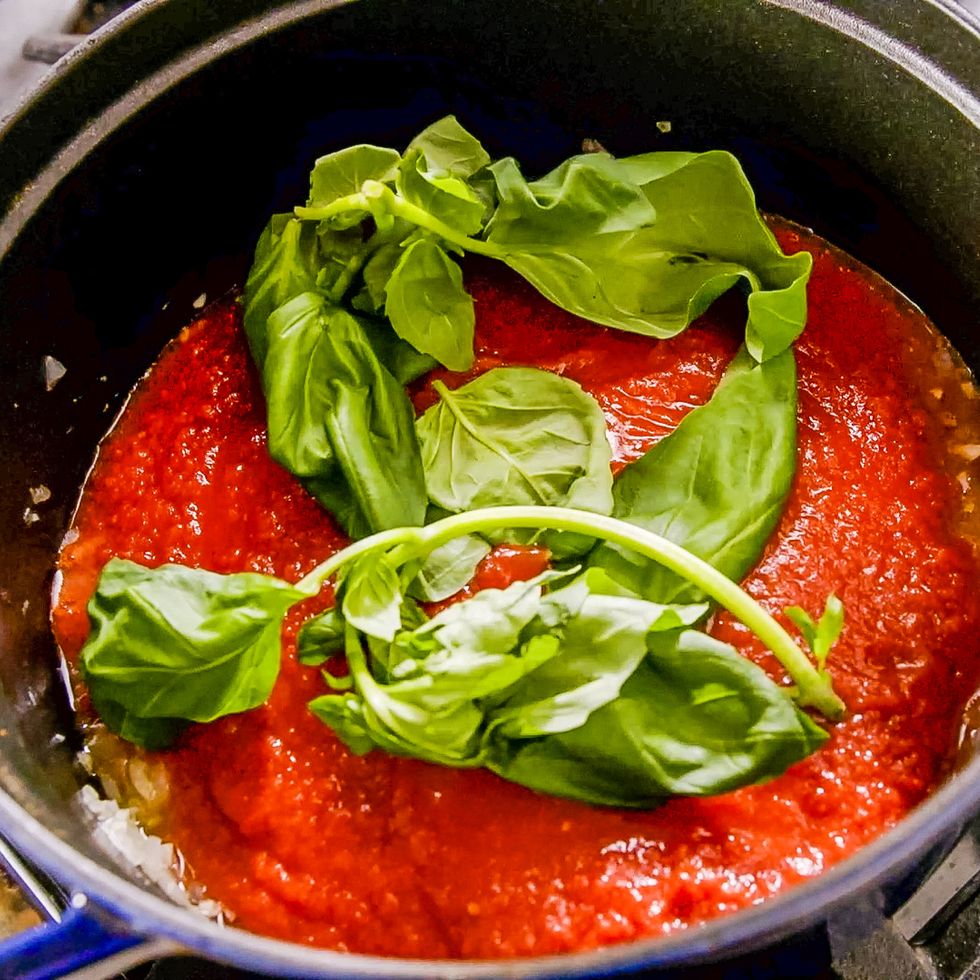
Once your onion and garlic are good to go, it’s time to add in the main characters of the sauce show: crushed tomatoes and basil. Add in the basil leaf AND stem (it’s where all the flavor is!). Now, this isn’t a sauce that you can just leave alone—it requires a bit of babysitting. The tomato chunks will start to fall to the bottom which make them susceptible to burn. Stir the sauce occasionally to prevent any burning, and cook until the sauce is nice and thick. No one (especially me) wants a watery tomato sauce falling off the chicken Parm.
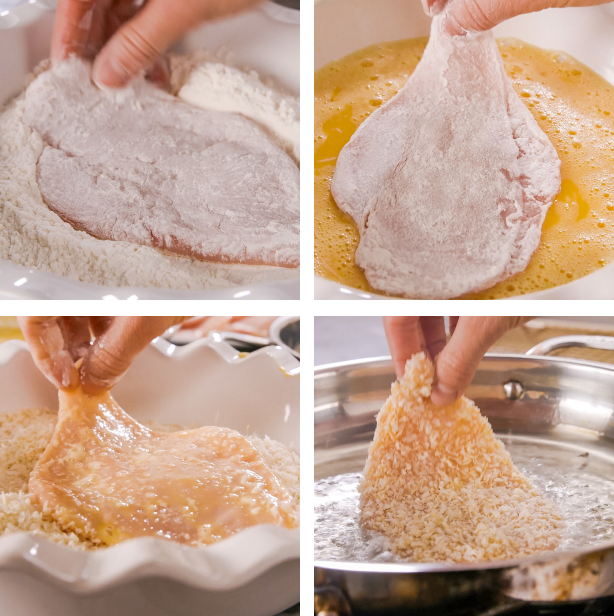
Now, we’re on to the star of our show: the chicken cutlets. Once your cutlets are perfectly thin, it’s time to begin the dredging process. Create three stations: a flour, egg and water, and panko, Parmesan, and garlic powder. I add freshly grated Parmesan and garlic powder to the panko to amp up the flavor; it takes the chicken cutlet experience to the next level.
My tried-and-tested rule for this step: cover every inch of your chicken cutlets at every dredging station. For the flour and egg: cover every inch of the surface, then shake off any excess before moving on. With the panko, you can add more than you really need to make sure your entire cutlet is covered and crisp. To avoid ending this process with hands that look just like your chicken cutlets, I highly recommend having a “dry” hand and a “wet” hand while dredging. Use one hand to cover your cutlets in the flour and panko, and another to coat in the egg mixture. No mess here!
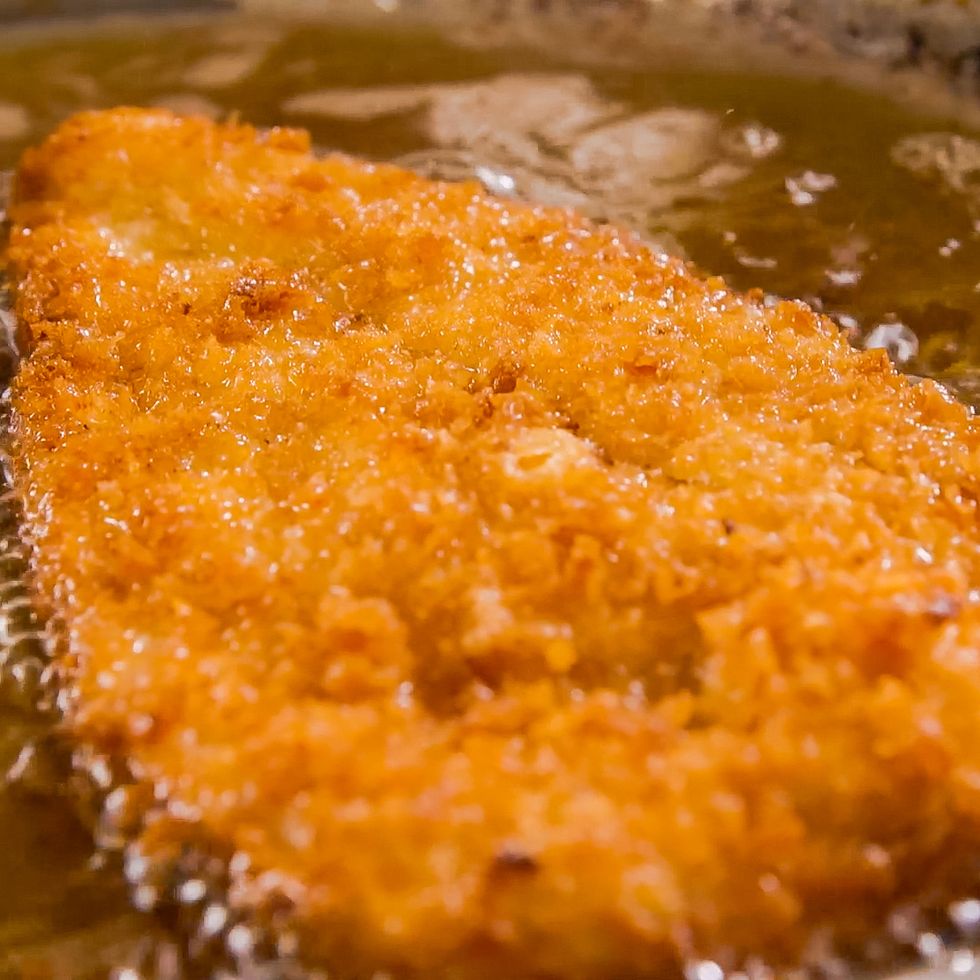
Before adding your chicken, heat the neutral oil until a thermometer registers 350°. If it smokes a bit, no stress—it’s all part of the plan. Add your cutlets one at a time, and fry until perfectly golden brown before flipping to the other side. If you’re shallow frying and the oil isn’t hitting every surface, I highly recommend basting your chicken with a spoon to ensure the chicken is well-fried and extra-crispy.
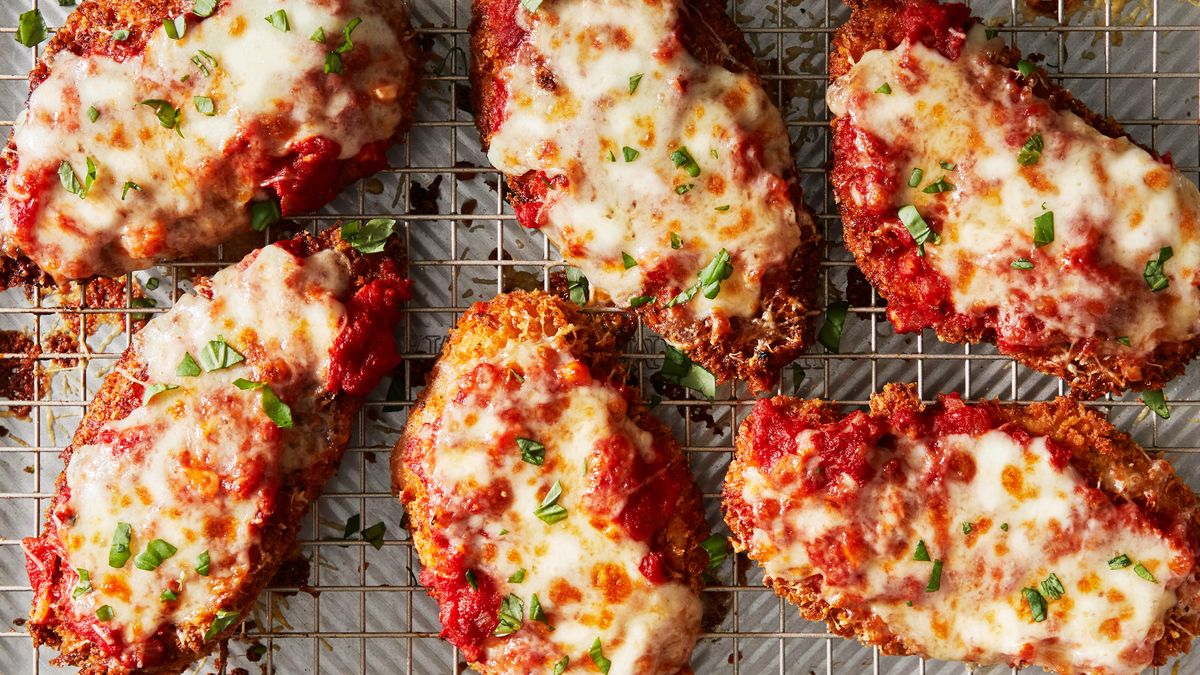
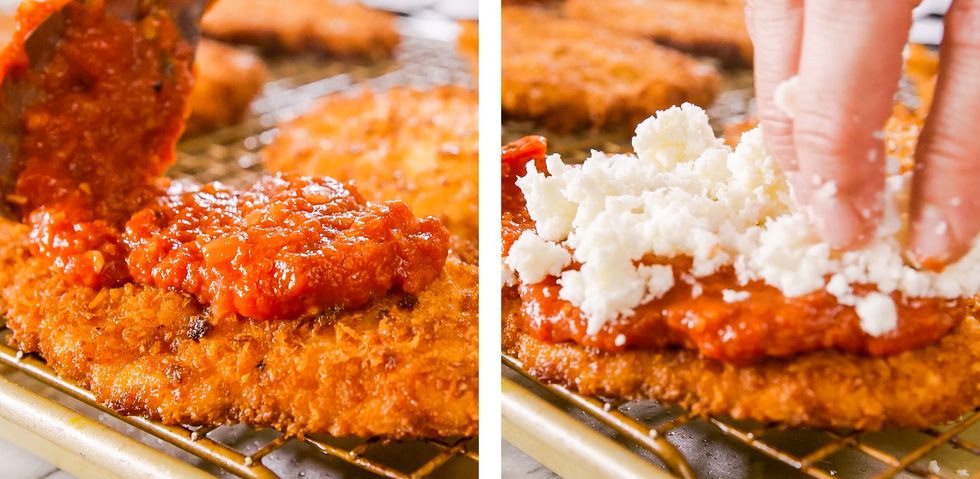
After your chicken is golden-brown, crispy perfection, place on a wire rack to let all the excess oil drip off. Now, it’s time to bring all of our characters together. Spoon some of your prepared marinara on top of your chicken, then add your prepared bowl of shredded mozzarella and Parmesan on top of the sauce. Now, it’s time to get cheesy.
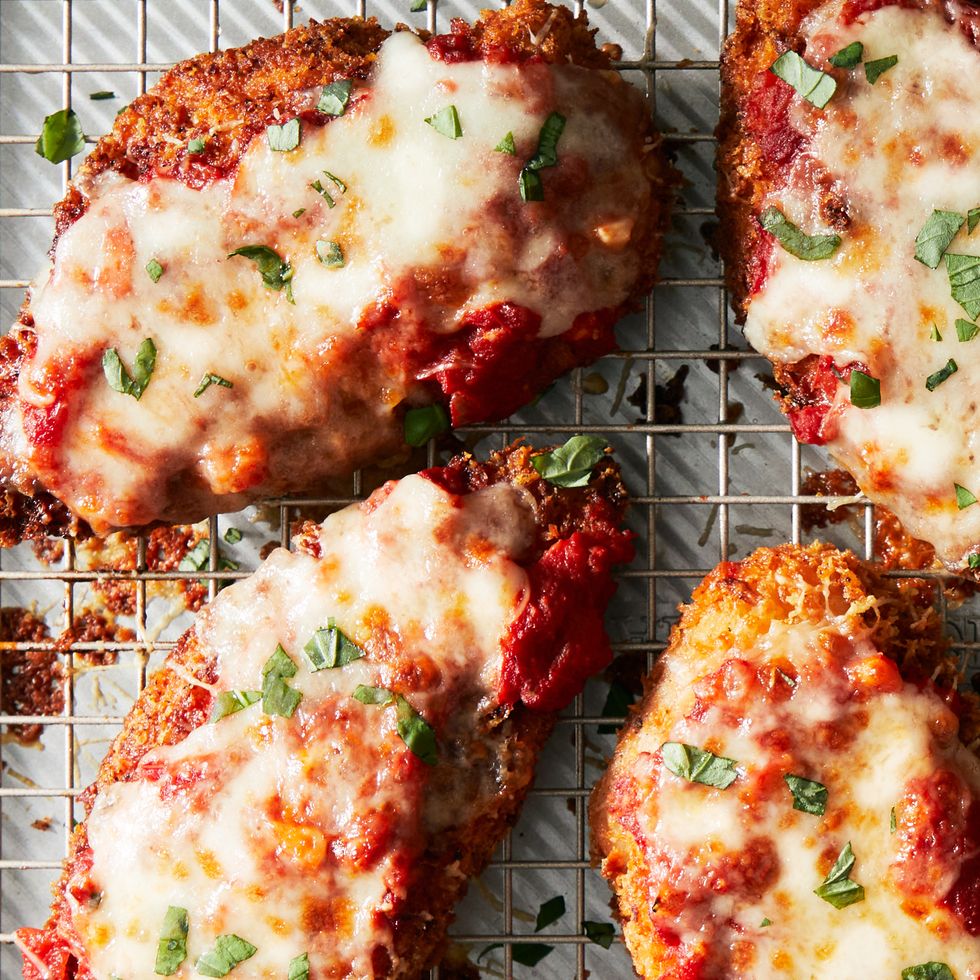
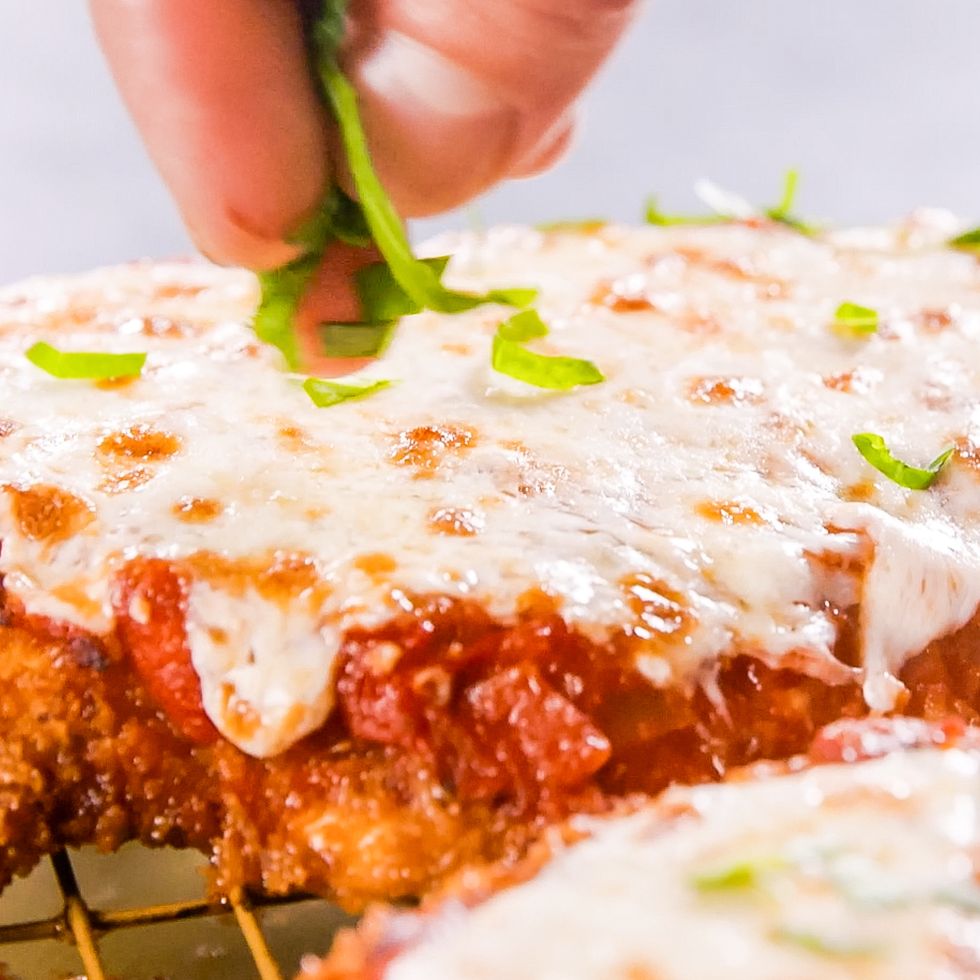
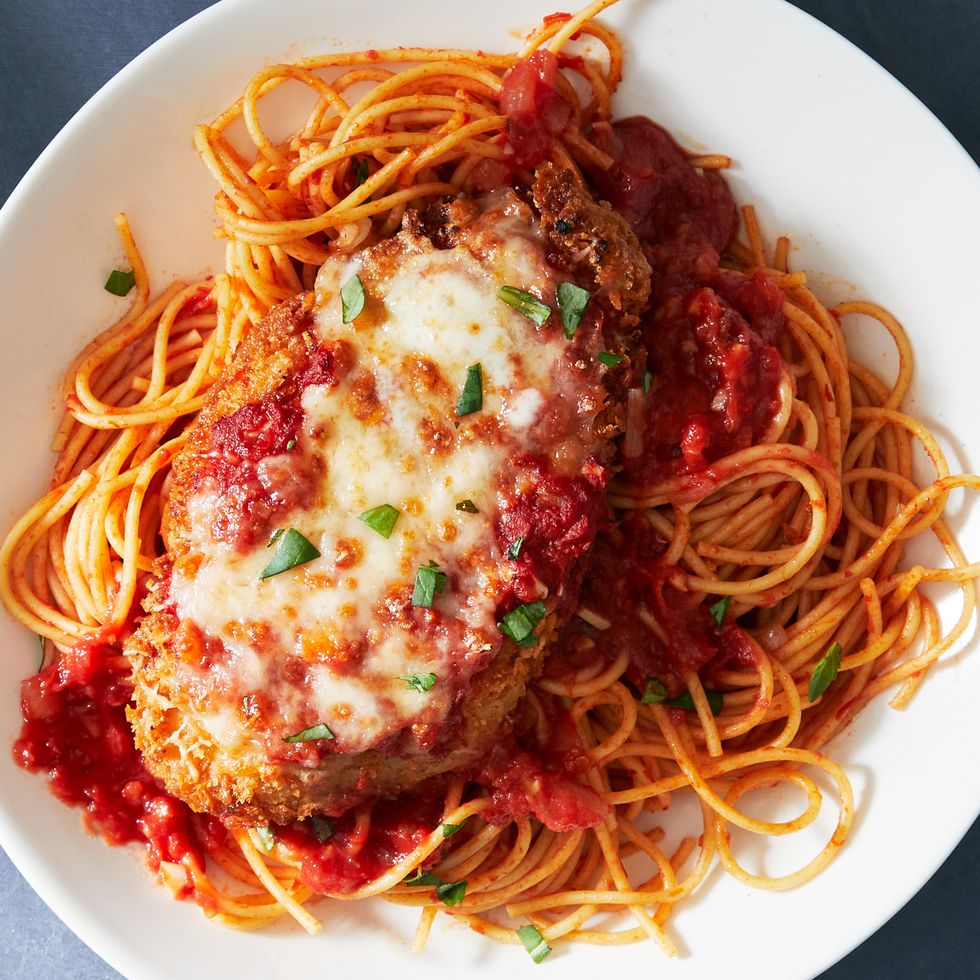
Place your chicken Parm in the broiler until your cheese is irresistibly melty, only a few minutes. I highly recommend you keep a close eye here—this isn’t the time to start making your sides! It’s very easy to burn the chicken here, and while I’m all about the crisp, you don’t want to do all that work for a burned chicken Parm. Top with some basil, serve with the remaining sauce alongside, and get ready to dig into the ultimate crispy, cheesy, saucy bite.
Full list of ingredients and directions can be found in the recipe above.
How To Prevent Soggy Chicken Parmesan
My top tip for making perfect, not-soggy chicken Parm? Remember this: Timing is of the essence. Being able to calculate timing while cooking is important, but even more essential in this recipe. Crispiness dies with time, so you’ll need your broiler set up and your marinara ready before your fried cutlets come out of the skillet. That way, you can get them in the broiler right away and be just one quick step away from taste bud heaven. This also means being patient with your marinara and really letting it cook for the full 45 minutes (start to end). When you do, it will develop an incredibly deep and sweet herbaceous flavor and end up thick enough to stay on your fried cutlets without falling off.
I want you to have a wonderful experience from the first to last bite of your chicken, so I use equal parts of panko to Parm to ensure your breading is extra crispy and packed with flavor. Make sure when you’re dipping your cutlets in the egg mixture that you truly get every single surface covered, then do the same with your dry mix. This will guarantee your breading will stay on your chicken, where it belongs.
Serving Ideas
I love to serve this dish on top of pasta (from spaghetti to bucatini to even fettuccini) to take advantage of all that delicious marinara, but if you’re looking to serve this on its own, here are some side ideas:
• Garlic Mashed Potatoes: This is another perfect option to soak up all of the saucy goodness.
• Roasted Asparagus: Simple and classic, this roasted veggie side pairs perfectly with our chicken main.
• Garlic Knots: If you have any leftover sauce, use our buttery garlic knots to soak up every last bite.
• French Fries: In Argentina, this dish is traditionally eaten with a side of French fries, and it’s how I grew up eating it. Try it once, and you’ll see why it’s a stellar combo.
Chicken Parmesan Variations
Can’t get enough of chicken Parmesan? Whether you’ve mastered my classic recipe or are looking to go beyond the staple, Delish has countless recipes for you. The only thing I love more than chicken Parmesan is getting creative with chicken Parmesan:
• Chicken Nugget Parm Casserole: Have a bag of chicken nuggets sitting in your freezer? Put them to use in this easy, family-friendly casserole that makes serving a crowd a breeze.
• Chicken Parm Soup: Chicken Parm is already peak comfort food, but try this recipe if you’re looking to transform the flavors into the ultimate cold-weather, cozy soup.
• Buffalo Chicken Parmesan: Not a fan of tomato sauce, or simply can’t get enough of Buffalo chicken? Give this classic dish the Buffalo treatment with Buffalo sauce, melty mozzarella, and a drizzle of ranch dressing.
Made This?
Let us know how it went in the comments below!
