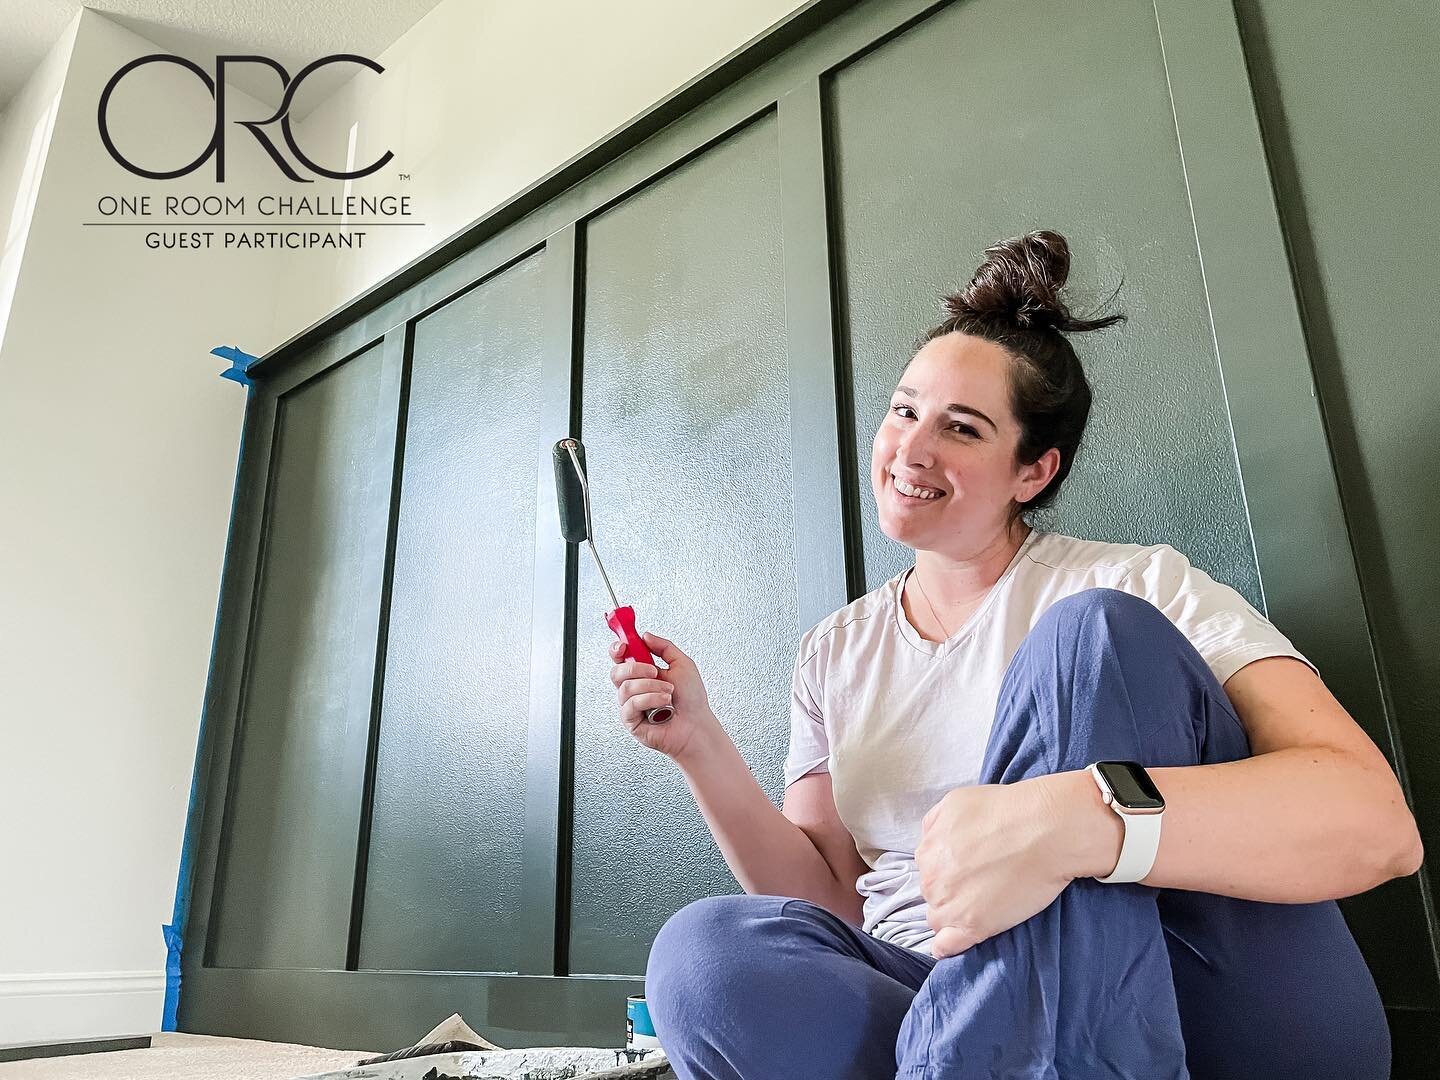
DIY IKEA HEMNES Hack - Charging Station
We’ve had our electronics charging in various places in the house for years. It’s worked for the most part, but in recent years it seems like the number of devices we need to charge has grown exponentially and we’ve officially run out of places to put them. Aaron’s learning iPad has been living next to my coffee maker for ages. My iPad constantly falls behind my nightstand when I’m shuffling around for my water in the middle of the night. We needed a solution, but struggled with where to put it because our house isn’t very big.
Enter the IKEA HEMNES Shoe Cabinet! I’m sure you’ve all seen these by now - they’re so shallow they almost look like they’re built into the wall. They fit almost anywhere because of this, so I thought it might be a good solution for our charging station dilemma. What really sold me on its potential was the fact that it was fully open to the wall inside. This would allow for adequate air circulation and make it easy to fit some power strips back there, so I picked one up and got to work on it.
I started by priming everything before putting it together. I think you could paint an assembled one just as easily, but it seemed silly not to take advantage of my ability to simply roll paint on without needing to cut in anywhere. I used a foam roller for both paint and primer - this left me with a nice, smooth finish. I also chose to spackle the existing hardware holes in the doors at this point. This is an optional step but it seemed more ergonomic to me to open the drawers from the top.

For paint, I chose to use Behr Chalk Paint in the color Heritage Park. If you were around for our Sideboard Update, you’ll recognize this color. A little bit goes a long way - I bought a quart and have used it for both the Sideboard project and this one! I still have paint left over, which seems impossible to me! The last step in the process would be to use a finishing wax to seal the paint. This helps to create a hard finish over chalk paint to prevent chipping. I haven’t done this step yet, but when I do, I will use Behr Chalk Paint Finishing Wax in the color clear.
After everything was painted, it was time to assemble. Go me - I didn’t have to take it apart once! Those IKEA instructions can get hairy at times. After it was secured to the wall, it was time to make my pulls. I like the hardware IKEA provides, but I thought cognac leather pulls would look amazing with the green, and it would play nice with our midcentury furniture. To make mine, I used the following:
Old Leather Belt
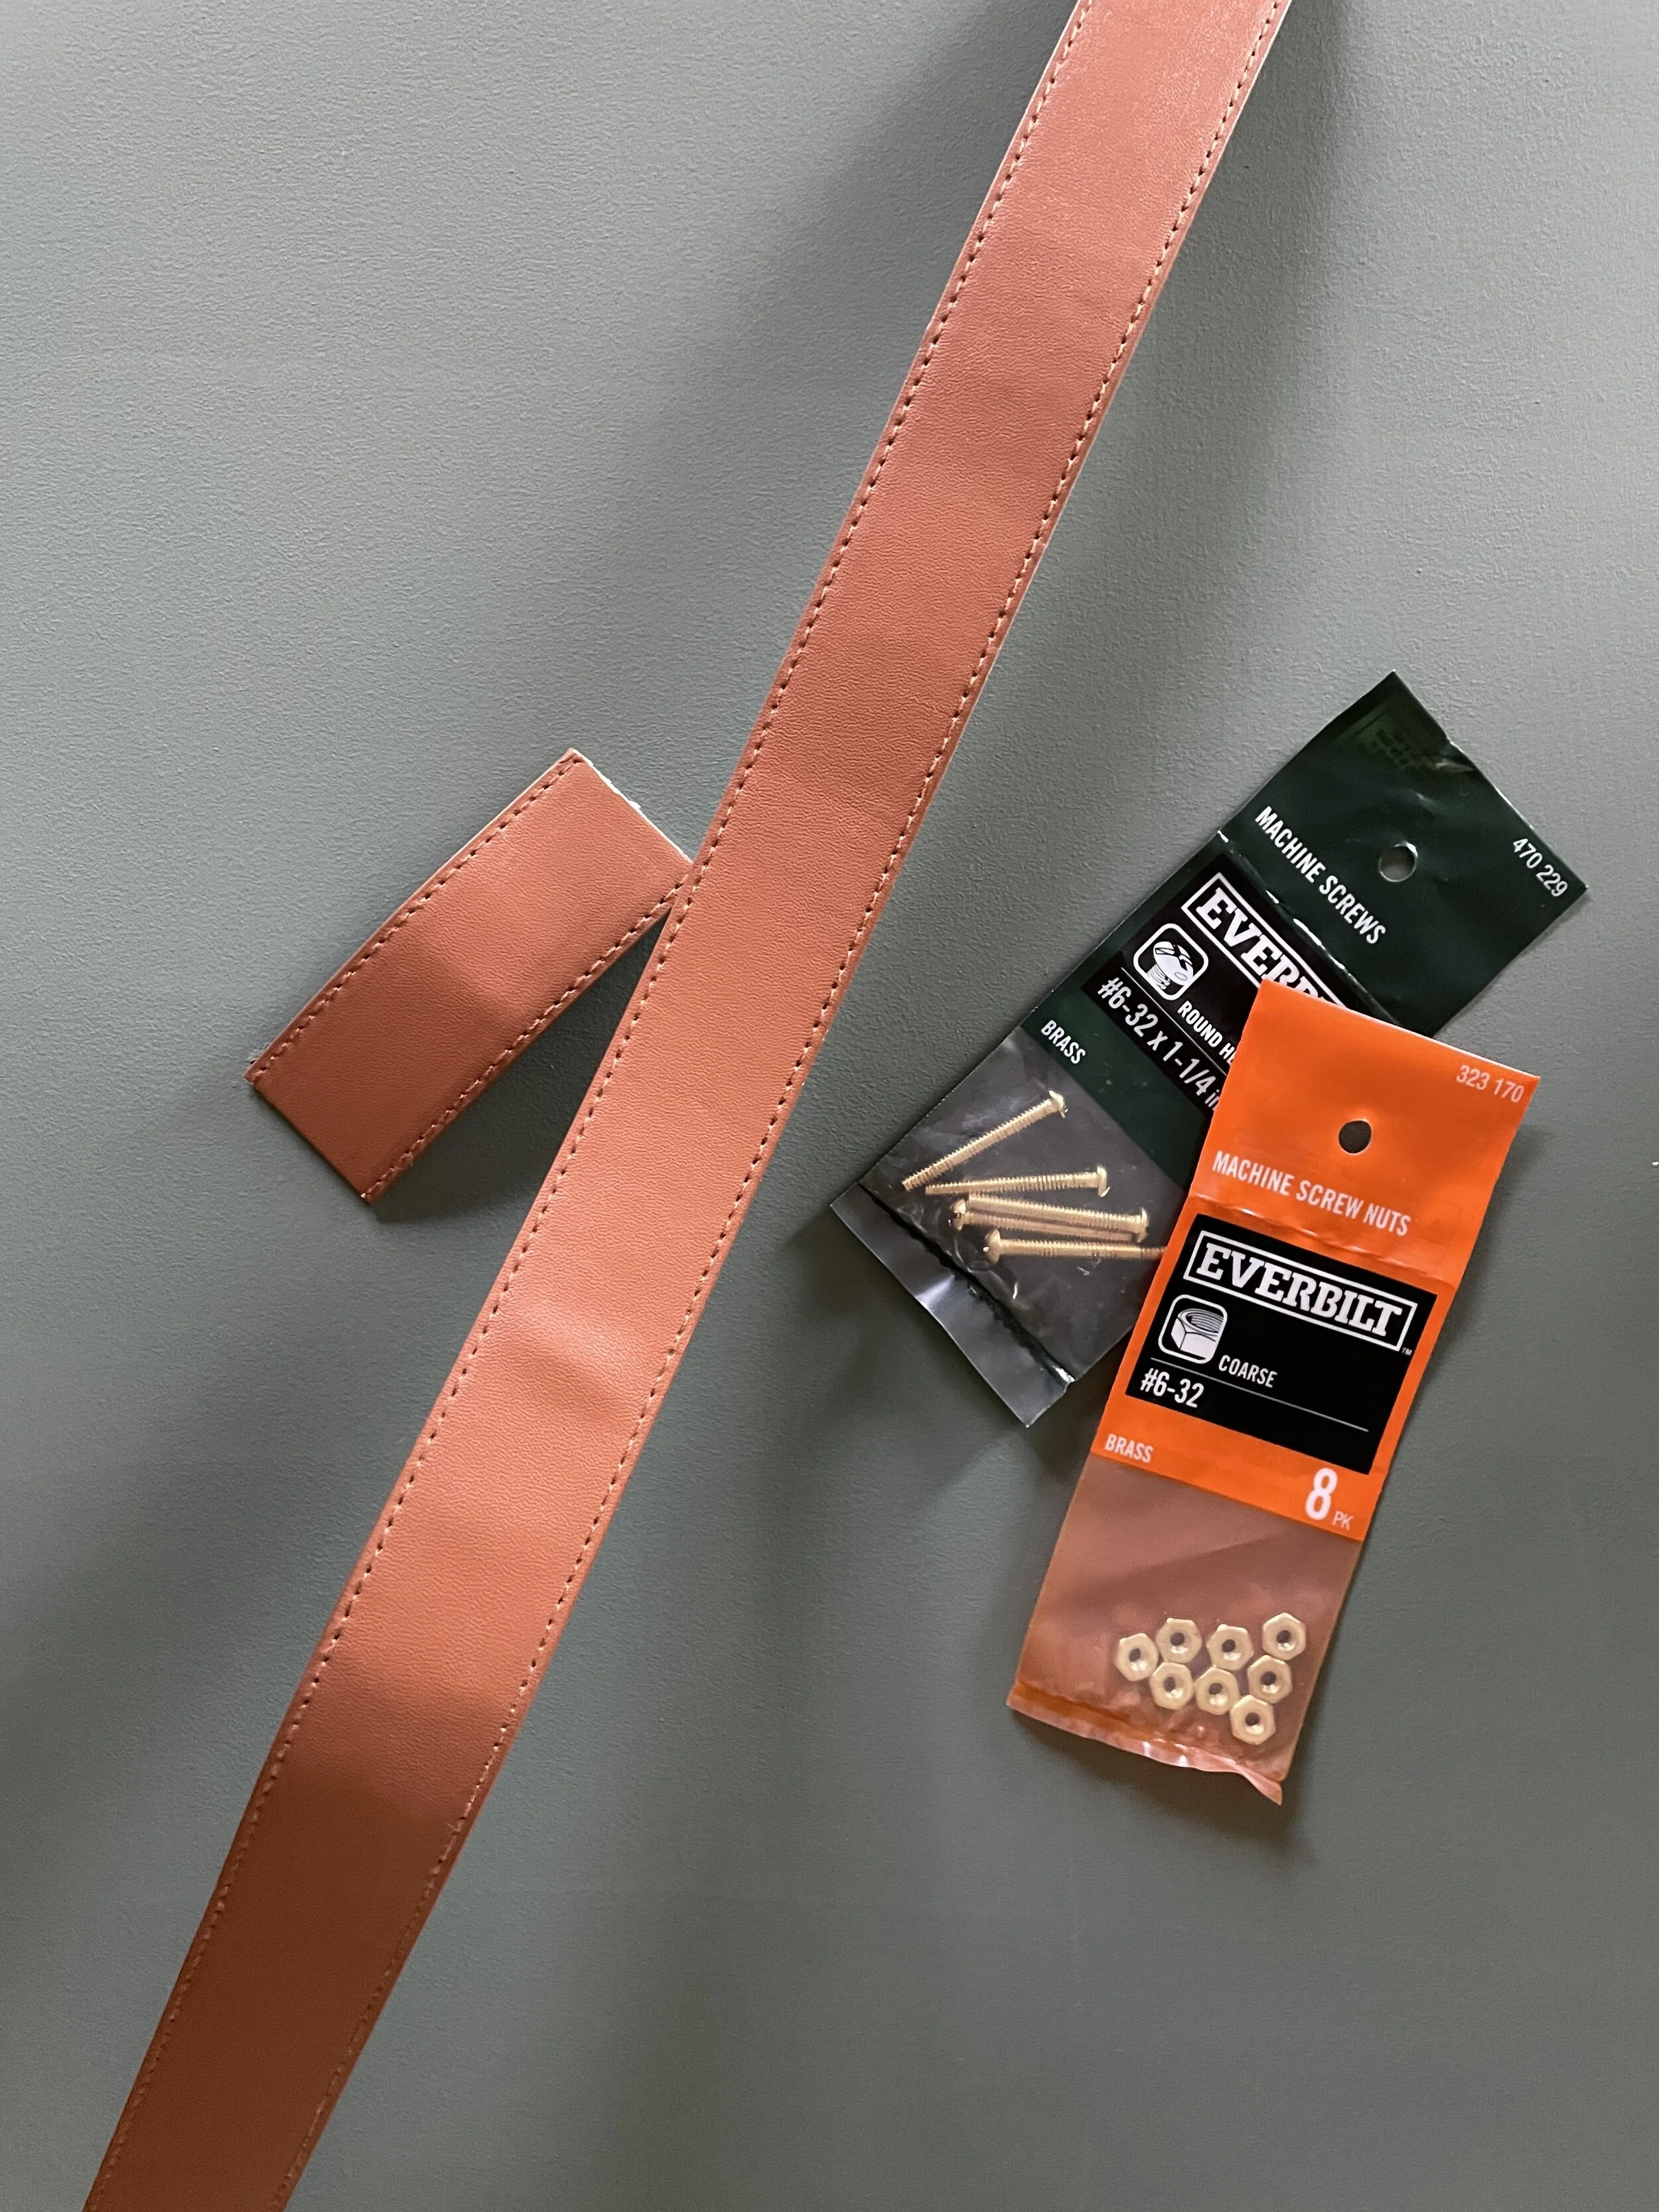
All you have to do is cut your leather belt into 4 pieces (make sure they’re not too small - learned this the hard way. I’d recommend making your pieces about 4-5” long). Fold each piece in half and drill a hole toward the top - make sure you drill through both sides. I found that I had to start with a small bit and work my way up. You want the hole large enough that your screw will fit through it.
After you drill the holes in your doors (make sure to take note of where your pull will sit in relation to the hole you drill. I wanted to make sure mine lined up with the top of the doors, so I made my hole accordingly), you’ll put your screw through the leather pull and add the nut on the inside to secure it.

The last step was securing a few power strips to the inside. I tried using command strips, but honestly, just use screws. I secured mine towards the top of each “cubby” for easy access if I ever needed to take a charger with me somewhere. I ended up plugging one power strip into another and then into the wall. This may or may not be a fire hazard but I didn’t want 2 plugs coming out so if I burn my house down, it will have all been in the name of aesthetics.

I will also be adding something to the drawers that prevent the electronics from snapping back and forth when the door is opened or closed. I’m thinking a pool noodle or some kind of foam, so I’ll keep you updated when I do that.

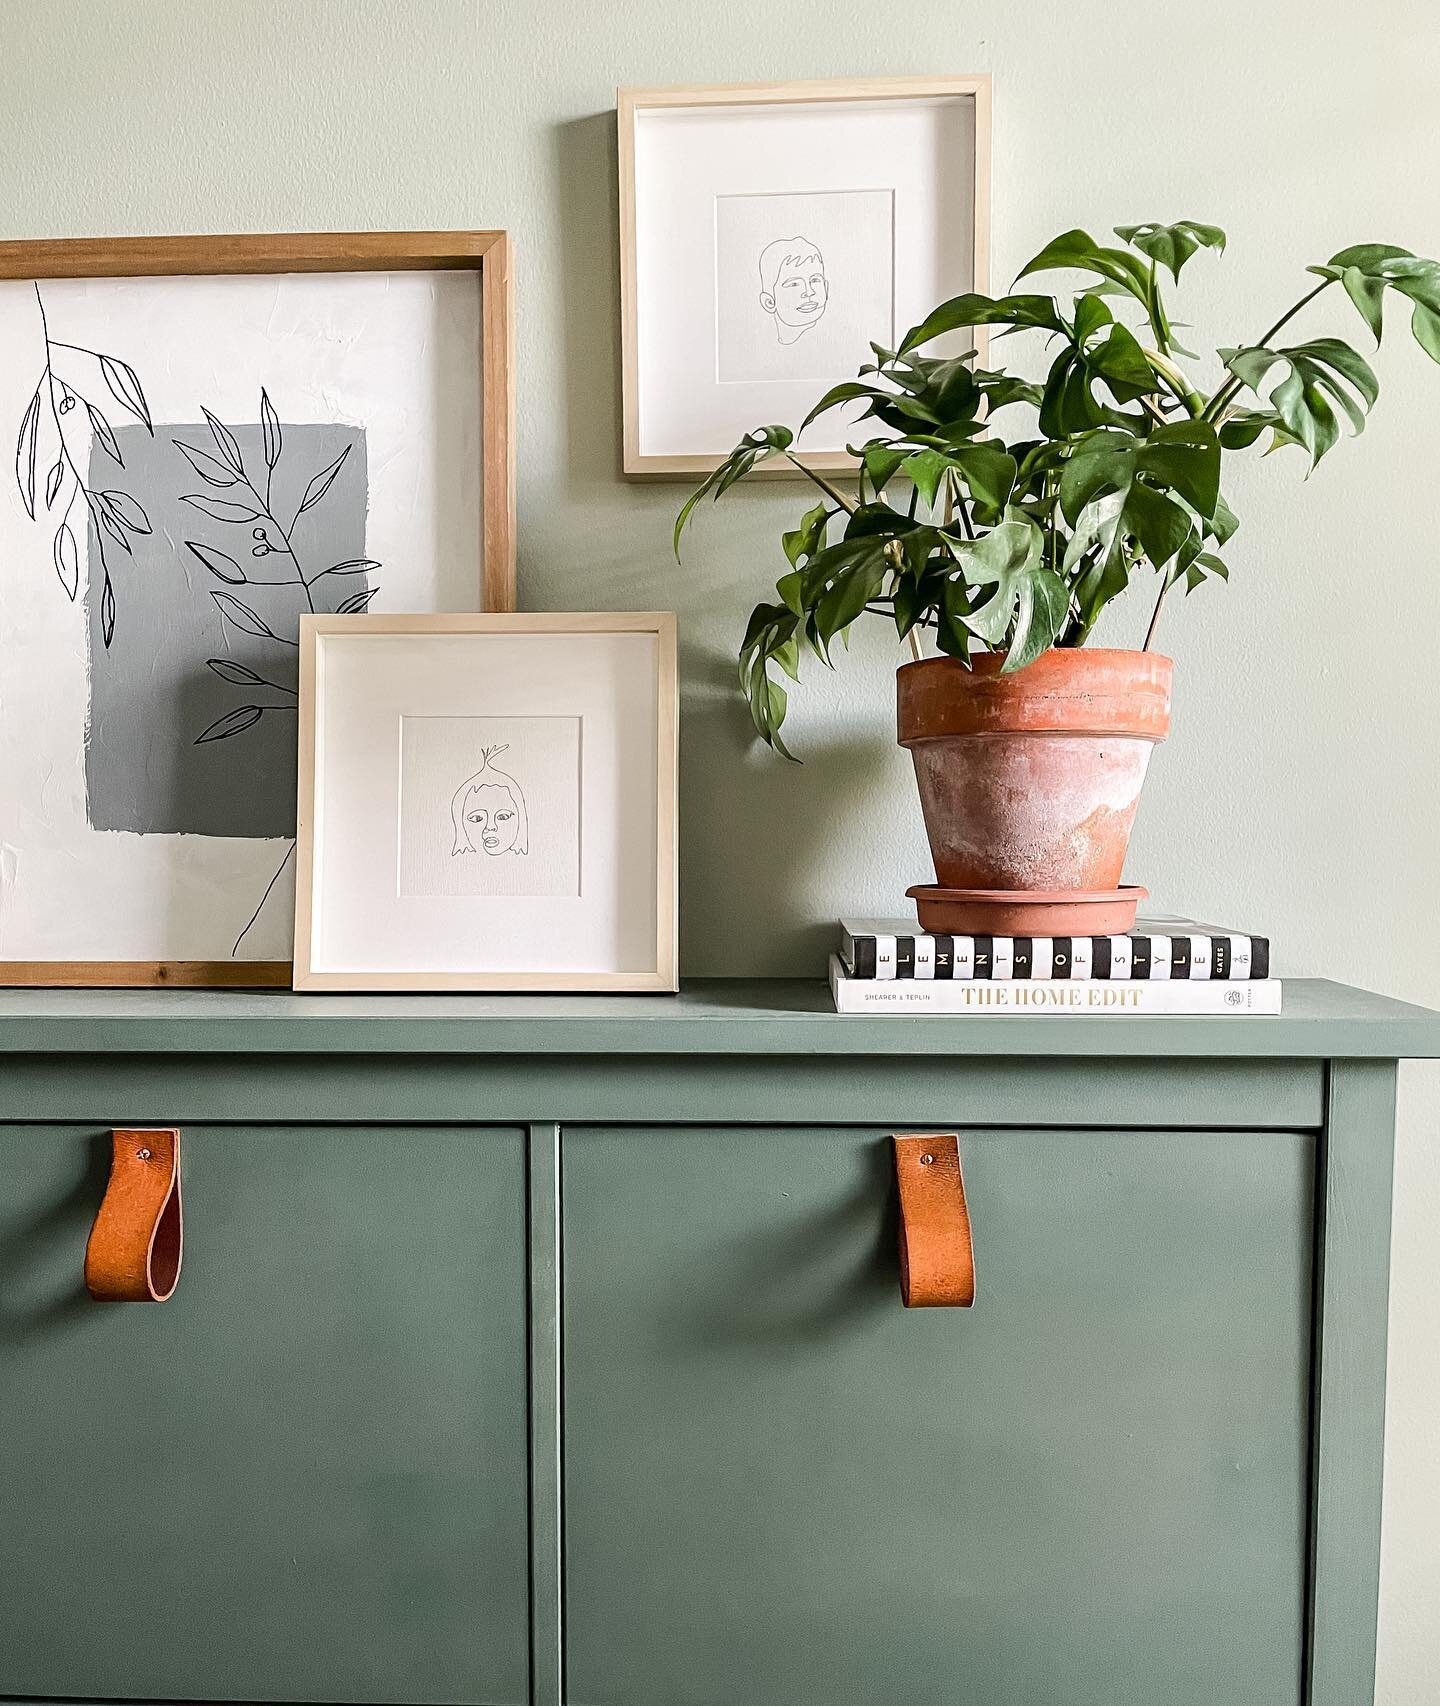
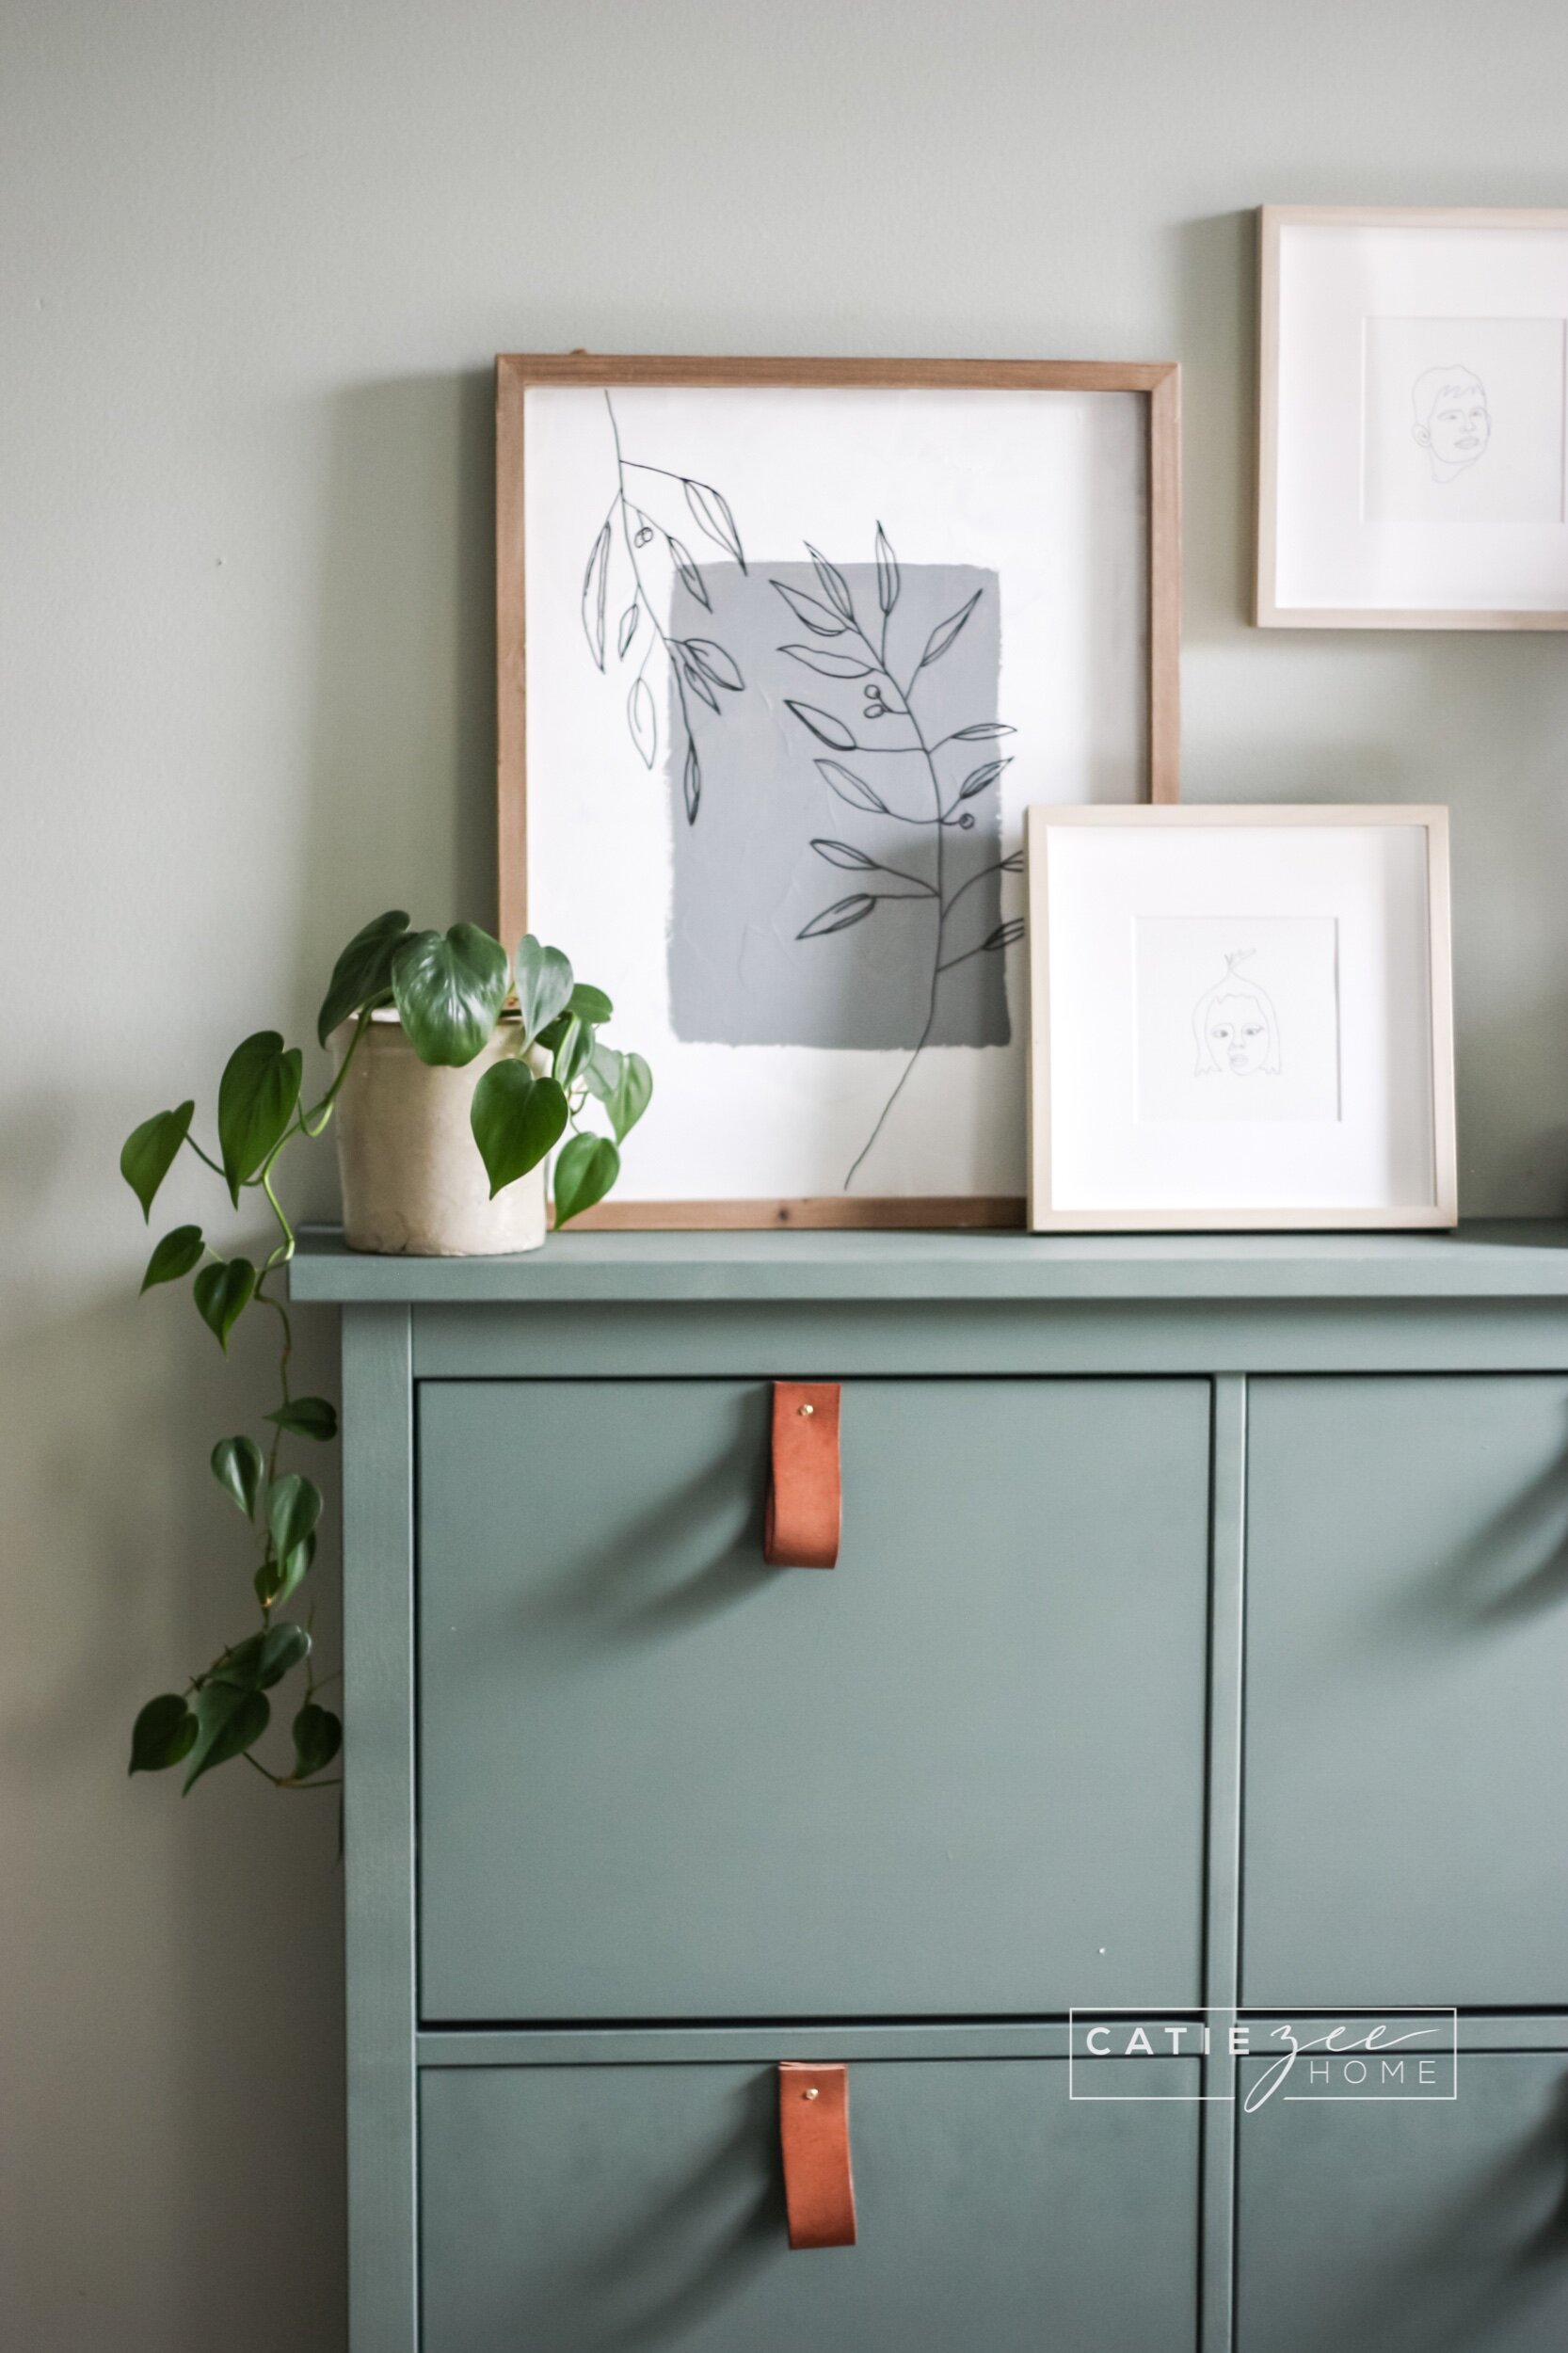
There she is! I’m seriously in love. The leather pulls came out way better than I could have imagined, and the color is perfect for the room. Would you try this? Do you already have one of these in your house? If so, what do you use yours for?


After receiving a lot of questions about where the large botanical art is from, I’m happy to say I’ve created a printable version that is now available in my Etsy shop! The original seen above is a painting I did using a clearance find at Hobby Lobby.

LET’S BE FRIENDS ON INSTAGRAM!