
I’m not a huge Star Wars fan, but there are a few sets that come out every so often that I think are worth buying/building. I saw #75308-1: R2-D2 and decided to take the plunge. It retails for $199.99 in the US and with 2,314 pieces, it works out to be $0.086 per piece. This isn’t too bad considering it is a licensed product and usually the Star Wars sets are on the higher end of the price range. This one was released on 29 July 2021 in the US and went out of stock rather quickly. Since the initial surge of purchases on Shop @ Home, it seems to have been it stock regularly.
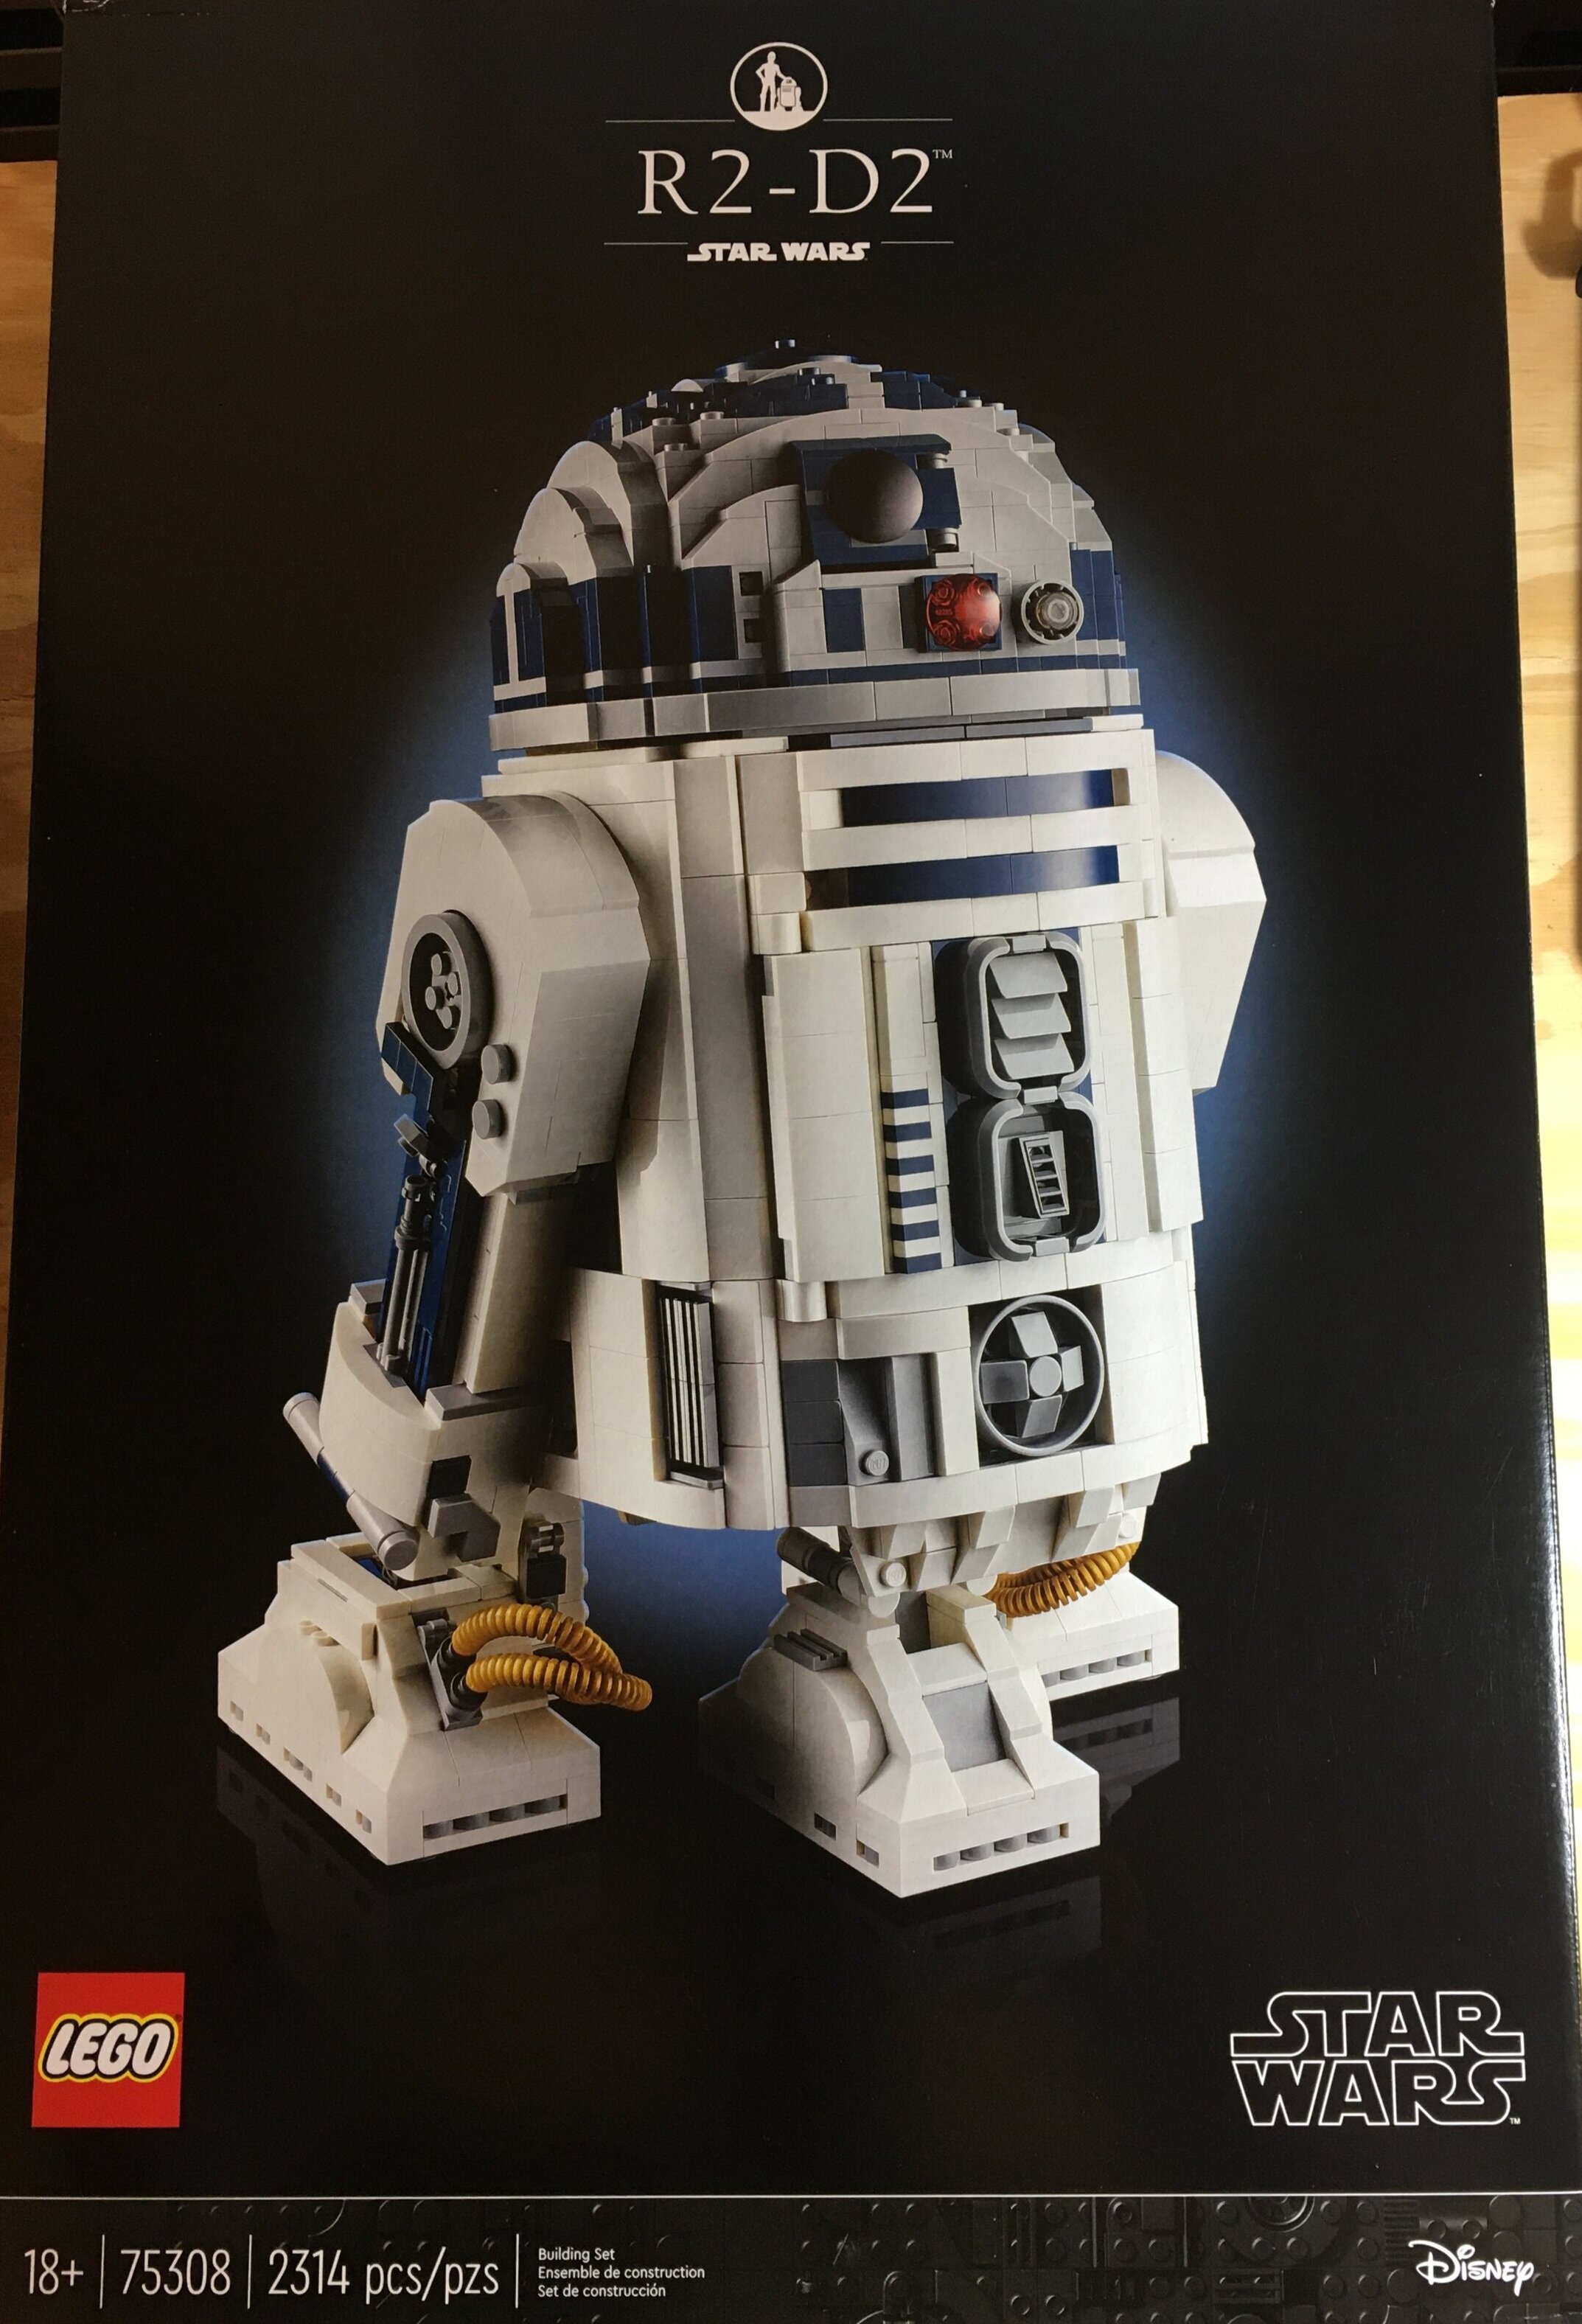
Onto the review… The box is very long which is somewhat deceiving as it makes you think R2-D2 is going to be larger when you are done building. To be fair, they do give the dimensions on the back. It’s 12.5 inches tall and 7.5 inches wide. The front of the set has a picture of the finished model. The top has the set name and some Star Wars branding (can’t forget the DIsney logo) along with a small picture of R2-D2 and C-3PO. The bottom of the set has the 18+ LEGO branding.
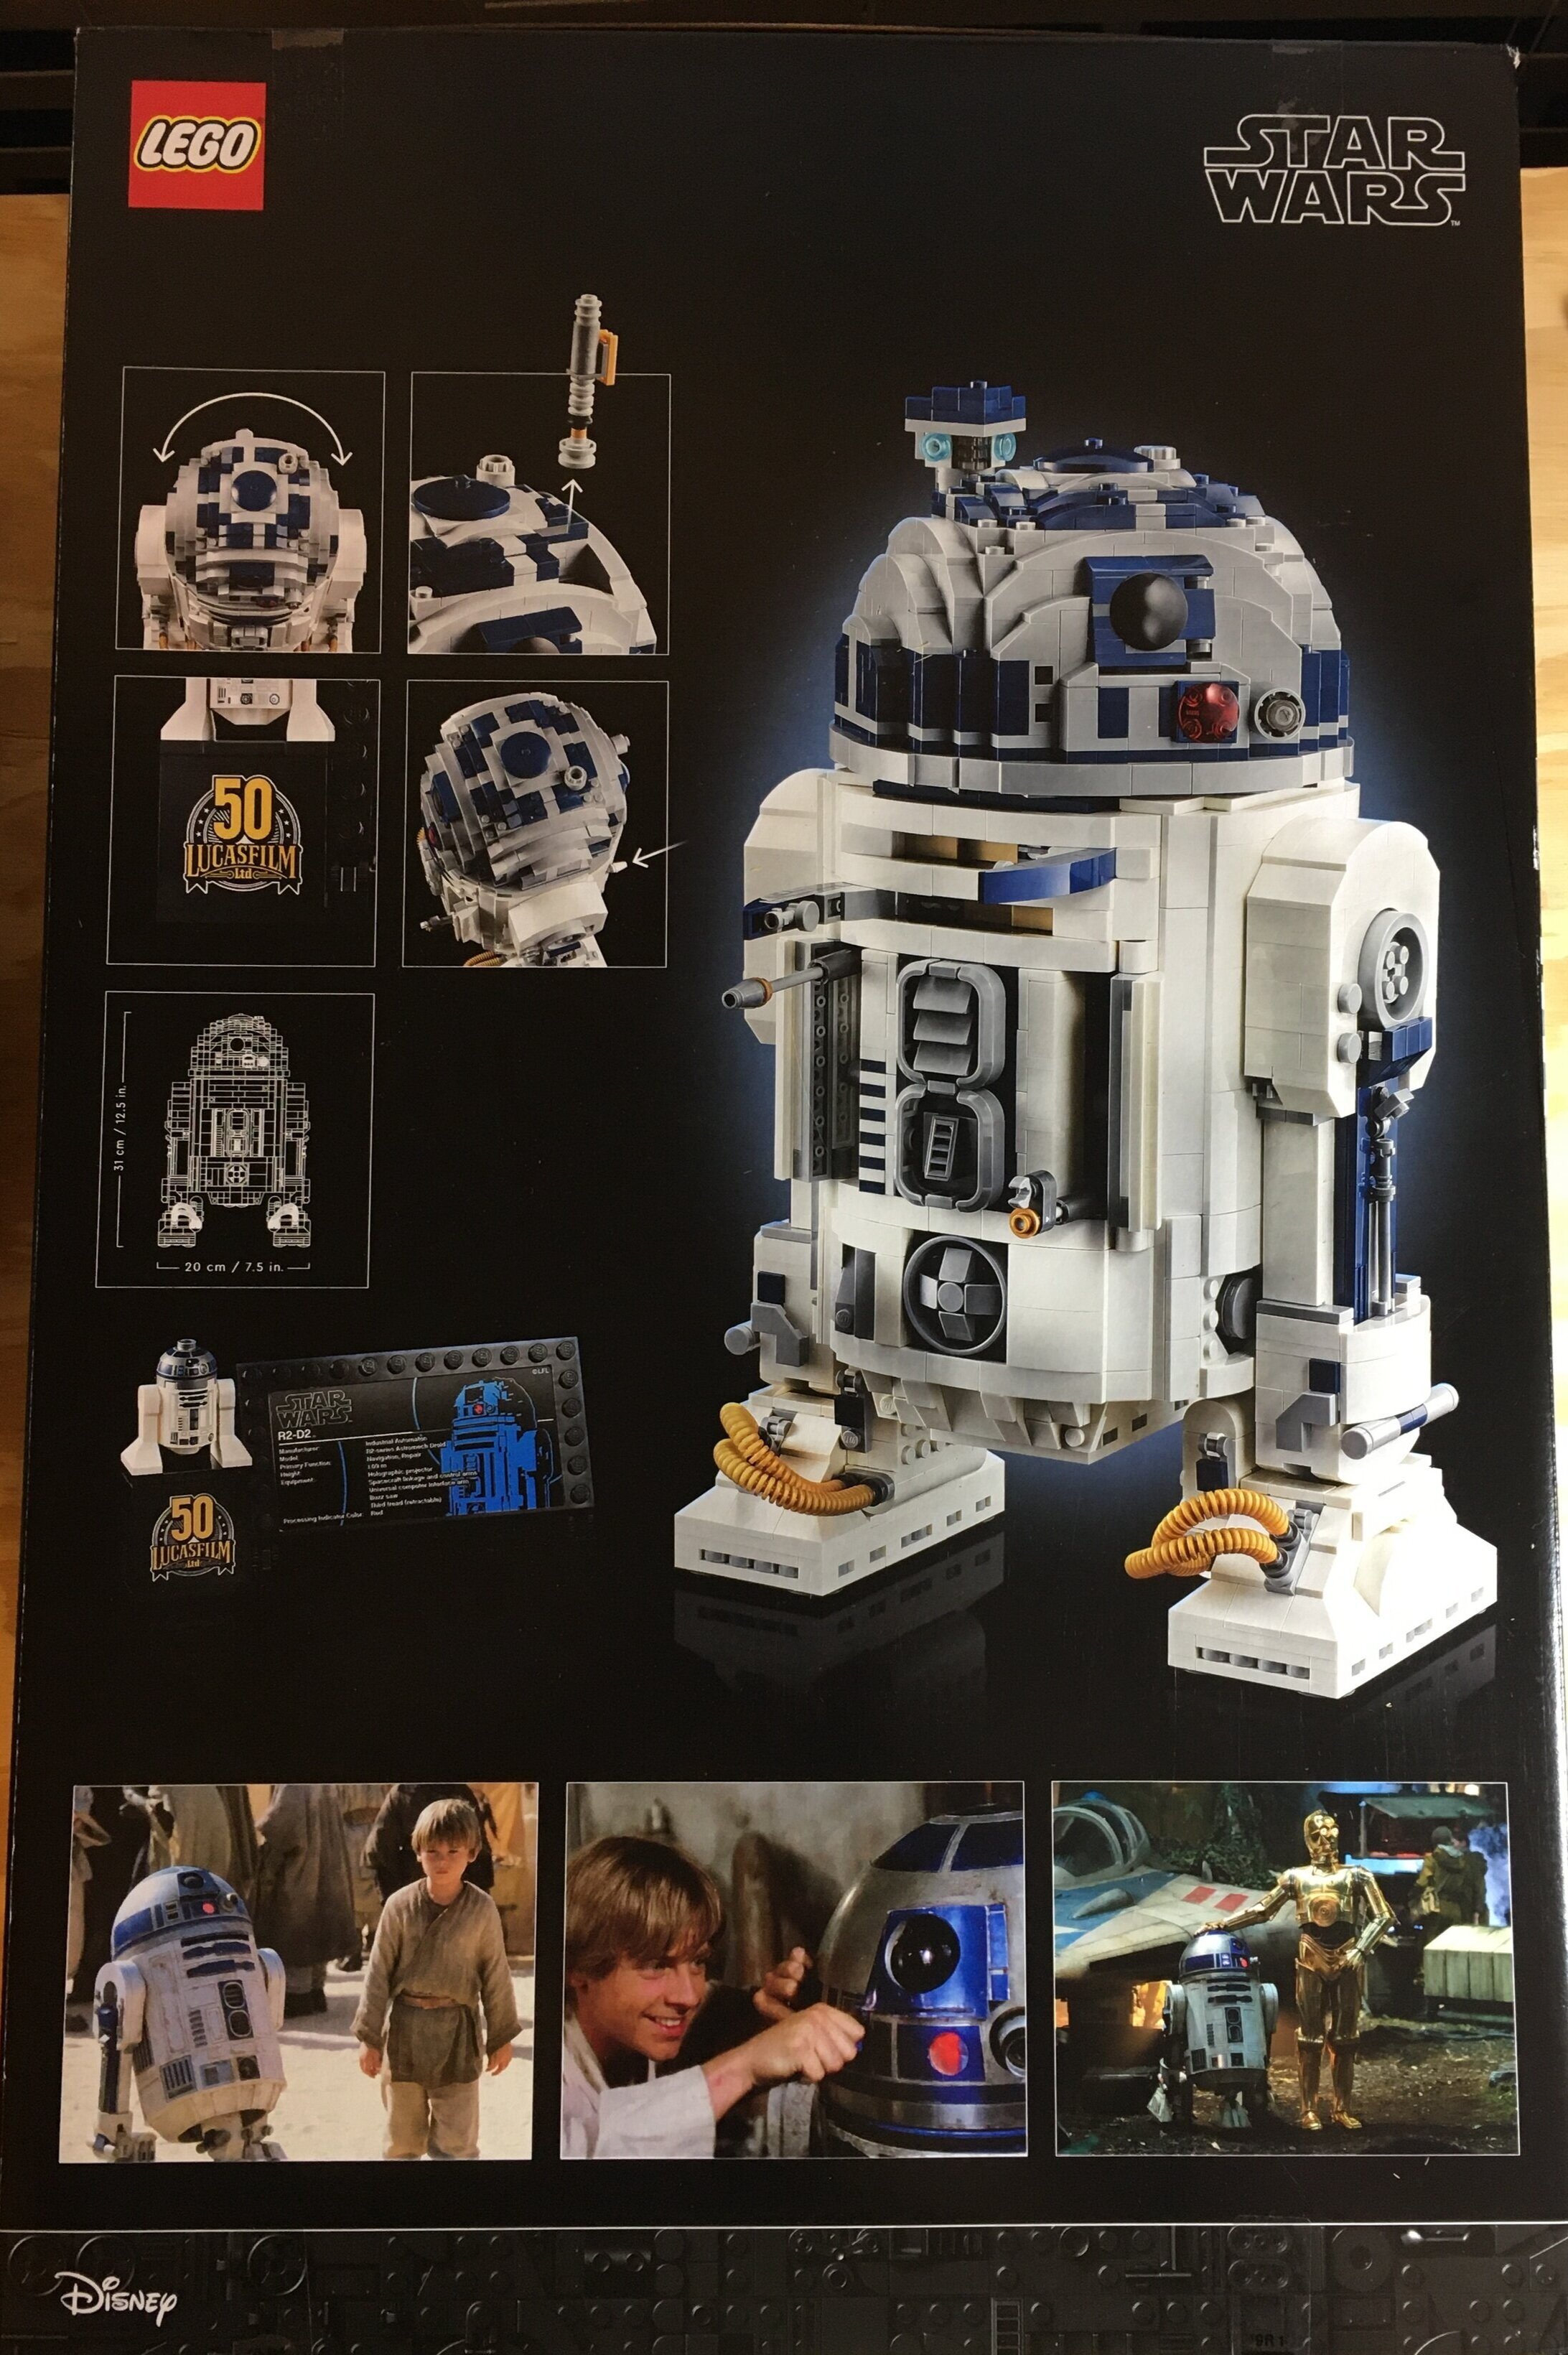
The back shows some of the play features of the set which there are actually quite a few considering it is a build meant for adults. The bottom of the back has a few screen shots of R2-D2 in the movies. I’m not smart enough to pick them all out. I think it’s #1, #4, and… I’m not sure…
The box contains nine parts bags and another box of parts bags. In total, there are 16 parts bags. They are numbered one through 13. There are also two larger Technic pieces, a sticker, and the instruction book..


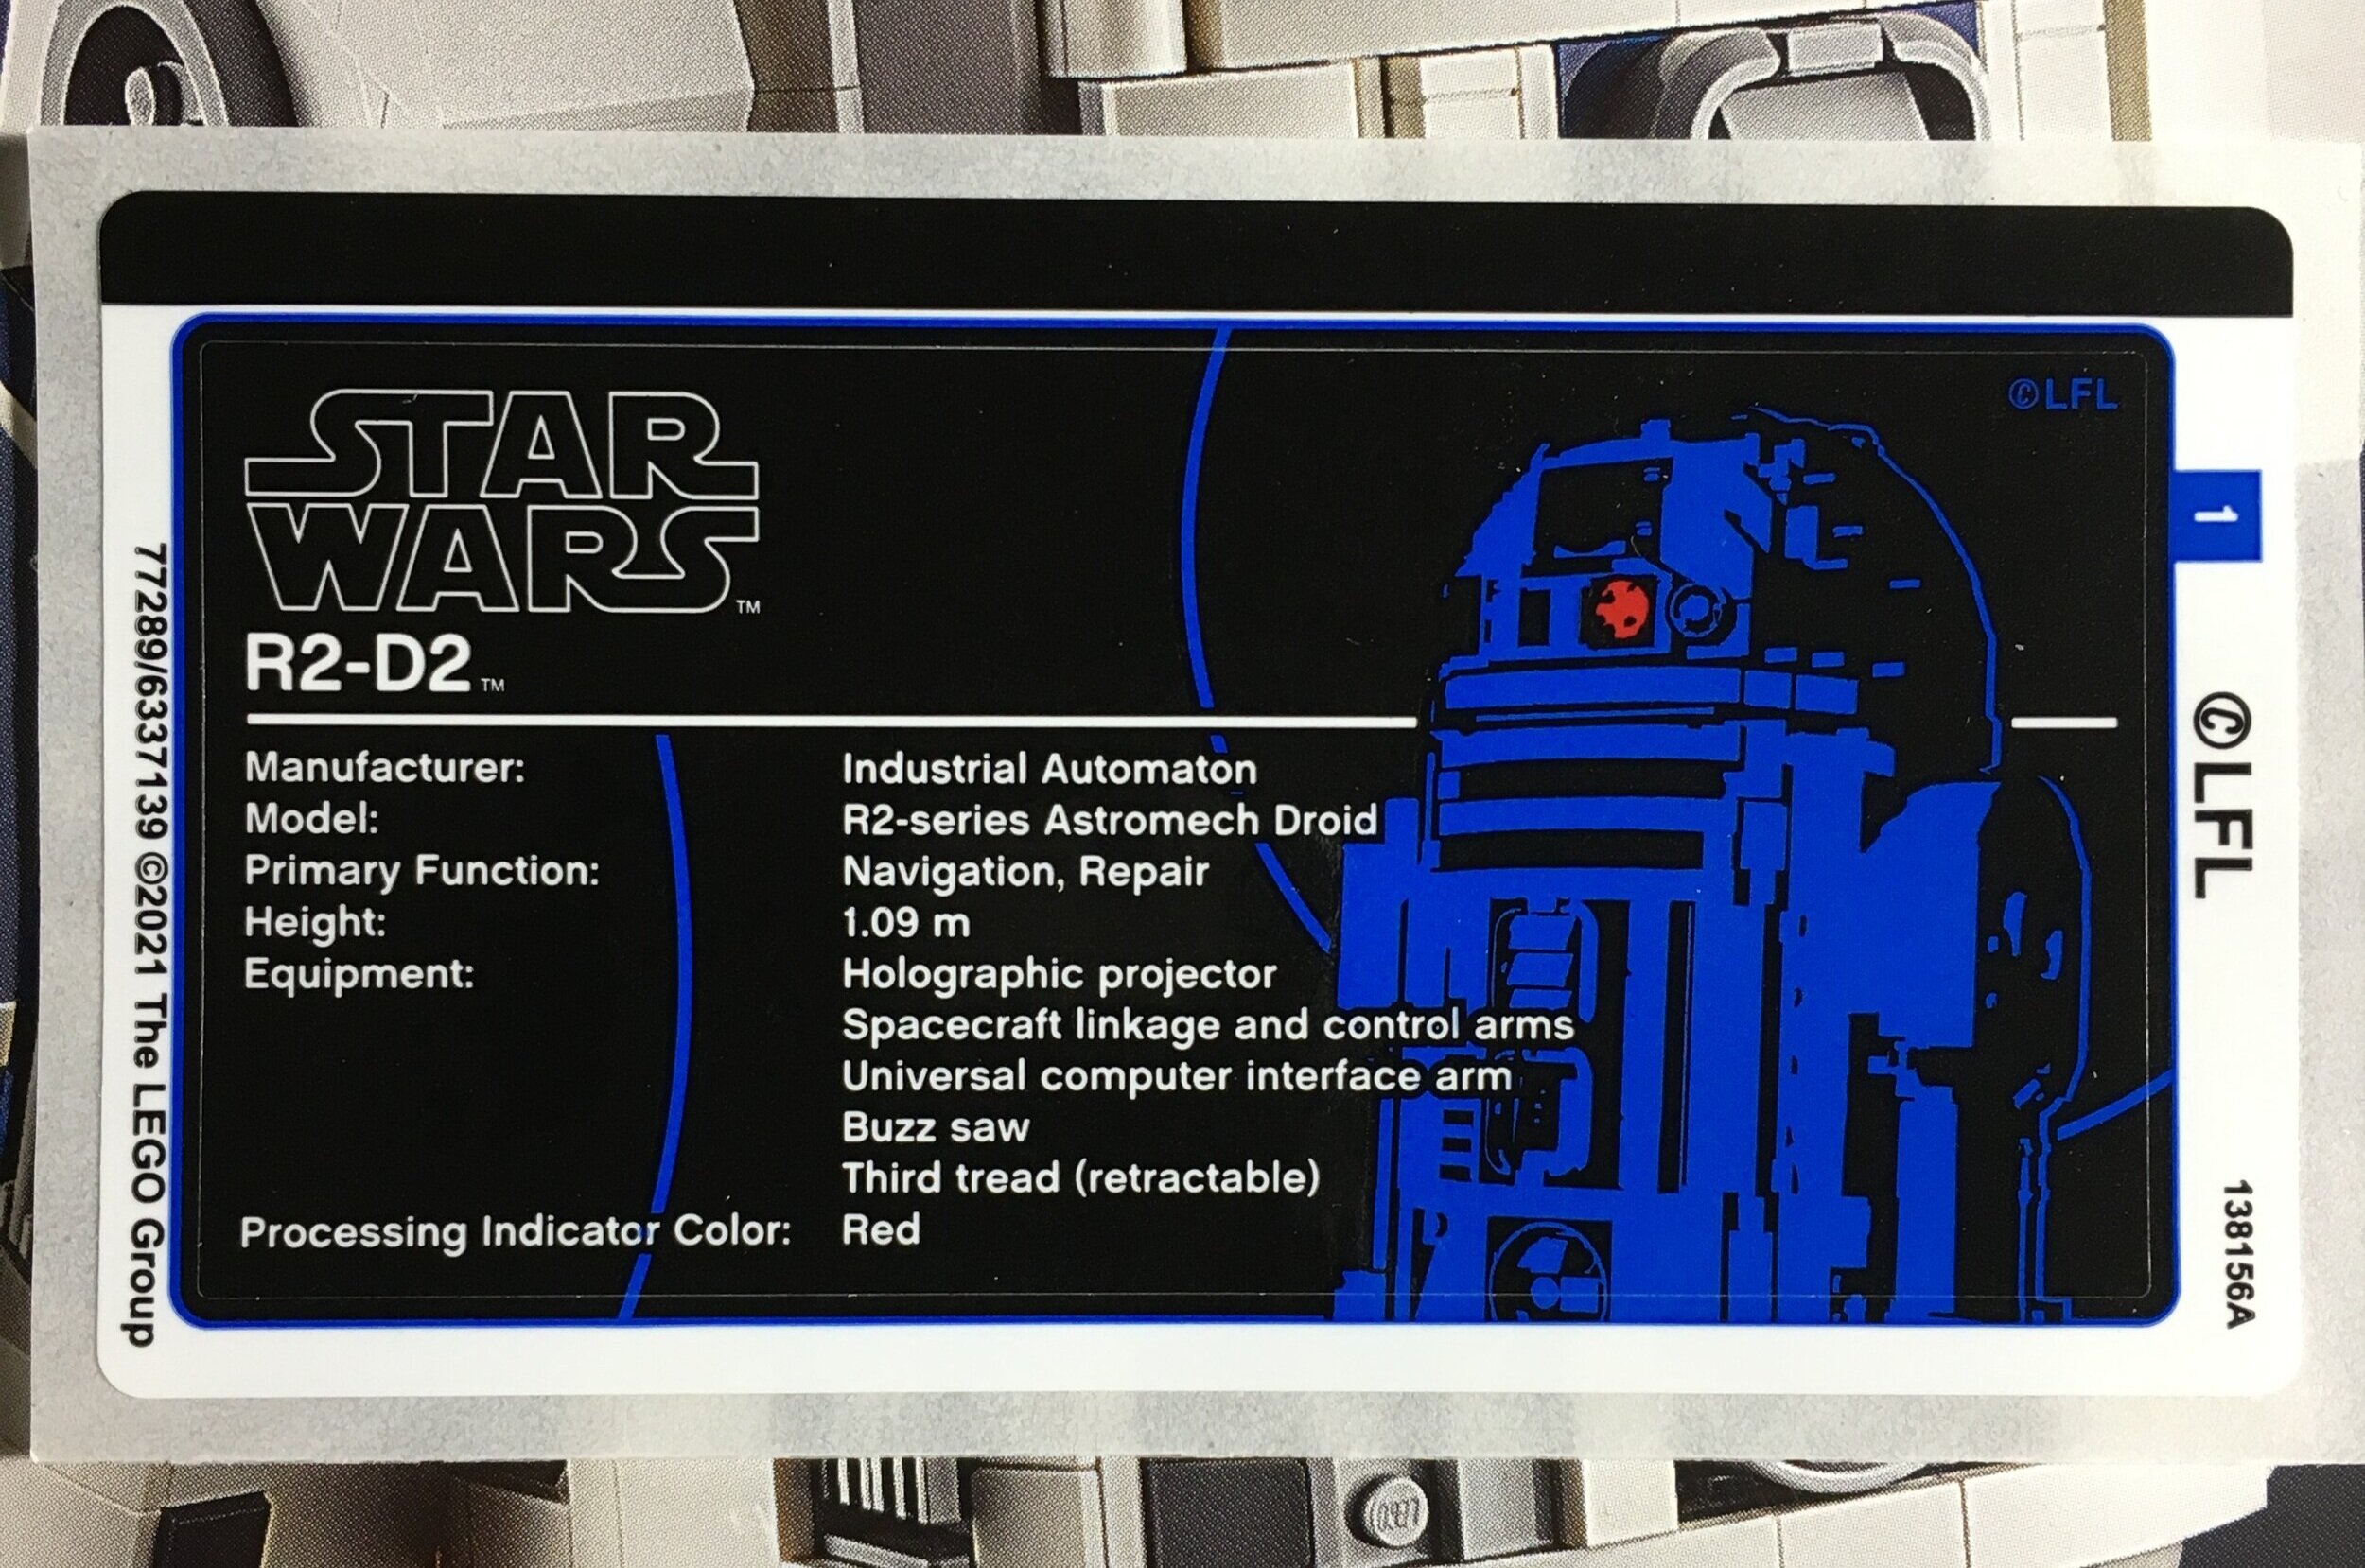
The instructions are wrapped up nicely to protect them and not shoved into the box which is great. Thankfully there is only one sticker. It is the large sticker label for the set similar to many of the UCS type sets.
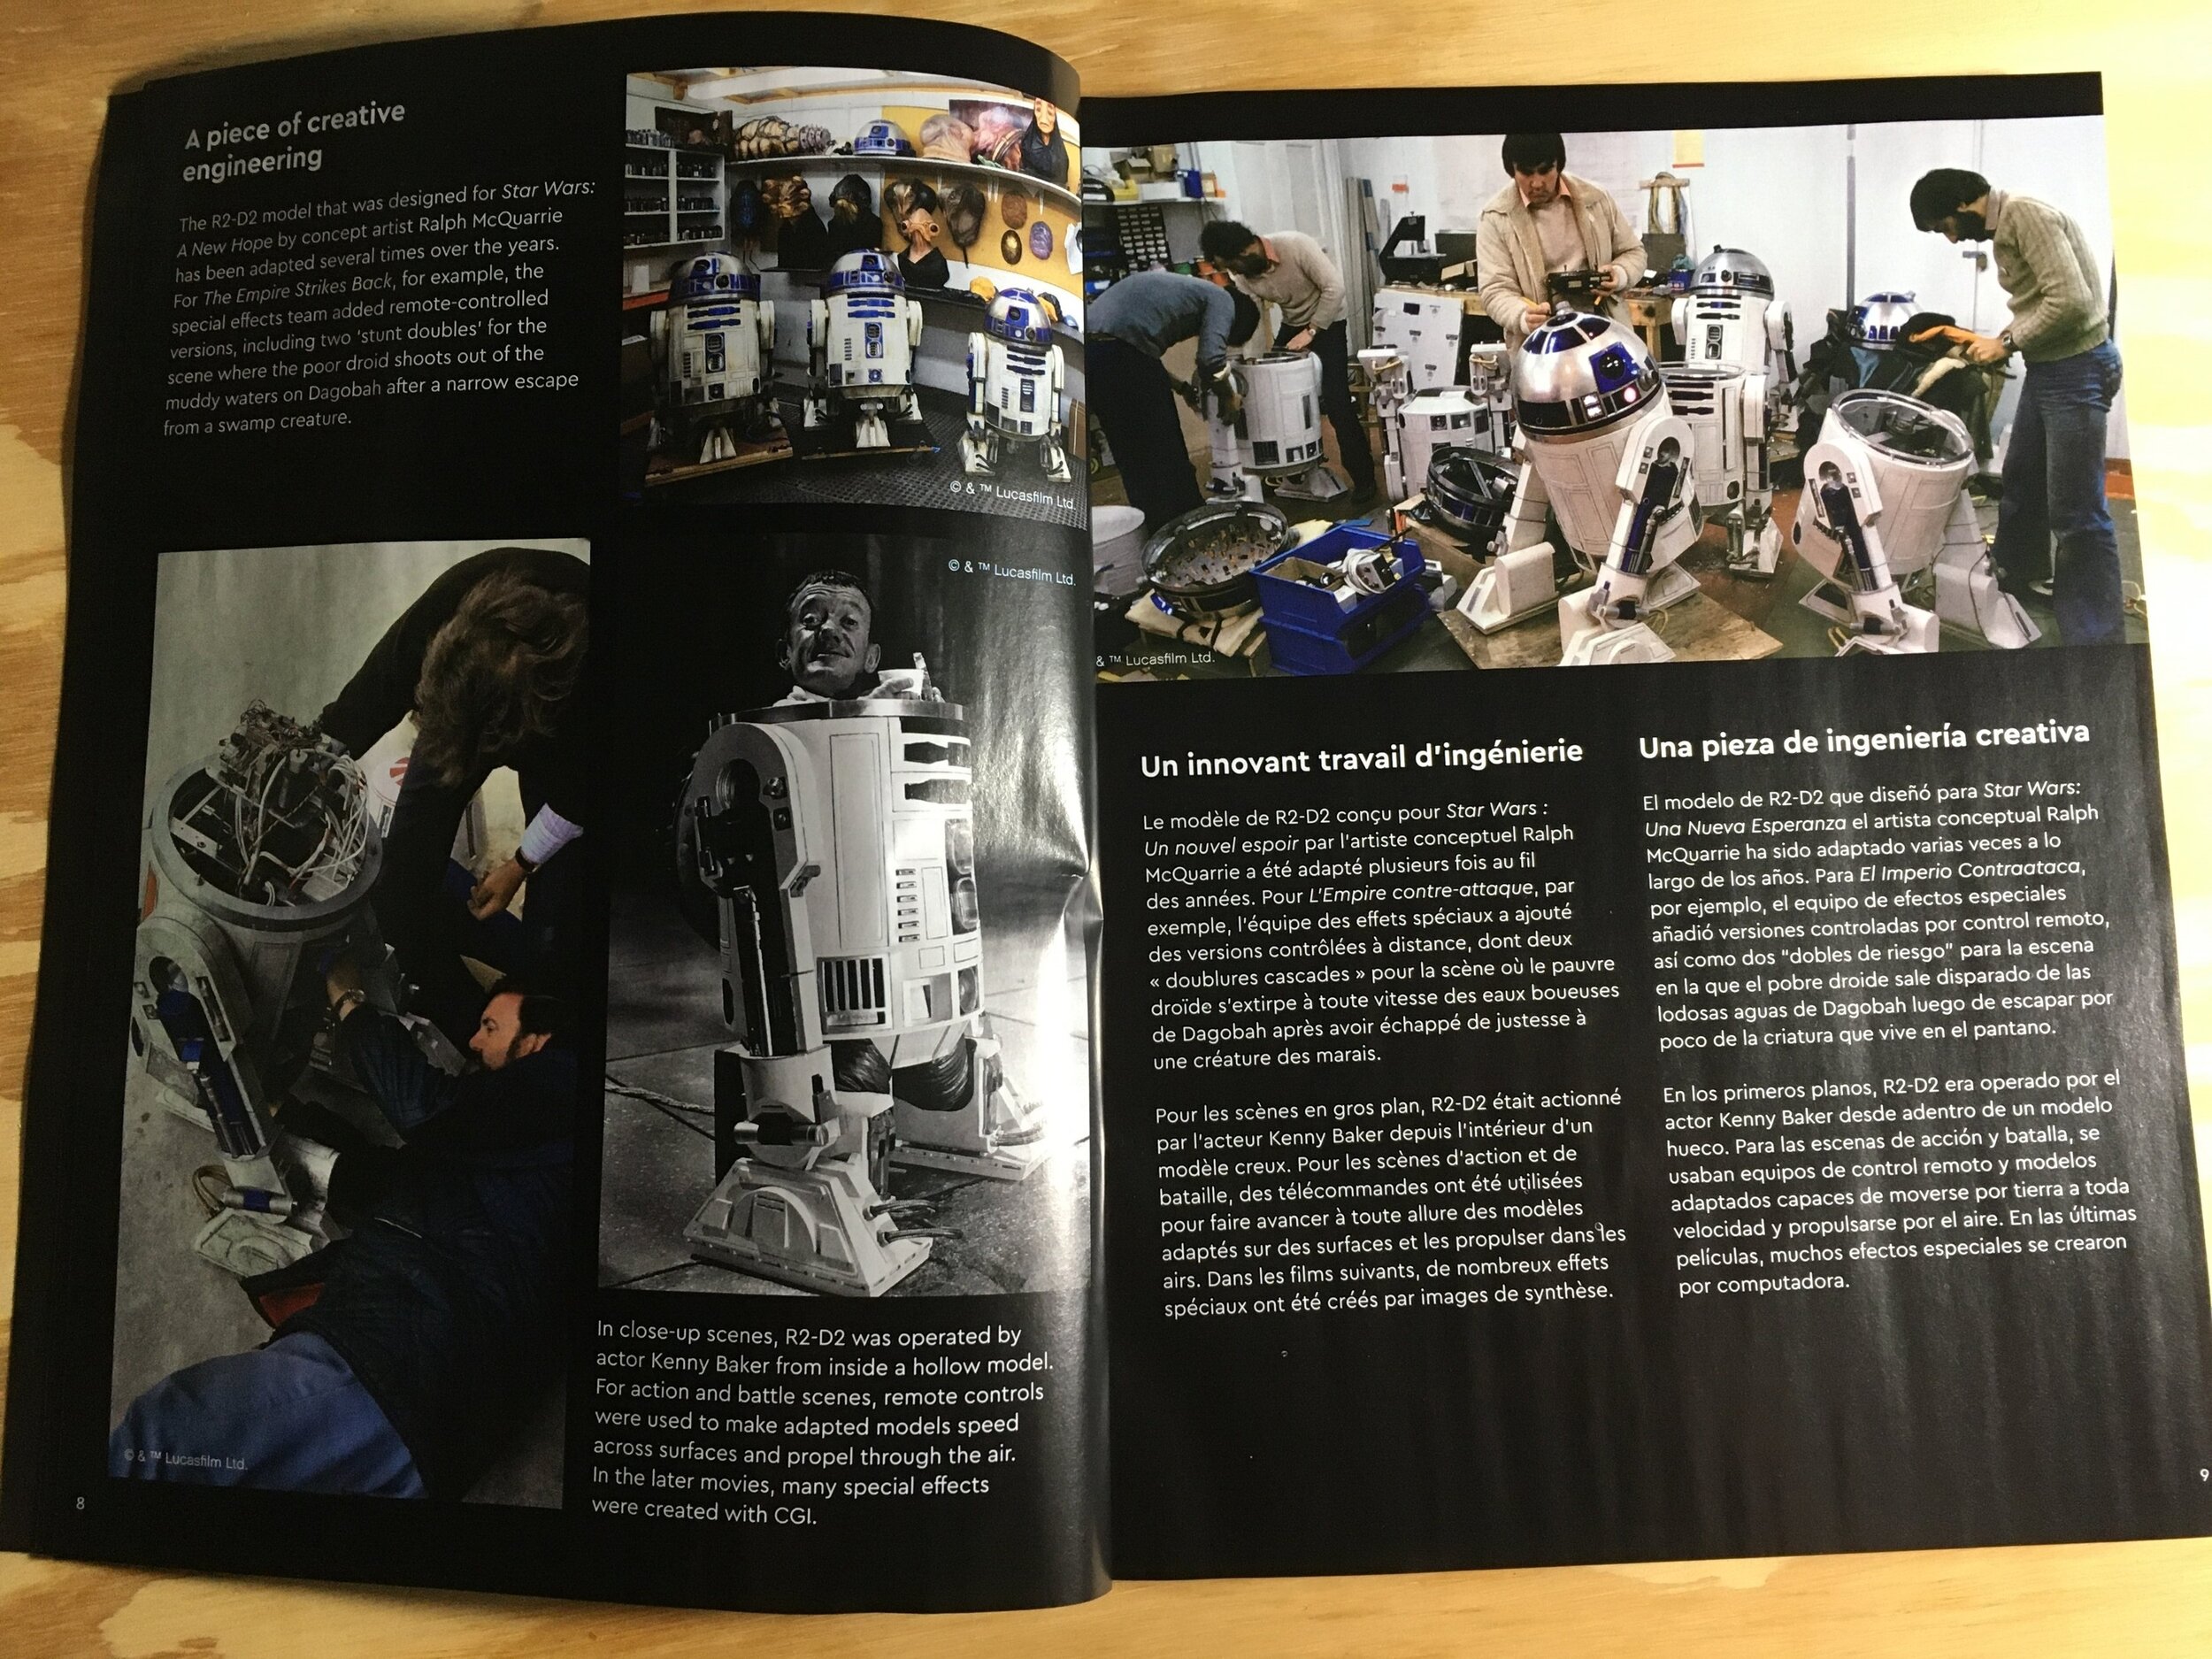
The instructions have a few pages of information about R2-D2, his roles in the movie, and some fun pictures of the movie models. It seems like a lot of material until you realize it is in English, Spanish, and French.

The build starts off with a mostly Technic internal structure. Bags one and two assemble the center leg portion. It is mostly Technic until you get to the actual “foot” if that’s what it’s called. If you aren’t a fan of Technic or into building with Technic, I could see where this part would turn off System builders. It is a challenging build and you have to really pat attention to what pin goes into what hole.


If you’re not a Technic fan, bag three doesn’t make your life any better. However, bag four builds the sides by his outer legs.


Bag five adds on the start to both of this side legs. It is mostly a System build, but there are some Technic elements to connect them to the Technic internal structure. At this point, R2-D2 is starting to look more like what you expect him to look like. As a note, the designers used different colored Technic pieces for a reason. Pay attention to the lime green and red as it helps you to figure out where things connect and what items goes on what side.
The sixth bag finishes off the System portions of both the outer legs. While the movie R2-D2 rolls around, this model does not have wheels incorporated. Just some rounded 2x2s to help you push it along a surface. I’m sure someone smart could modify it with wheels so he could roll better.


Bag seven adds more details to the outer legs. Bag eight starts to build his front paneling. You build his first functional pieces that move so he can help fix ships or do whatever he needs to do.


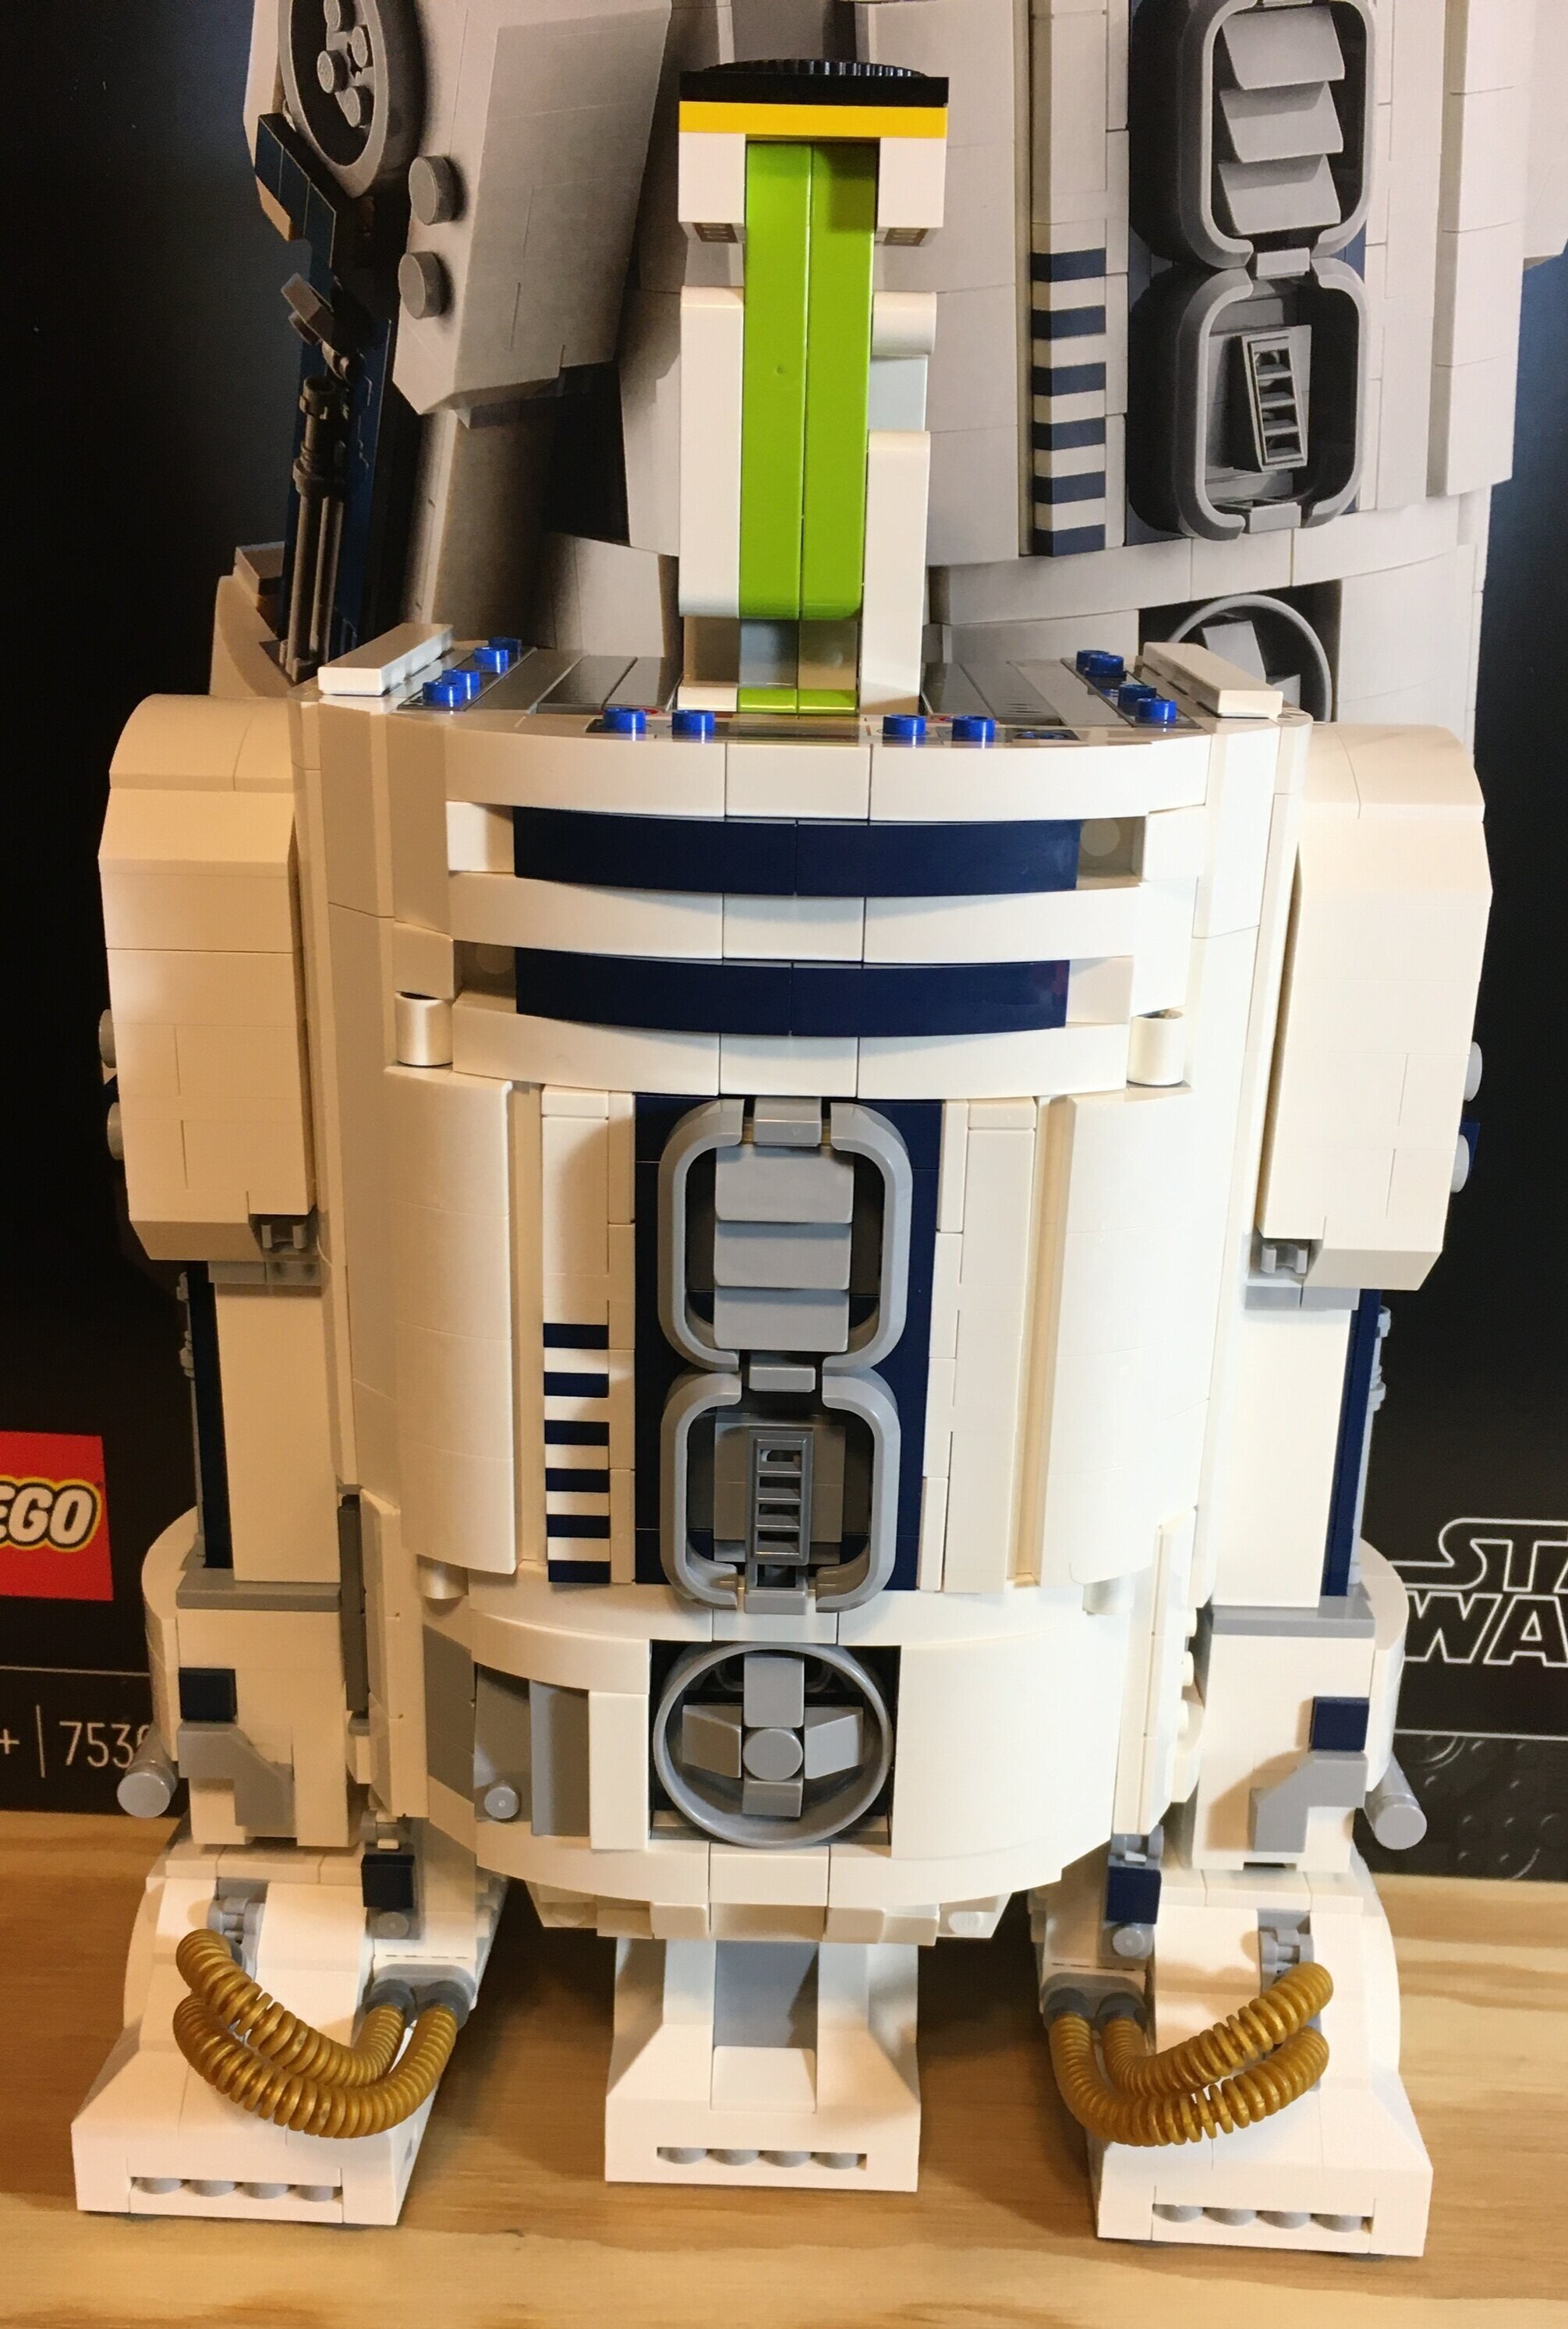
The ninth bag finishes up the front paneling. I think they did a great job re-creating his front side. The designers also used some interesting and different techniques to create the detail. I’m a fan.
Bag 10 builds his back side. Not a whole lot of detail there, but that’s okay. You can see the two white 1x1 small nose cones. These are attached to rods which push out some of R2-D2’s tool functions on the other side.

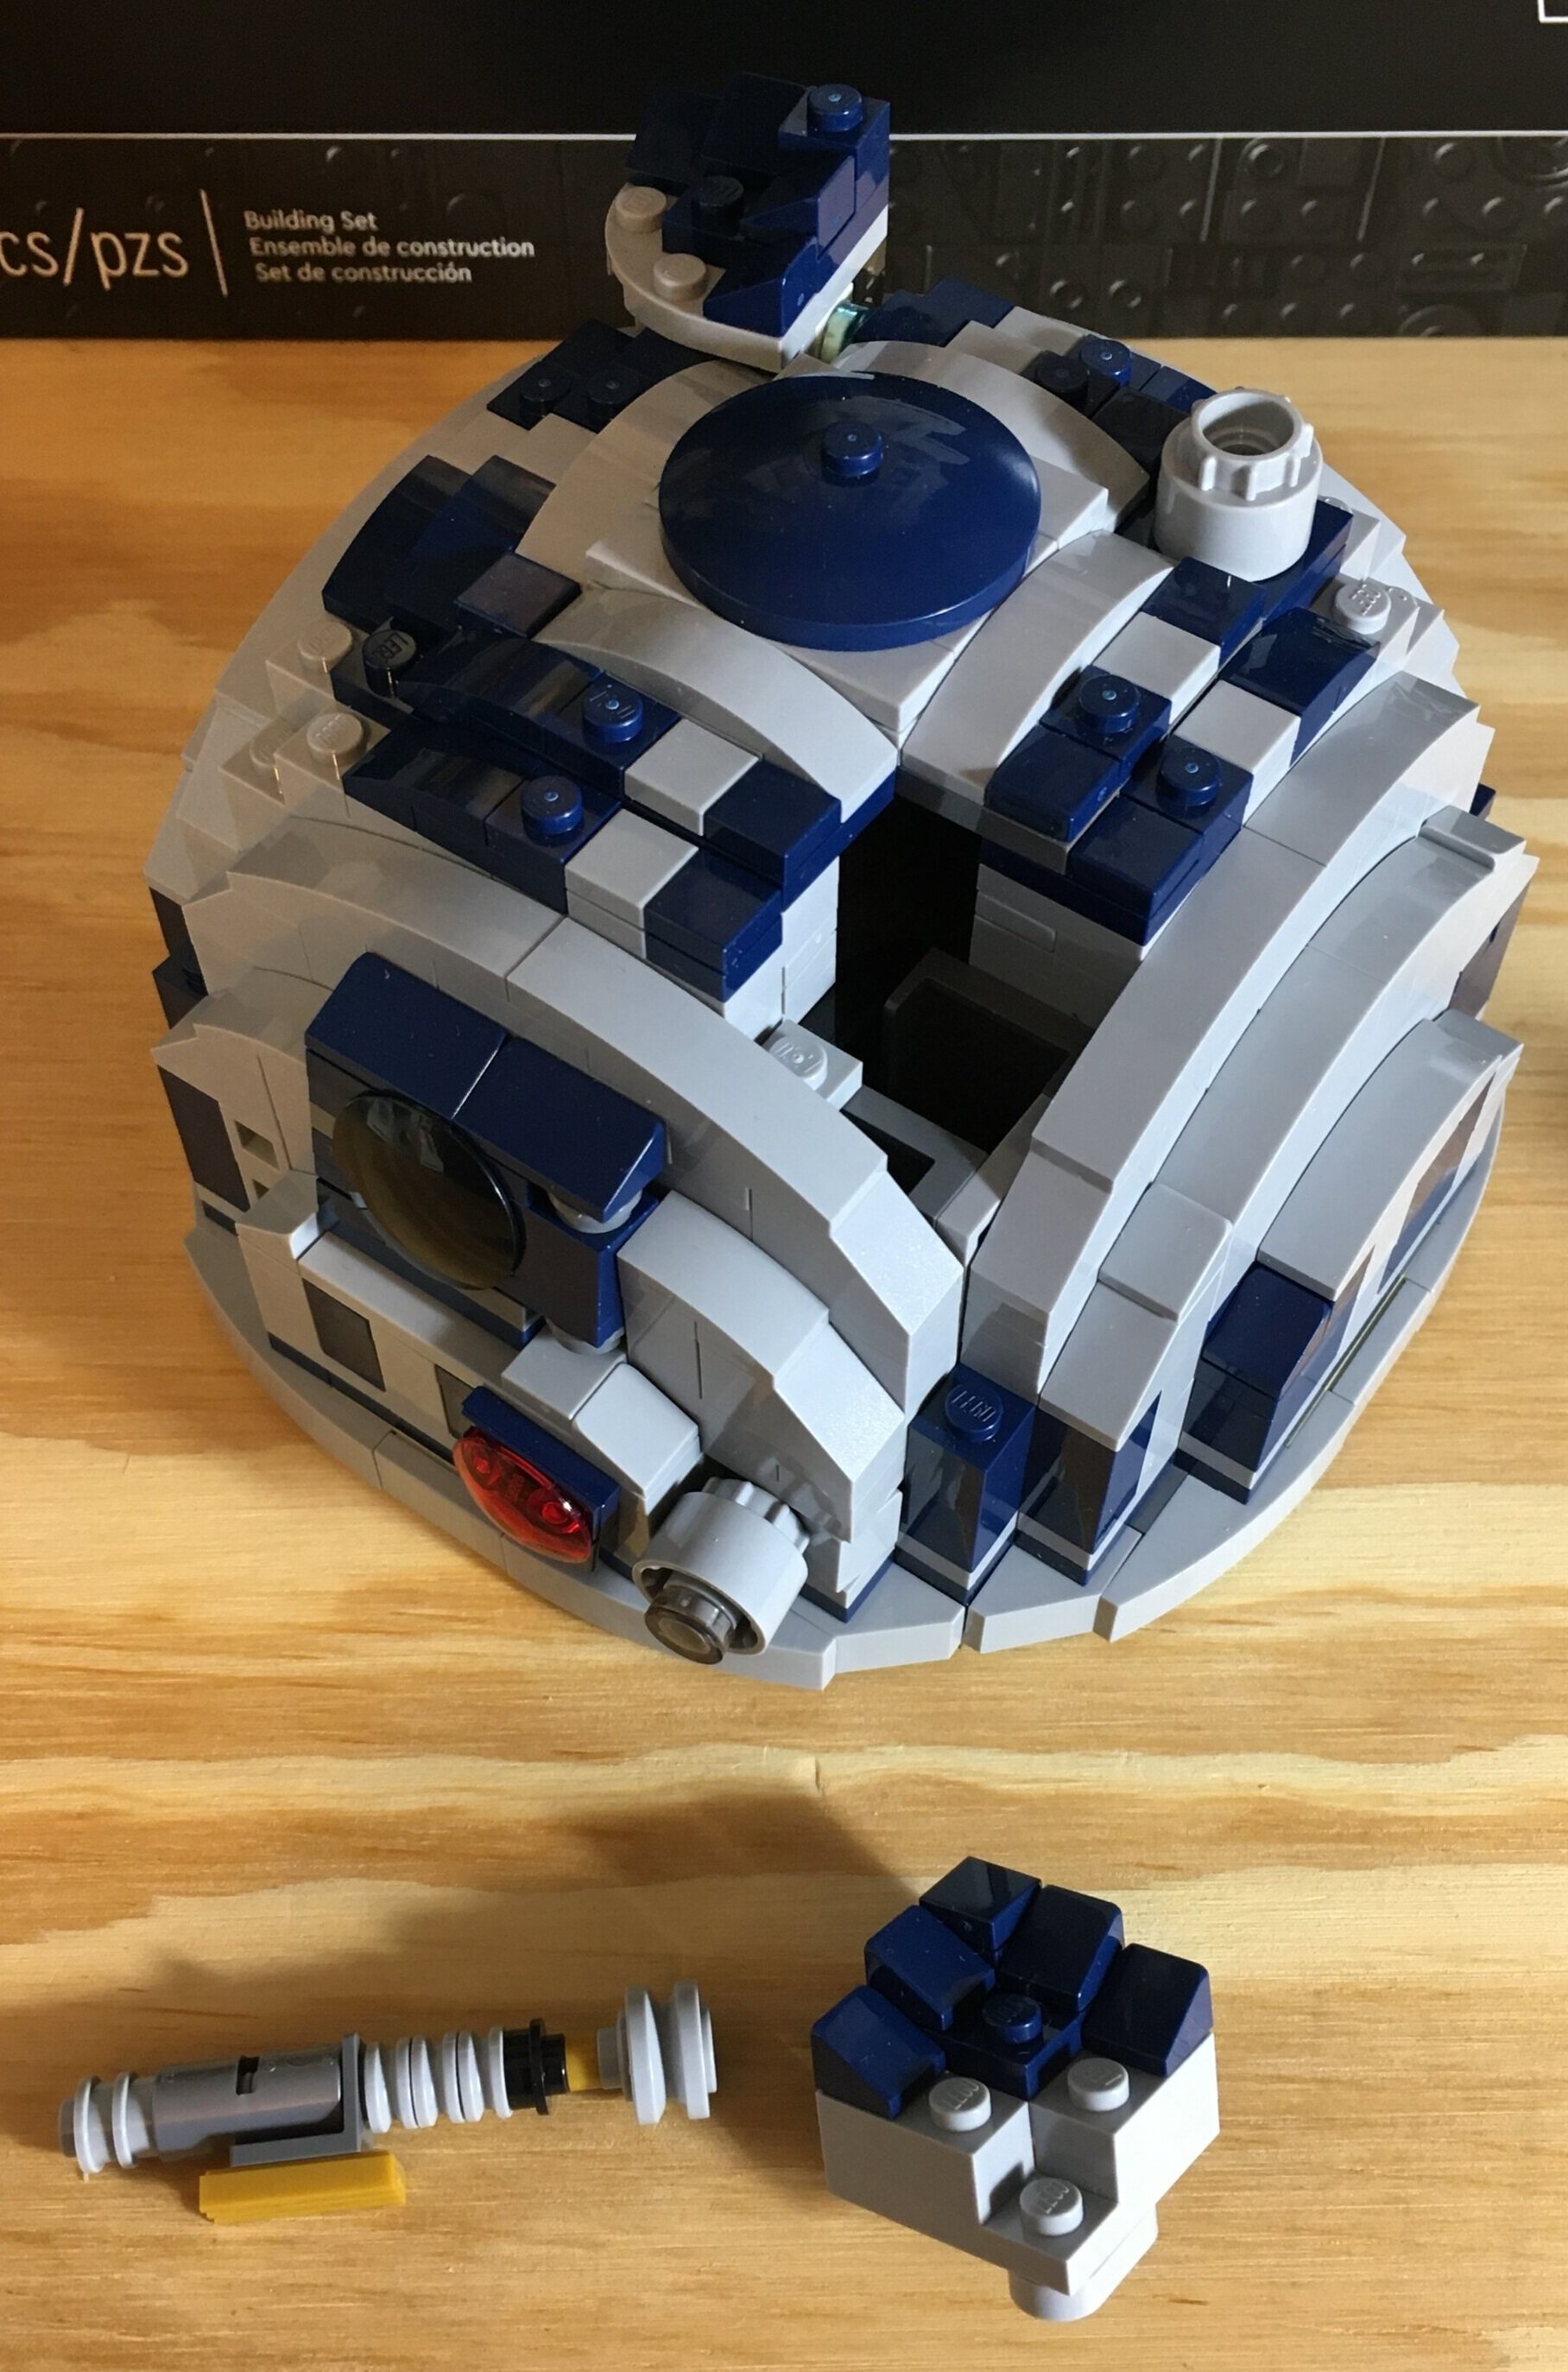
Bags 11 and 12 start on the rounded, rotating top of R2-D2. It’s a challenge to build something rounded out of squared parts, but I think the designers did a good job of capturing his likeness. They also captured his various lights and sensors and even have his periscope function and the place where Luke’s light sabre is stored.


Bag 13 wraps up the build and the top of R2-D2. I took the pictures showing the periscope type function and then the open slot where the light sabre goes. The functionality isn’t exactly how the movie version works, but I can understand the limitations. Not sure on the scaling either, but it gets the point across. I found it a bit of a challenge to hook the top onto there rest of the droid build. It’s hard to see where the hook on goes so I did my best to line it up through trial and error and eventually it snapped on.

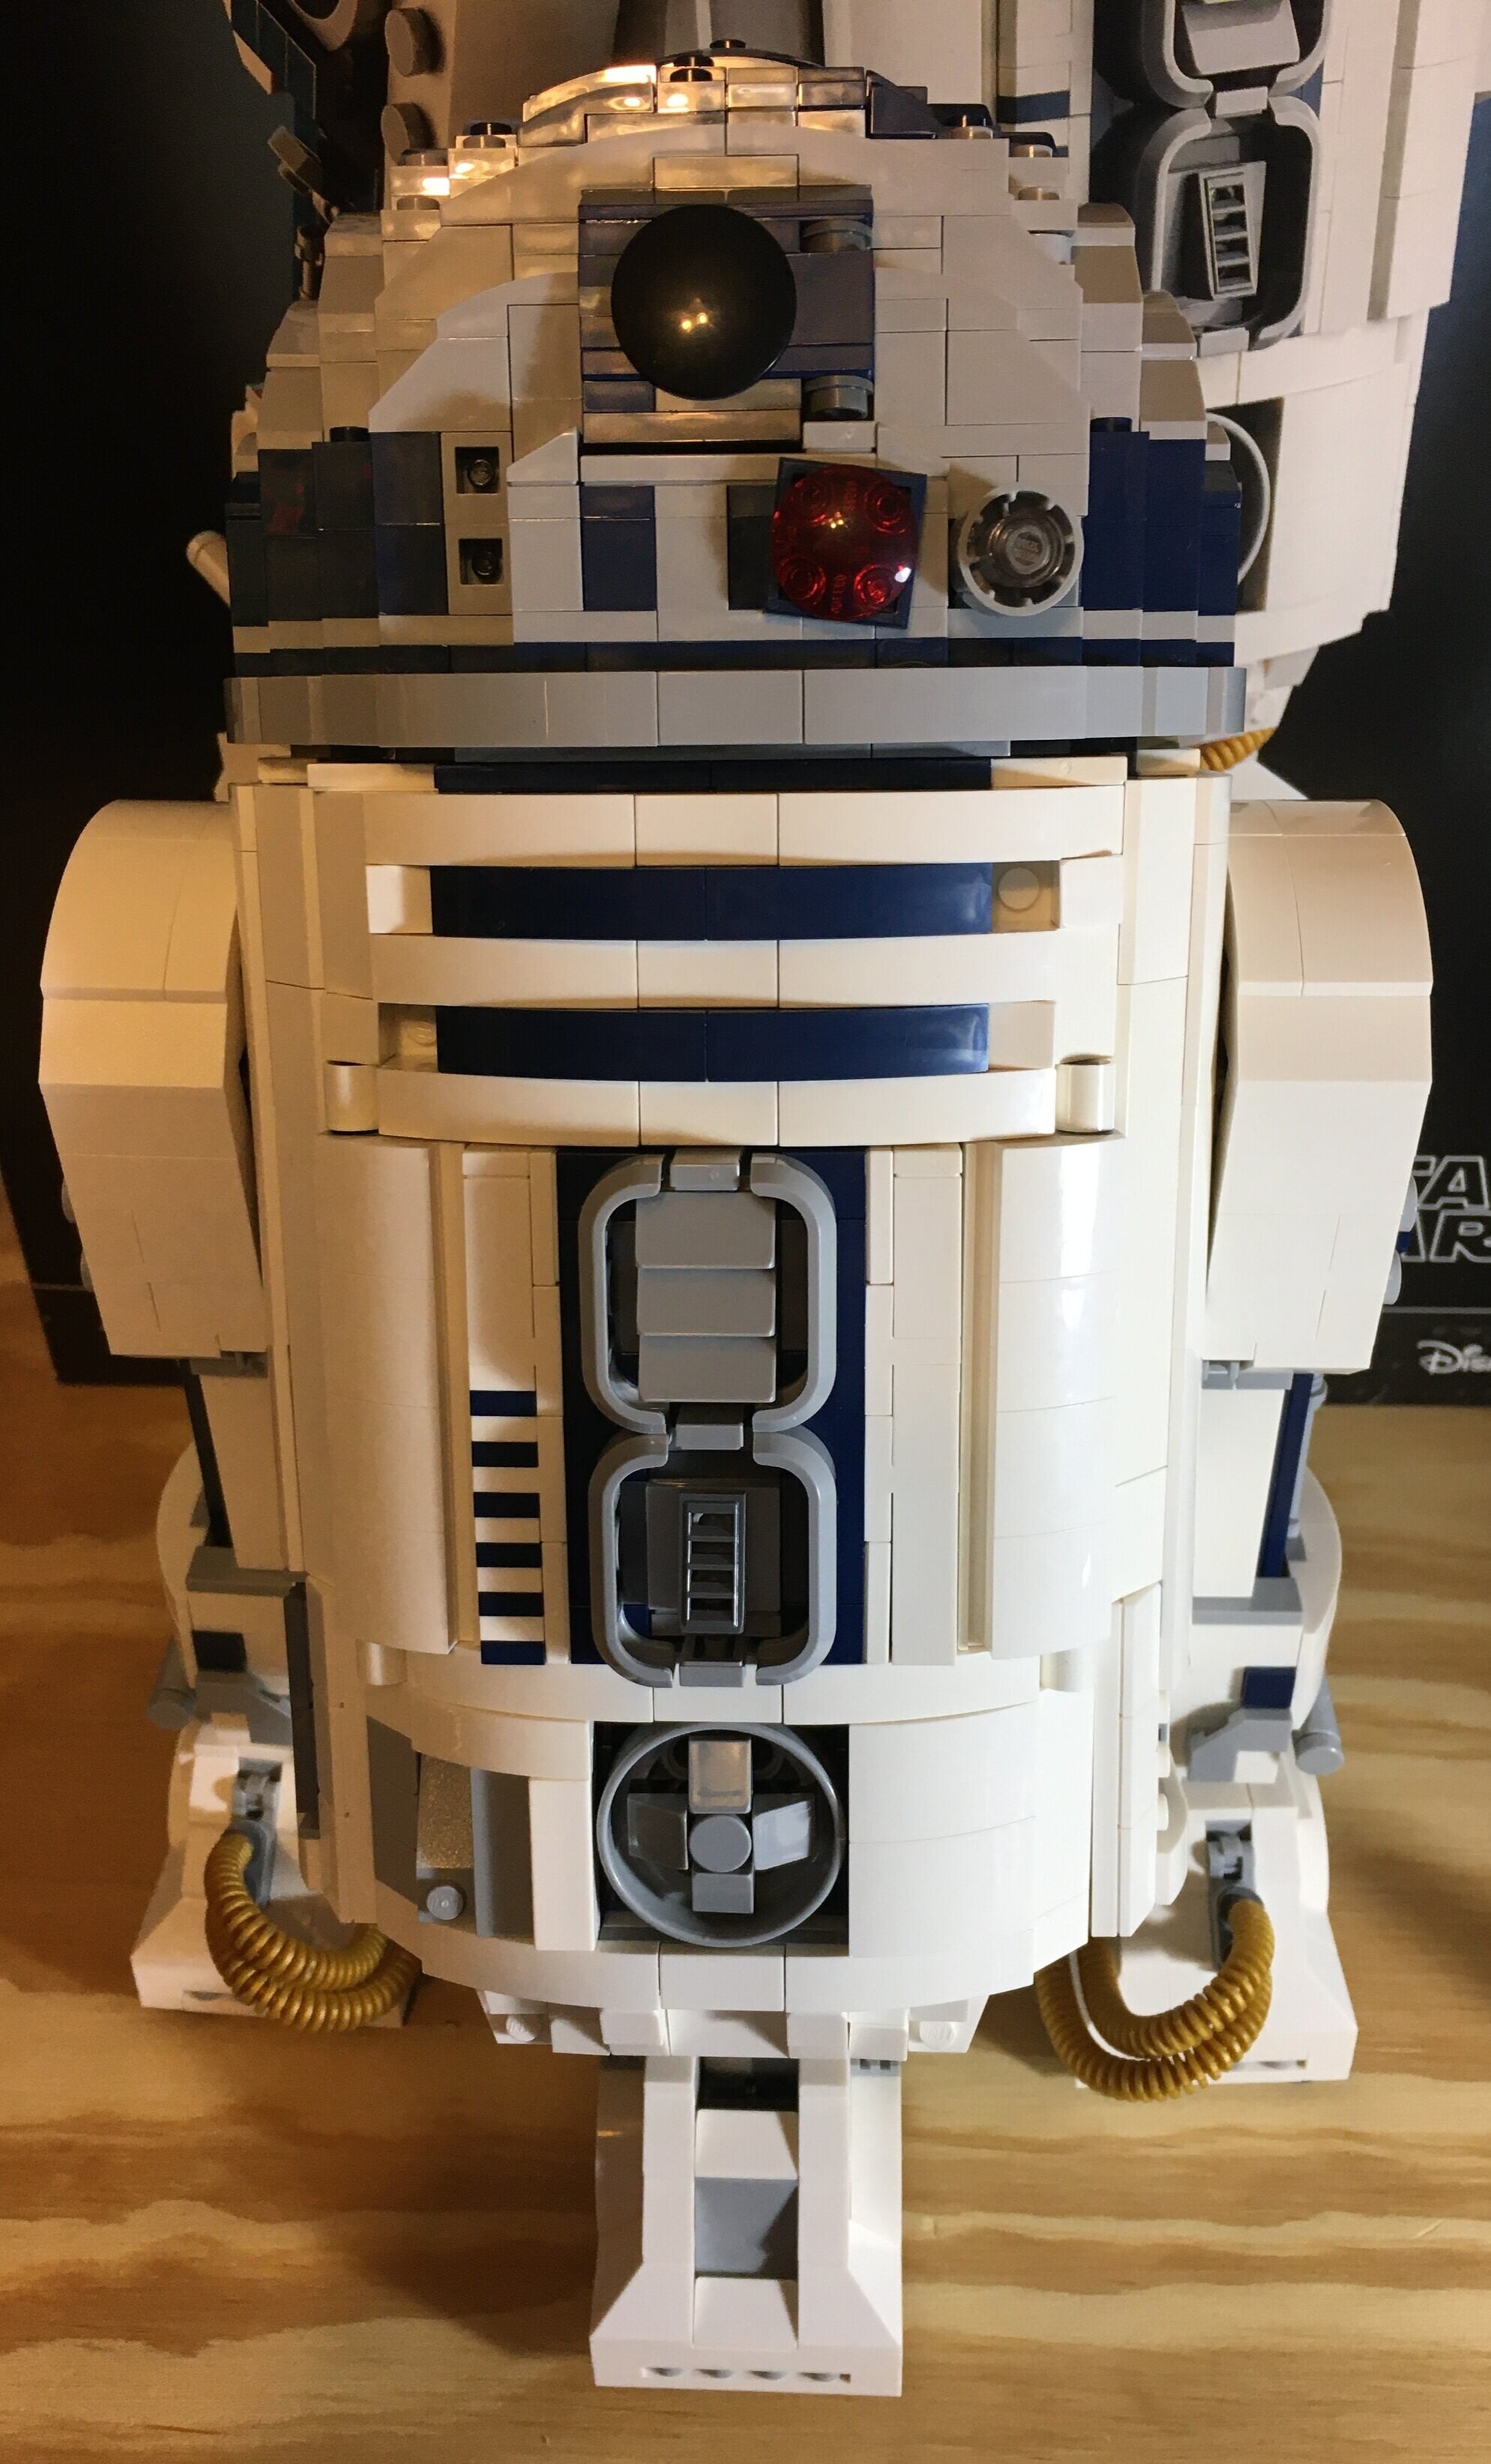
Here are some pictures of the final build. I think the designers did a great job capturing the likeness of R2-D2. I never built the older version of the set so I can’t compare the two builds. The top part swivels around rather easily. I found the functionality for the center leg to be a bit clunky. I’m not sure if I built something wrong or if that’s just how it works. It doesn’t exactly swing out and It’s not quite level with a flat surface when it’s in tripod mode. Again, that could be user error.
No major complaints though. It was a challenging build at the beginning with the Technic parts connected to the System parts. You get a decent selection of parts for the MOC builders out there. In terms of size, it seems to be built about right. It’s big, but not overly gigantic where it is hard to find display space for it.

Here are a few pictures of the side and back so you can see from those angles.


Last up is the display sign, an R2-D2 minifigure, and a Lucas Films 50th Anniversary printed brick. I think I did okay putting the sticker on. It’s always a challenge for me to apply the larger stickers, to line them up straight, and to make sure there are no bubbles or folds in the process. The minifigure is a nice addition and the brick doesn’t do much for me, but I’m sure there are some big Star Wars fans out there who think it’s a great collector’s item.
Overall, I enjoyed the build and I like the final product. It’s a cool display piece with some functionality tied in. The $200 price point is not my ideal point, but I understand LEGO is trying to make a profit and suckers like me are willing to pay. I recommend waiting for a good gift with purchase deal or double VIP points to make the purchase a bit easier. I can see this one going out of stock in the lead up to Christmas so get it now or wait until they have the stock back next year.
Happy building!
