


Headlight Adjustment Aiming Wall Chart
WHY DO WE NEED TO ADJUST THE BEAM POSITION OF THE HEADLIGHT?
The headlight is an essential device to ensure the safety of motor vehicles at night and improve driving speed.
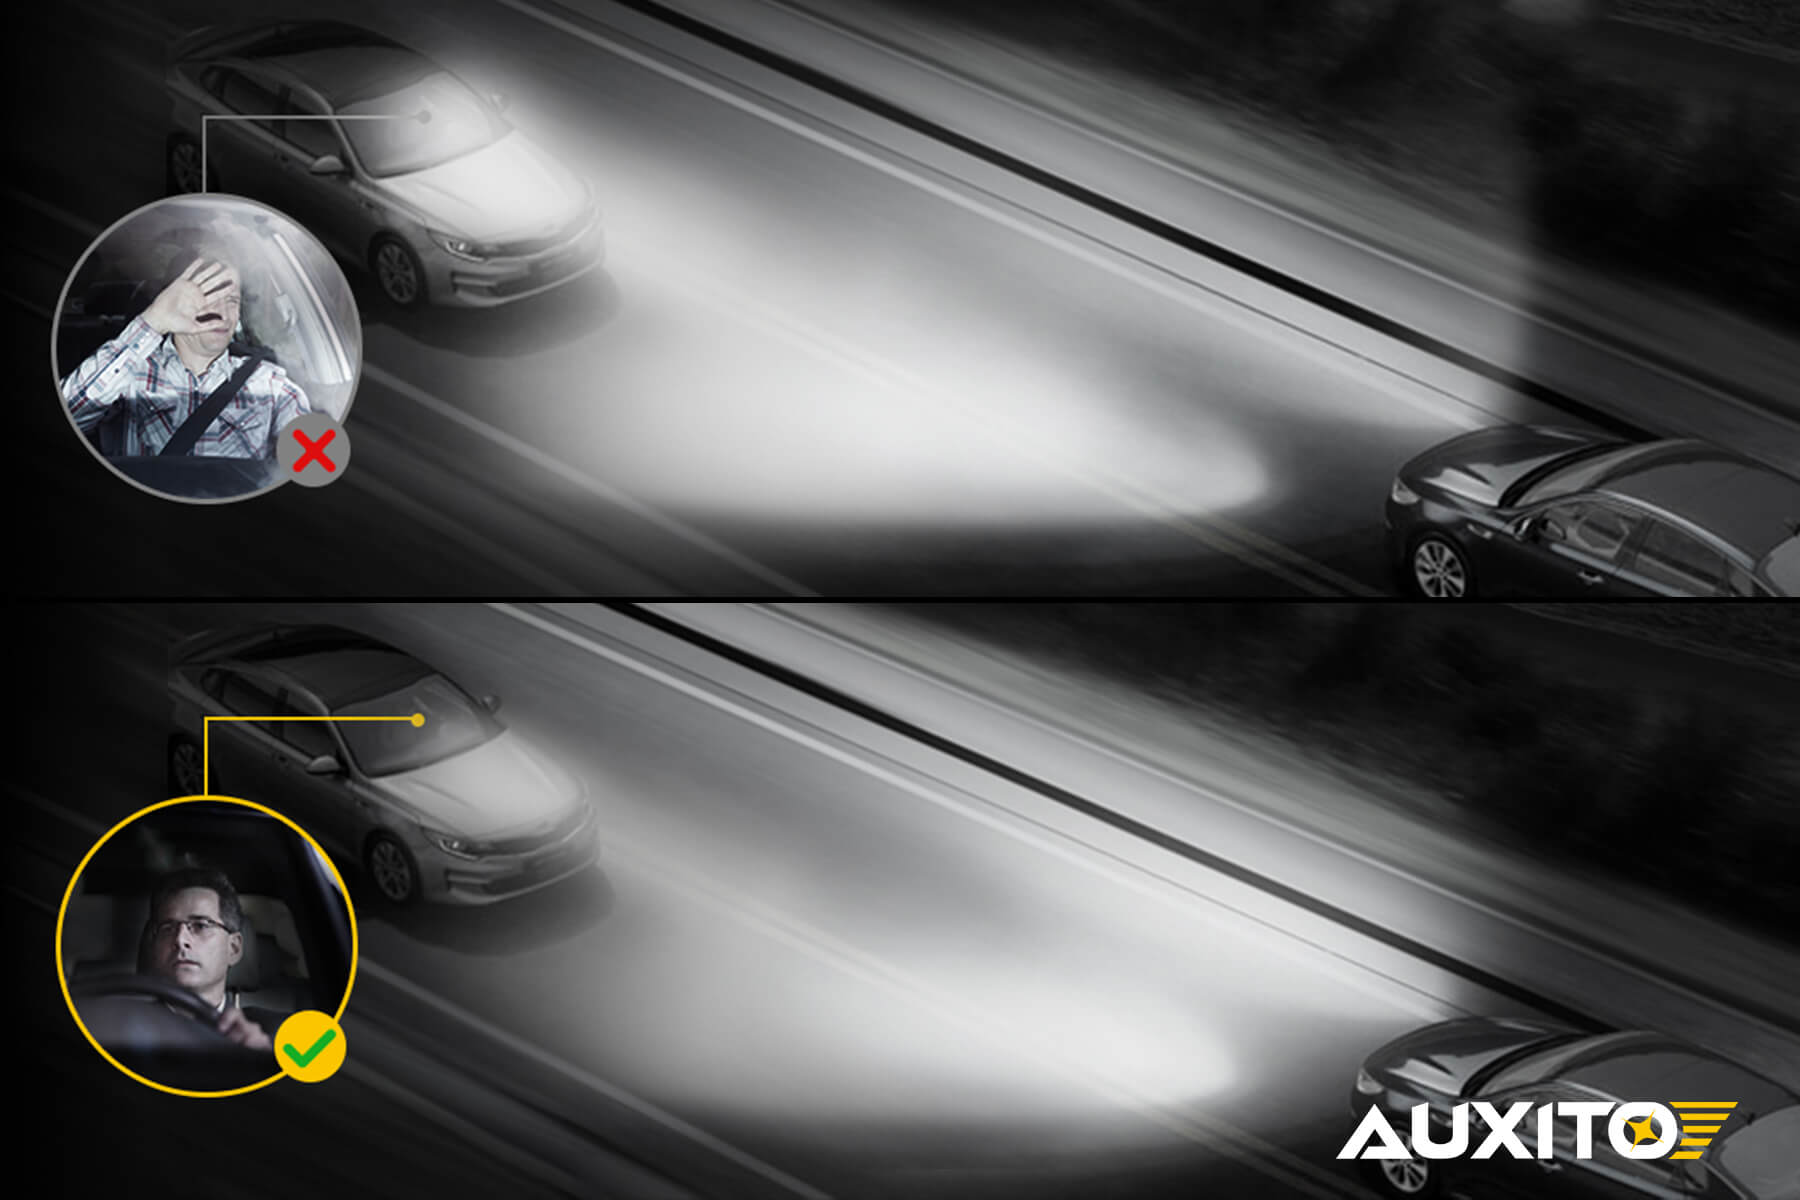
The vehicle is subject to vibration during the driving process, which may cause the installation position of the headlight to move wrongly, thus changing the correct direction of light beam irradiation. The insufficient luminous intensity or headlights aimed too low reduces the driver's sight distance when driving the driver can not see ahead of the situation. But if the headlights are aimed too high, the oncoming driver caused be dazzling, which may cause night traffic accidents.
Therefore, in order to ensure the safety of night driving, the position of the headlight beam irradiation is listed as a mandatory safety inspection project.
One may argue that changing the headlight bulbs is enough for improving the quality of light. And, there is no need to tamper other factory settings of the headlight. But you might need to fix your headlight alignment if:
- You are unable to see objects clearly
- You replaced your headlights assembly
- You have upgraded your OEM to LED headlight bulbs
- Your vehicle was in a collision
- You’ll be carrying more weight than usual
HOW HIGH SHOULD HEADLIGHTS BE AIMED?
According to AUXITO's test and data check, the headlight beam irradiation position can achieve the standard lighting and not dazzle the oncoming car if it can meet the following requirements.
1. Motor vehicles (except transport tractors) in the test headlights low beam irradiation position, headlights at 25 feet from the screen, the height of the midpoint of the beam should be 2-4 inches downward offset from the headlight's reference center height, its horizontal position to the left and right offset shall not exceed 100mm.
Headlight Aiming Wall Chart
You can also refer to the rules specified in SAE J599, if your car's headlight height is less than 36in, you can directly take the horizontal height of the headlight as the base without offsetting down a distance.

*From SAE J599: Lighting Inspection Code
2. If the vehicle is a dual beam light with a high beam and a low beam, then mainly adjust the low beam lamp. Adjusting your low beams will also reset your high beams to where they should be, as most cars cannot have a separate adjustment for the high beams. But for lamps that only can adjust the single beam with high beam light, adjust it directly.
3. You can always check the owner's manual of your model or Lighting Inspection Code for low beam cut-off height adjustment to get the standard lighting.
HOW TO AIM HEADLIGHTS?
1. PREPARATION BEFORE ADJUSTMENT
1) Vehicle Preparation For Headlight Aim Adjustment
- Ensure that the vehicle has no damage or deformation around the headlights.
- Make sure that the different oil types in the vehicle are all filled to the specified levels.
- Make sure that the coolant is filled to the specified level.
- Inflate the tires to the appropriate pressure.
- Place the spare tire, tools, and jack in their original positions.
- Unload the vehicle.(If you often carry heavy equipment or supplies, keep them in the car.)
- Have a person who weighs approximately 55 kg (121 lb) sit in the
driver's seat.
-
Bring out the vehicle owner’s manual to read about vertical and horizontal adjustment screws of the headlights. They are different than screws that hold the headlights. So, make sure that you know about adjustment screws in advance to save time.
2) Environmental Requirement
- The test should conduct on sufficiently flat ground(not including uphill, downhill and rough ground)

- Try your best to do the test at night or in a dark area, so that you can better observe the cut-off of the beam.
3) Headlight Aiming Tool
- Masking Tape
- Marking pen
- A jacket
- Tape measure
- Screwdriver or socket wrench
- A wall or garage door as the headlight aiming screen
2. MUST BE AIMED

b. Use tape to mark the center 'YC' of vehicle location on the wall as a reference. If you have trouble locating the center, align the tape with the factory emblem or the hood ornament. The marking will help you determine side-to-side alignment later.
c. Find the center of the headlight. You will find a tiny marking on the surface of the headlight cover. Then mark the left and right positions of the headlights as 'YL' and 'YR' on the wall. The YL and YR should be at an equal distance from the center tape.

d. Backing up the car about 7.62m(25ft) from the wall, please make sure that the distance between the front part of the car and the wall is suitable by using a tape measure.

e. Push the vehicle down several times to stabilize the suspension and measure the distance between the two headlights and the ground for horizontal suspension.
f. Measure the low beam height based on the illuminating center height, there is an illuminating center mark in the low beam assembly.


g. Mark 'H' as the low beam height at the wall placed with the headlight marker in the Step C, it is also the horizontal height of low beam.
h. We generally make the horizontal height of the light downward shift about 2-4 inches when the distance is about 25t. We used a tape measure to mark "HL" at 4 inches from the driver side light and "HR" at 2 inches from the passenger side light.The purpose of 4 inches downward shift is to reduce the light influence from an oncoming car, or you also can make 2 inches downward shift that matches the cut-off height of the light at passenger side.

Low Beam Headlight Aiming Wall Chart

The purpose of 4 inches downward shift is to reduce the light influence from an oncoming car, or you also can make 2 inches downward shift that matches the cut-off height of the light at passenger side.
3. ADJUSTMENT STEPS
1) Adjust alignment point is even with the HL and HR axis
a. Passenger-side headlights need to be covered during illumination on the driver's side, so that we can find the cut-off position of a headlight on the driver's side.


c. Under normal circumstances, rotating the screws clockwise can improve the cut-off position of the light and vice versa. Please adjust the cut-off line to our marked ‘HL’.


d. It is the same on the passenger's side.
Note:
i. Abide by the specifications in the owner's manual always.
ii. Some vehicle manufacturers recommend using different distances for appropriate adjustments. For example, Toyota recommends 10 feet (3.0 m) feet, Pontiac GTO recommends 15 feet (4.6 m), and Chrysler recommends 3 feet (0.9 m) for some models. For this reason, it's important to check your owner's manual and follow those guidelines.
iii. If you don't have so much room for adjustment, it is recommended that you use mathematics
For example: 4-inch drop at 25 ft translates to 3.2 inches at 20 ft, 2.4 inches a 15 ft, 1.6 inches at 10 ft, and 0.8 inches at 5 ft. You can halve the inch (1.6,1.2,0.8,0.4) to find the 2-inch drop.
Remember that the decimal point is in 10ths, but inches can be divided into 16ths, so you have to multiply the decimal point by 1.6 to calculate how many 16ths of an inch it is, but you will lose accuracy in this way. What you need to do is to ignore all of this and do it at 25 feet.
2) Adjust alignment Point is even with the Y axis.

Test your alignment on the road
After all the steps are completed, you can drive your car on the road to ensure that the beam of the headlights is appropriate. If necessary, repeat the above steps until it is suitable.
- Low Beam

- High Beam

-

Step-by-step Changing Guide: How to replace license plate lights?
-

Why is one headlight not working? (Causes & Solutions)
-

Portable Jump Starters VS. Jumper Cables: Which is better for jump-starting cars?
-

Why Is My Car Battery Dead (Trouble shooting Guide)?
-

Peak Amps vs. Cold Cranking Amps vs. Cranking Amps in Jump Starters


Leave a comment