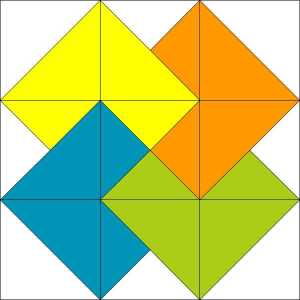
The Card Trick block features half square triangles in the corners, a quarter square triangle in the center, and a Y component on all four sides. “Y component” may not be the official name for this, but it’s how I think of it so I’m going with it.
This block is best with four distinct fabrics plus a background. If you’re following the White & Bright layout, the block is yellow, orange, green and aqua. I recommend printing out a copy of this block and writing in the name of your fabrics so you can be sure of fabric placement. (Click on the block, then click File – Print. You may want to click File – Print Preview first and adjust the scale to a smaller percentage so it doesn’t take up the entire page and waste ink. I know this works in Firefox – I don’t know if Internet Explorer has the same function.)
I won’t go into too much detail on the half square and quarter square triangle construction – instead, refer to the Skill Builder Series posts for that.
This block finishes at 12″ (12 1/2″ unfinished). It is a 3-grid block (essentially a nine patch), so each square finishes at 4″ (4 1/2″ unfinished). That means you’ll need a 4″ finished HST in each fabric. However, instead of planning for the HSTs that size, you’ll cut your fabrics as if you’re making QSTs that finish at 4″, since the Y components are essentially QSTs with a solid piece of fabric on one side. As always, I recommend sewing slightly larger and trimming to size.
Because you’re working with so many different fabrics, the Squares with Diagonal Lines method for making HSTs is your best option. Read this post for details on making the HSTs. (It’s about halfway down.)
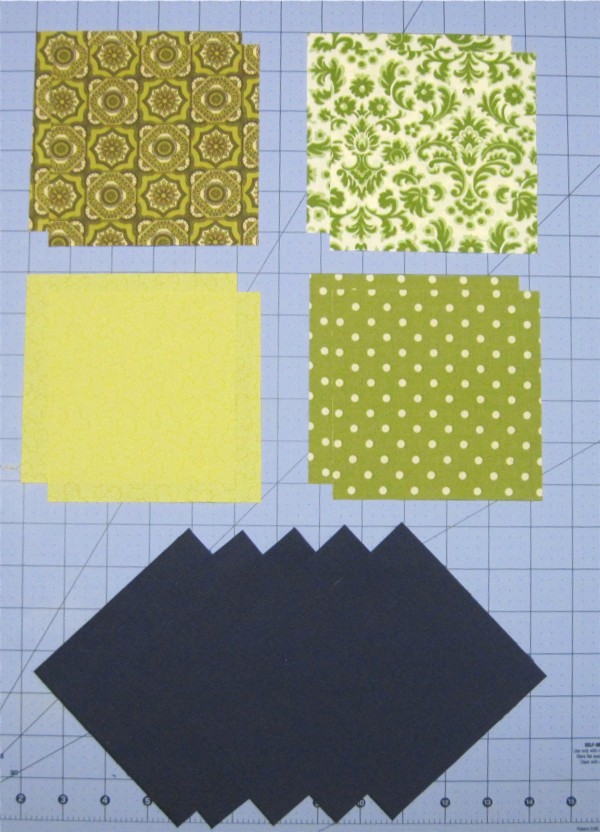
You will need:
Four 5 1/2″ squares of background fabric
Two 5 1/2″ squares of each block fabric
Yes, I cut five background squares by mistake. Actually, I made several mistakes in this block – I also started with 5″ squares and found out after I assembled my center QST that it was too small.
Lay out your four block fabrics to determine the placement within your block. Consider color, value and scale when arranging your fabrics.
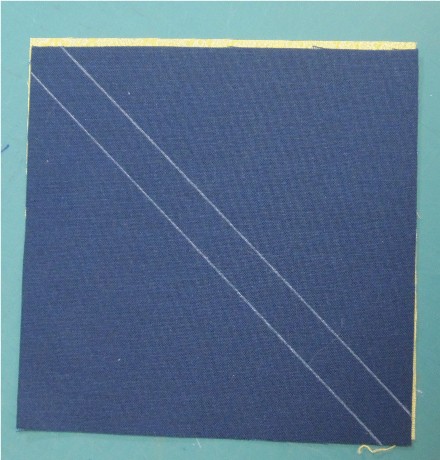
Draw a diagonal line 1/4″ on either side of center on the back of your background squares. Pair each background square with a block square and sew just inside the drawn lines.
Cut down the center and press to form eight half square triangles.
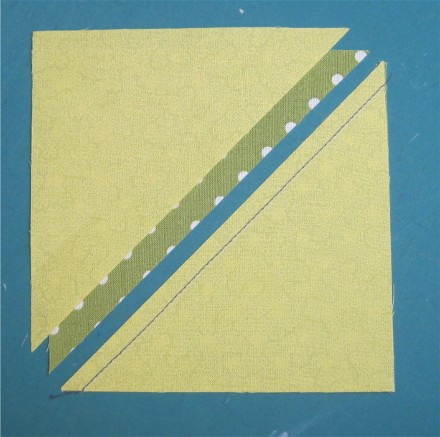
Next, pair the remaining block fabric squares based on the placement that you determined above. The paired fabrics should be NEXT TO one another in your placement. It doesn’t matter if you choose top/bottom or left/right, as long as you do NOT put together the fabrics that are diagonal from one another. Draw a single diagonal line 1/4″ from center. It doesn’t matter which side. Sew just toward center of that diagonal line and cut corner to corner. Save the extra triangles – you’ll use them later.
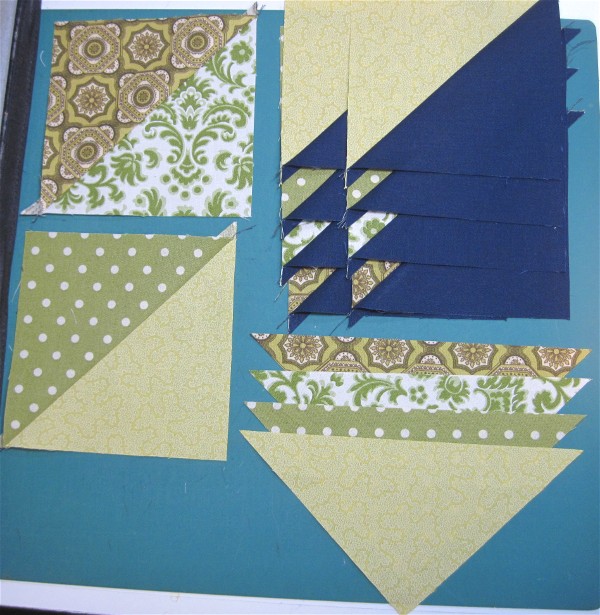
You will now have eight background/block HSTS, two block/block HSTS, and four extra block fabric triangles.
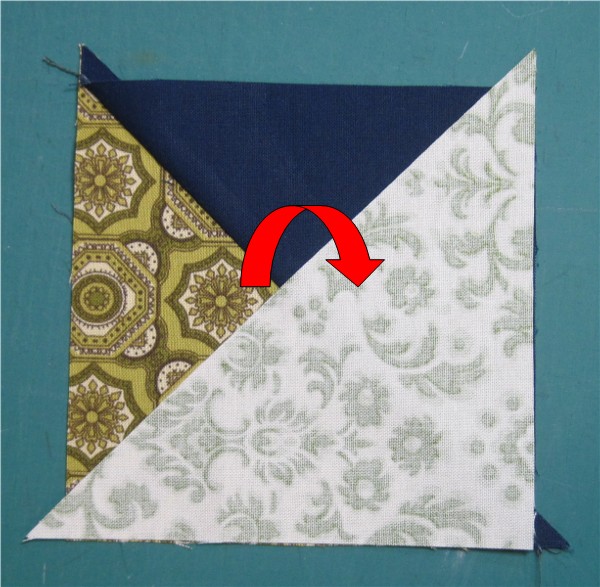
Take the two block/block HSTs and put them right sides together. Don’t worry about how they’re pressed – you may need to press one seam in the opposite direction to make it work. First determine the correct color placement. Here’s where your labeled illustration will come in handy. (You can see mine in a picture below). Rotate your HSTs until with one corner turned back it matches your layout. Re-press, if necessary, then draw the diagonal line 1/4″ from center. Again, make sure you’re putting it on the side that supports your fabric placement!
Sew following instructions for the QST unit in this post, trim the excess fabric off, and press. You will NOT use the excess fabric.
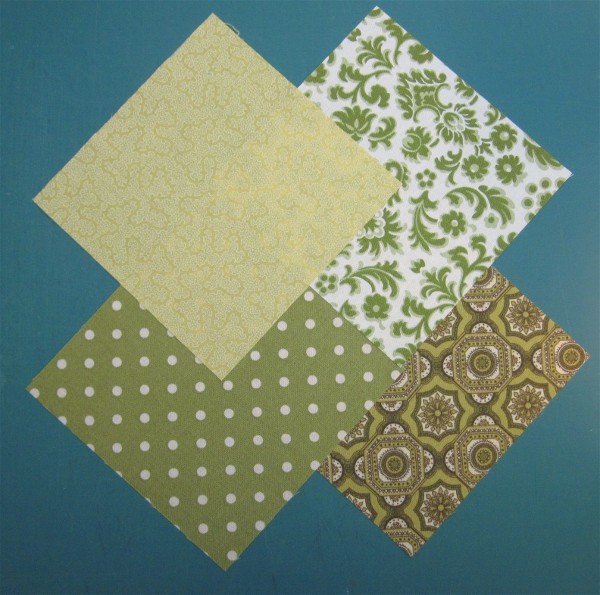
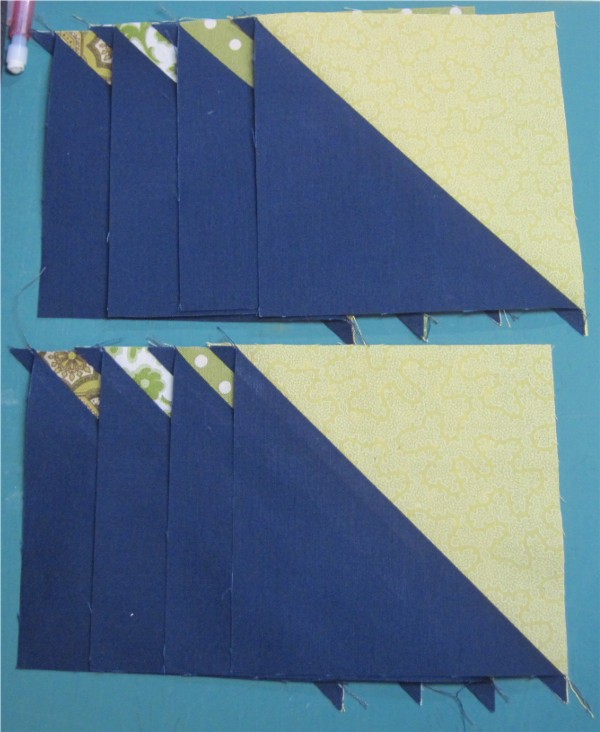
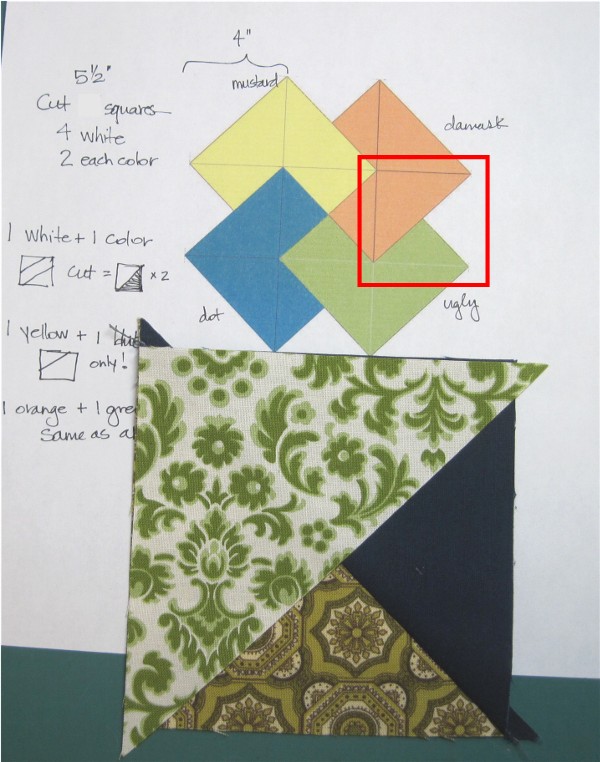
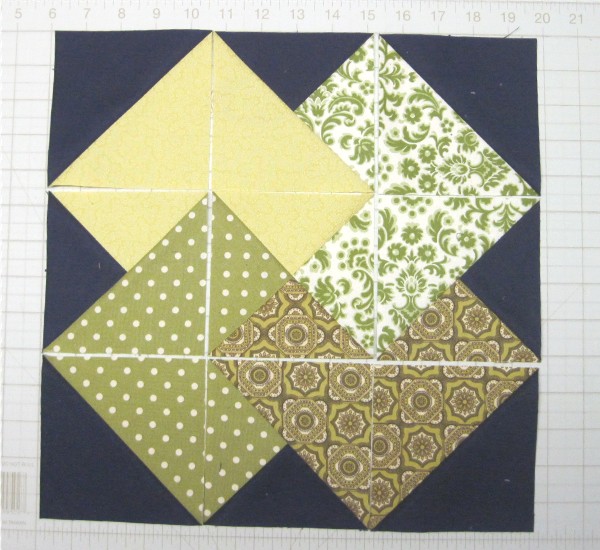
Next, take one of your background/block fabric HST units and find the triangle that, laid over the HST, creates the correct unit. Again, your labeled block will come in very handy here. As you can see in the photo below, I labeled my fabrics “mustard,” “damask,” “ugly” and “dot.” The red square shows which unit the fabric will replicate.
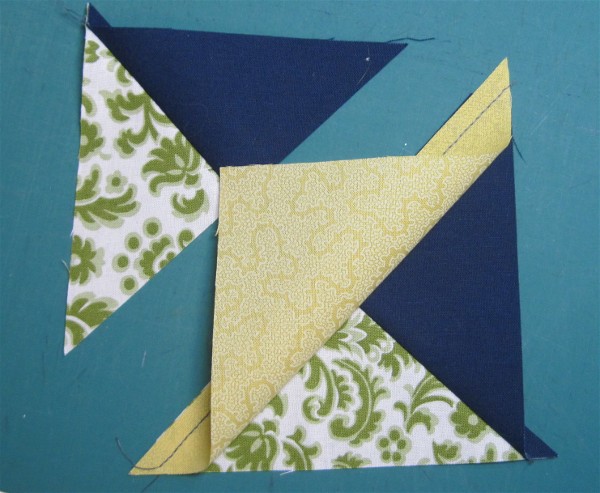
The picture shows the triangle laying on top of the HST, both right sides up. That is just so you can determine which unit you are creating and which direction the triangle should go when it is finished. You may need to play with rotating your HST units or your triangles. Once you find the correct layout, flip the triangle over and match the corner with the HST. Your triangle will extend past the other corners.
Sew 1/4″ from the cut line of the triangle piece. Flip it back to check that your unit is sewn correctly, then trim the excess portion of the HST away. You will not use this piece.
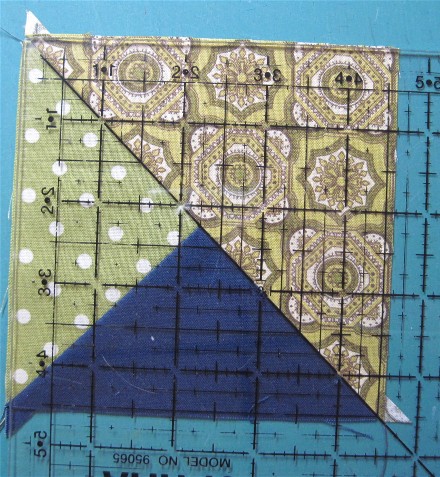
Repeat with the remaining Y components. When you’re finished, lay out your pieces to be sure everything is placed correctly. If it is, trim each unit to 4 1/2″. Read the QST post for notes on how to square up and trim this unit. Be sure to line up the 45 degree line on your ruler with the diagonal seam. When trimming the Y components and the QST, be sure to line up the point where the fabrics meet with the 2 1/4″ measurement on your ruler (both directions) and keep the 45 degree line on the diagonal seam. (Remember, I cut mine too small – yours will have more fabric to trim off.)
Lay out the units in a nine patch…
…then sew the pieces together as you would a nine patch. Refer to this post for additional instructions.
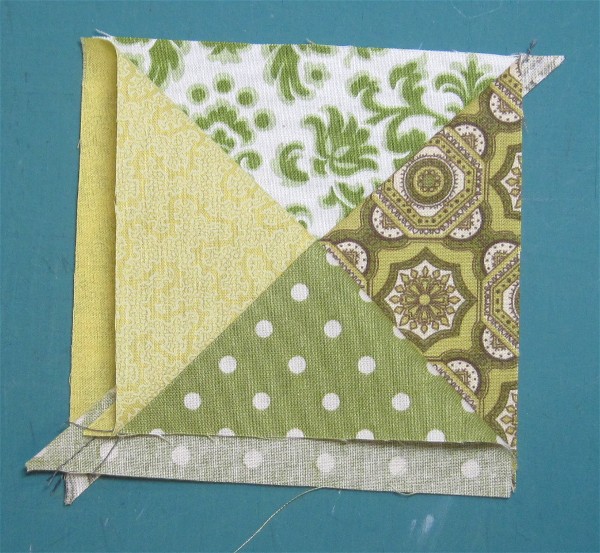
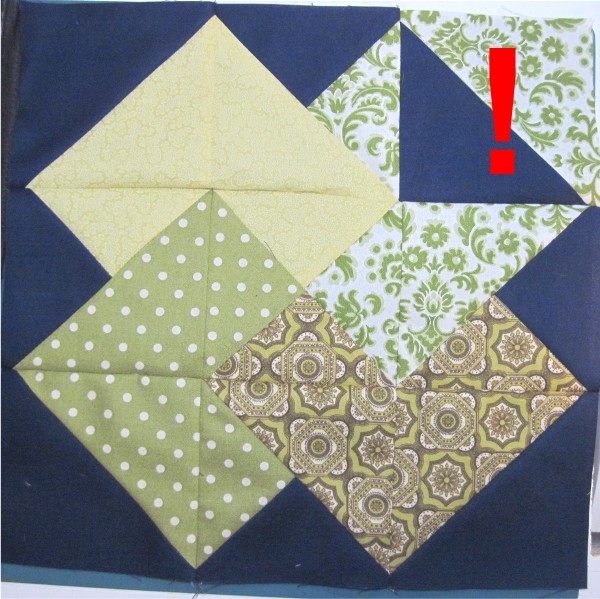
Do NOT sew your units together like this:
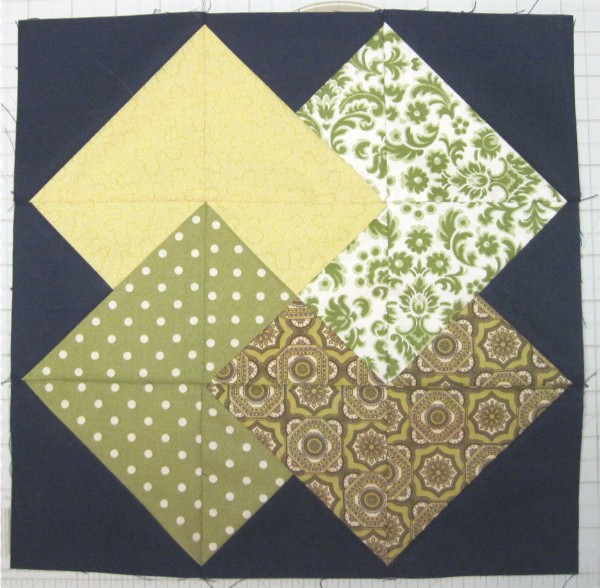
When you’re finished, you’ll have a Card Trick block to add to your collection!
So how’d you do? Any questions?
I haven’t done the block yet Sandi, but you gave me such a good chuckle with your misplaced HST! Looks like something I usually do! I also love your fabrics! It’s making me think I should start over and NOT use all solids with the raisin background Hmmm…I’ll have to ponder that for a couple of days.
This is a block that I have long wanted to make – thank you for the tutorial. One day I might even manage it!