
If you love the look of a built-in desk, this is the easiest IKEA Built-in the desk hack that looks SO high end! My 2 boys share a tiny 10×10 room. When my son asked me for a “desk space” to do his homework, I knew I would use IKEA to make this DIY project easy! Although I built this desk in a kids room, there is nothing childish about it.
It’s a beautiful workspace that would look stunning in an office for adults. The best part is that I used all IKEA pieces, which makes this project perfect for beginners!
And since I’d be working with such a small space, I had to get creative. I needed space for both my boys to work. Built-ins look high ends, but are really simple to make, especially with IKEA pieces. I’ll show you how to build an IKEA desk setup that you (or your kids) will love!
The space for the built-in IKEA desk

This is the wall that I decided the desk would be built-on. It’s about 86″ long. It’s a small room that has a bunk bed. This is the IKEA mydal bunk bed that I hacked a few years ago. Check out this tutorial if you’re looking for an efficient sleeping solution.

This customizable and space-efficient DIY IKEA desk hack project will not only suit their needs now but also as they grow. Over the years, they’ll be able to choose how they use the space for their educational and creative endeavours.
What I used to make this IKEA Built-in Hack
- 2 Alex Drawers
- 4 Kallax Units
- 2 Langfjall chairs
- Desk organizers
- Brass Wireless Lights
- Colorful lights
Materials and Tools
- 8×4 Plywood
- Edgebanding
- 3x 8ft flat Trim (5″ wide)
- 1x Decorative trim
- 2×4 Lumber
- Beginner saw
- Cordless Nail gun
- 1.5″ nails
- Clamps
- 2″ screws
- Caulk
- Paint brush
- picture frame lighting
Step 1: Make a plan for your IKEA desk build
Since the boys’ room only measures 10×10 ft, I had to make use of every inch of space available. This wall is 86″ long and 108″ tall. To enhance storage, this meant using the vertical space too. So, armed with my painter’s tape, I came up with the following design plan.

I cannot express enough how useful painters’ tape is to help you visualize your finished project.
Step 2: Build the foundation for your IKEA workstation
This DIY IKEA desk hack setup begins with 2 IKEA ALEX drawers. These drawers are perfect for their efficient storage capabilities and sleek design. They will also serve as the “legs” of our kids’ desk station.
Simply follow the provided instructions to put them together and arrange them in the desired configuration to ensure stability. They are pre-built to desk top height.

Step 2: Add the perfect desk top for your kid’s work table
IKEA offers a range of desktop options that work wonderfully for projects like this. Initially, I purchased a black kitchen countertop for the desk, but found it too heavy to transport up the stairs.
In its place, I repurposed my own work desktop, a 3/4-inch plywood piece, which turned out to be perfect.

To give the plywood a polished look, I treated it with wood conditioner and stained it in a warm Early American stain. To get rid of the rough plywood edging, I glued on edge banding to create a seamless and attractive edge. This custom desktop was then placed atop the two ALEX drawers, providing a sturdy and personalized workspace.
To build a simple desk, you could stop here. But I wanted to elevate the look to make it a built-in, so I added the top section too.
Step 3: Expand storage for the kids’ desk build with IKEA KALLAX units
In order to maximize on space and storage, I included 4 IKEA KALLAX shelf units into the design. Note that I have 9-foot ceilings, providing space for an additional top unit. If you have 8-foot ceilings, you might want to omit this to maintain proportions.
I placed 2 of the KALLAX units vertically, one on each side of the desktop. I ensured they were securely mounted in studs using the IKEA-provided brackets.

I didn’t add the top and bottom ends to the units that sat on top of the desktop. This decision helped avoid unnecessary bulkiness in the design.
Step 4: Customize your KALLAX units to fit your kids’ desk station
Next, I needed to install the Kallax units horizontally at the top, to create a unified look. However, the space between the vertical units was too large for a single KALLAX unit and too small for two. This meant I would have to attach a shortened unit to a full one to make up the space.
To complicate things, the gap between the vertical units had to be an exact multiple of one KALLAX box (13 1/4″ inches) to maintain a seamless look. I knew this before installation and planned the top unit this way.
I measured the space precisely and, after assembling the remaining units, I carefully cut one of them down to size using my table saw.

If you don’t have a table saw for this step, a circular saw will do.

Step 5: Adding the top KALLAX units to your desk station design
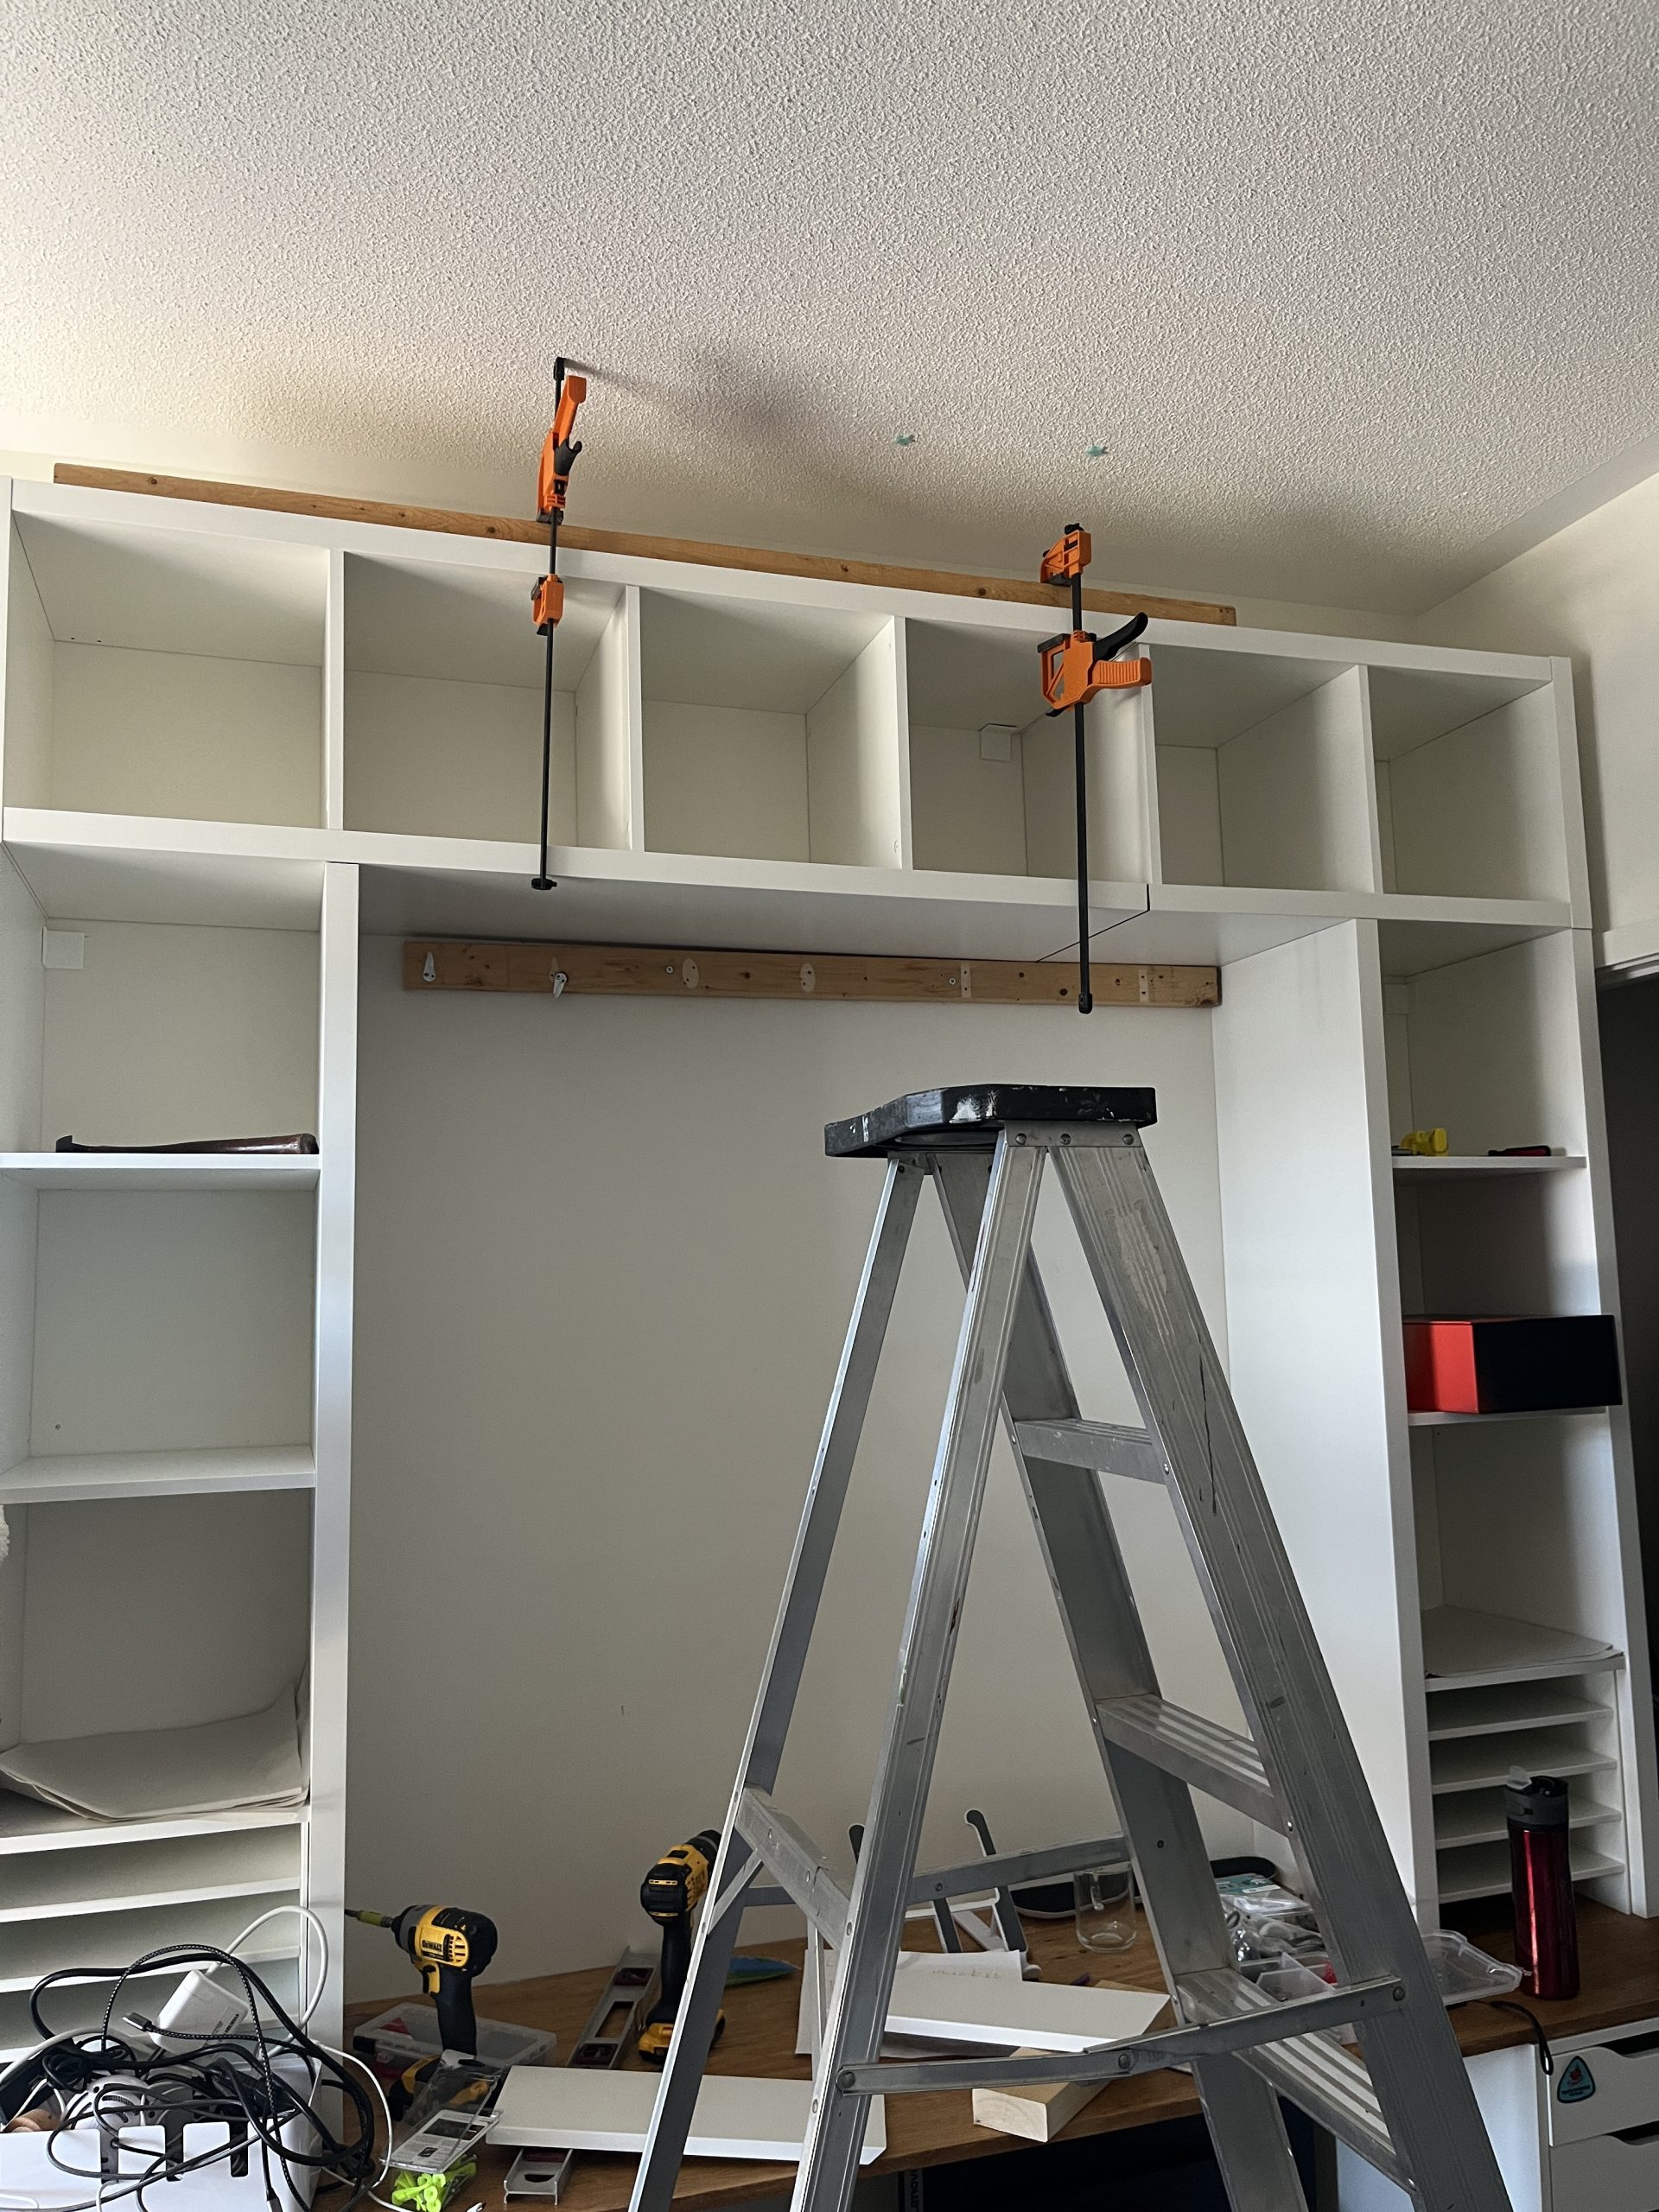
Attaching the longer KALLAZ unit proved to be difficult, even with my husband helping me. To securely attach the top KALLAX units to the wall, I mounted a support bar. I took a 2×4 and secured it on to the wall, under where the KALLAX unit would sit.
I then used IKEA brackets to affix the units into the studs. Try as much as you can, to secure into studs. If you can’t, use strong anchors.

Next, I filled the little gap between the top units and the vertical ones with backer rod and applied wood filler on top.


After sanding it down, the transition looked seamless. If you’re able to make a precise cut, you can skip this step.
STEP 6: Making the desk look like a Built-in
While we made as much use of the vertical space as we could for this project, there was still about a 10″ gap between the top KALLAX unit and the ceiling. I didn’t like having that empty space. There was no way to use it effectively and it was just a dust collection shelf waiting to happen.
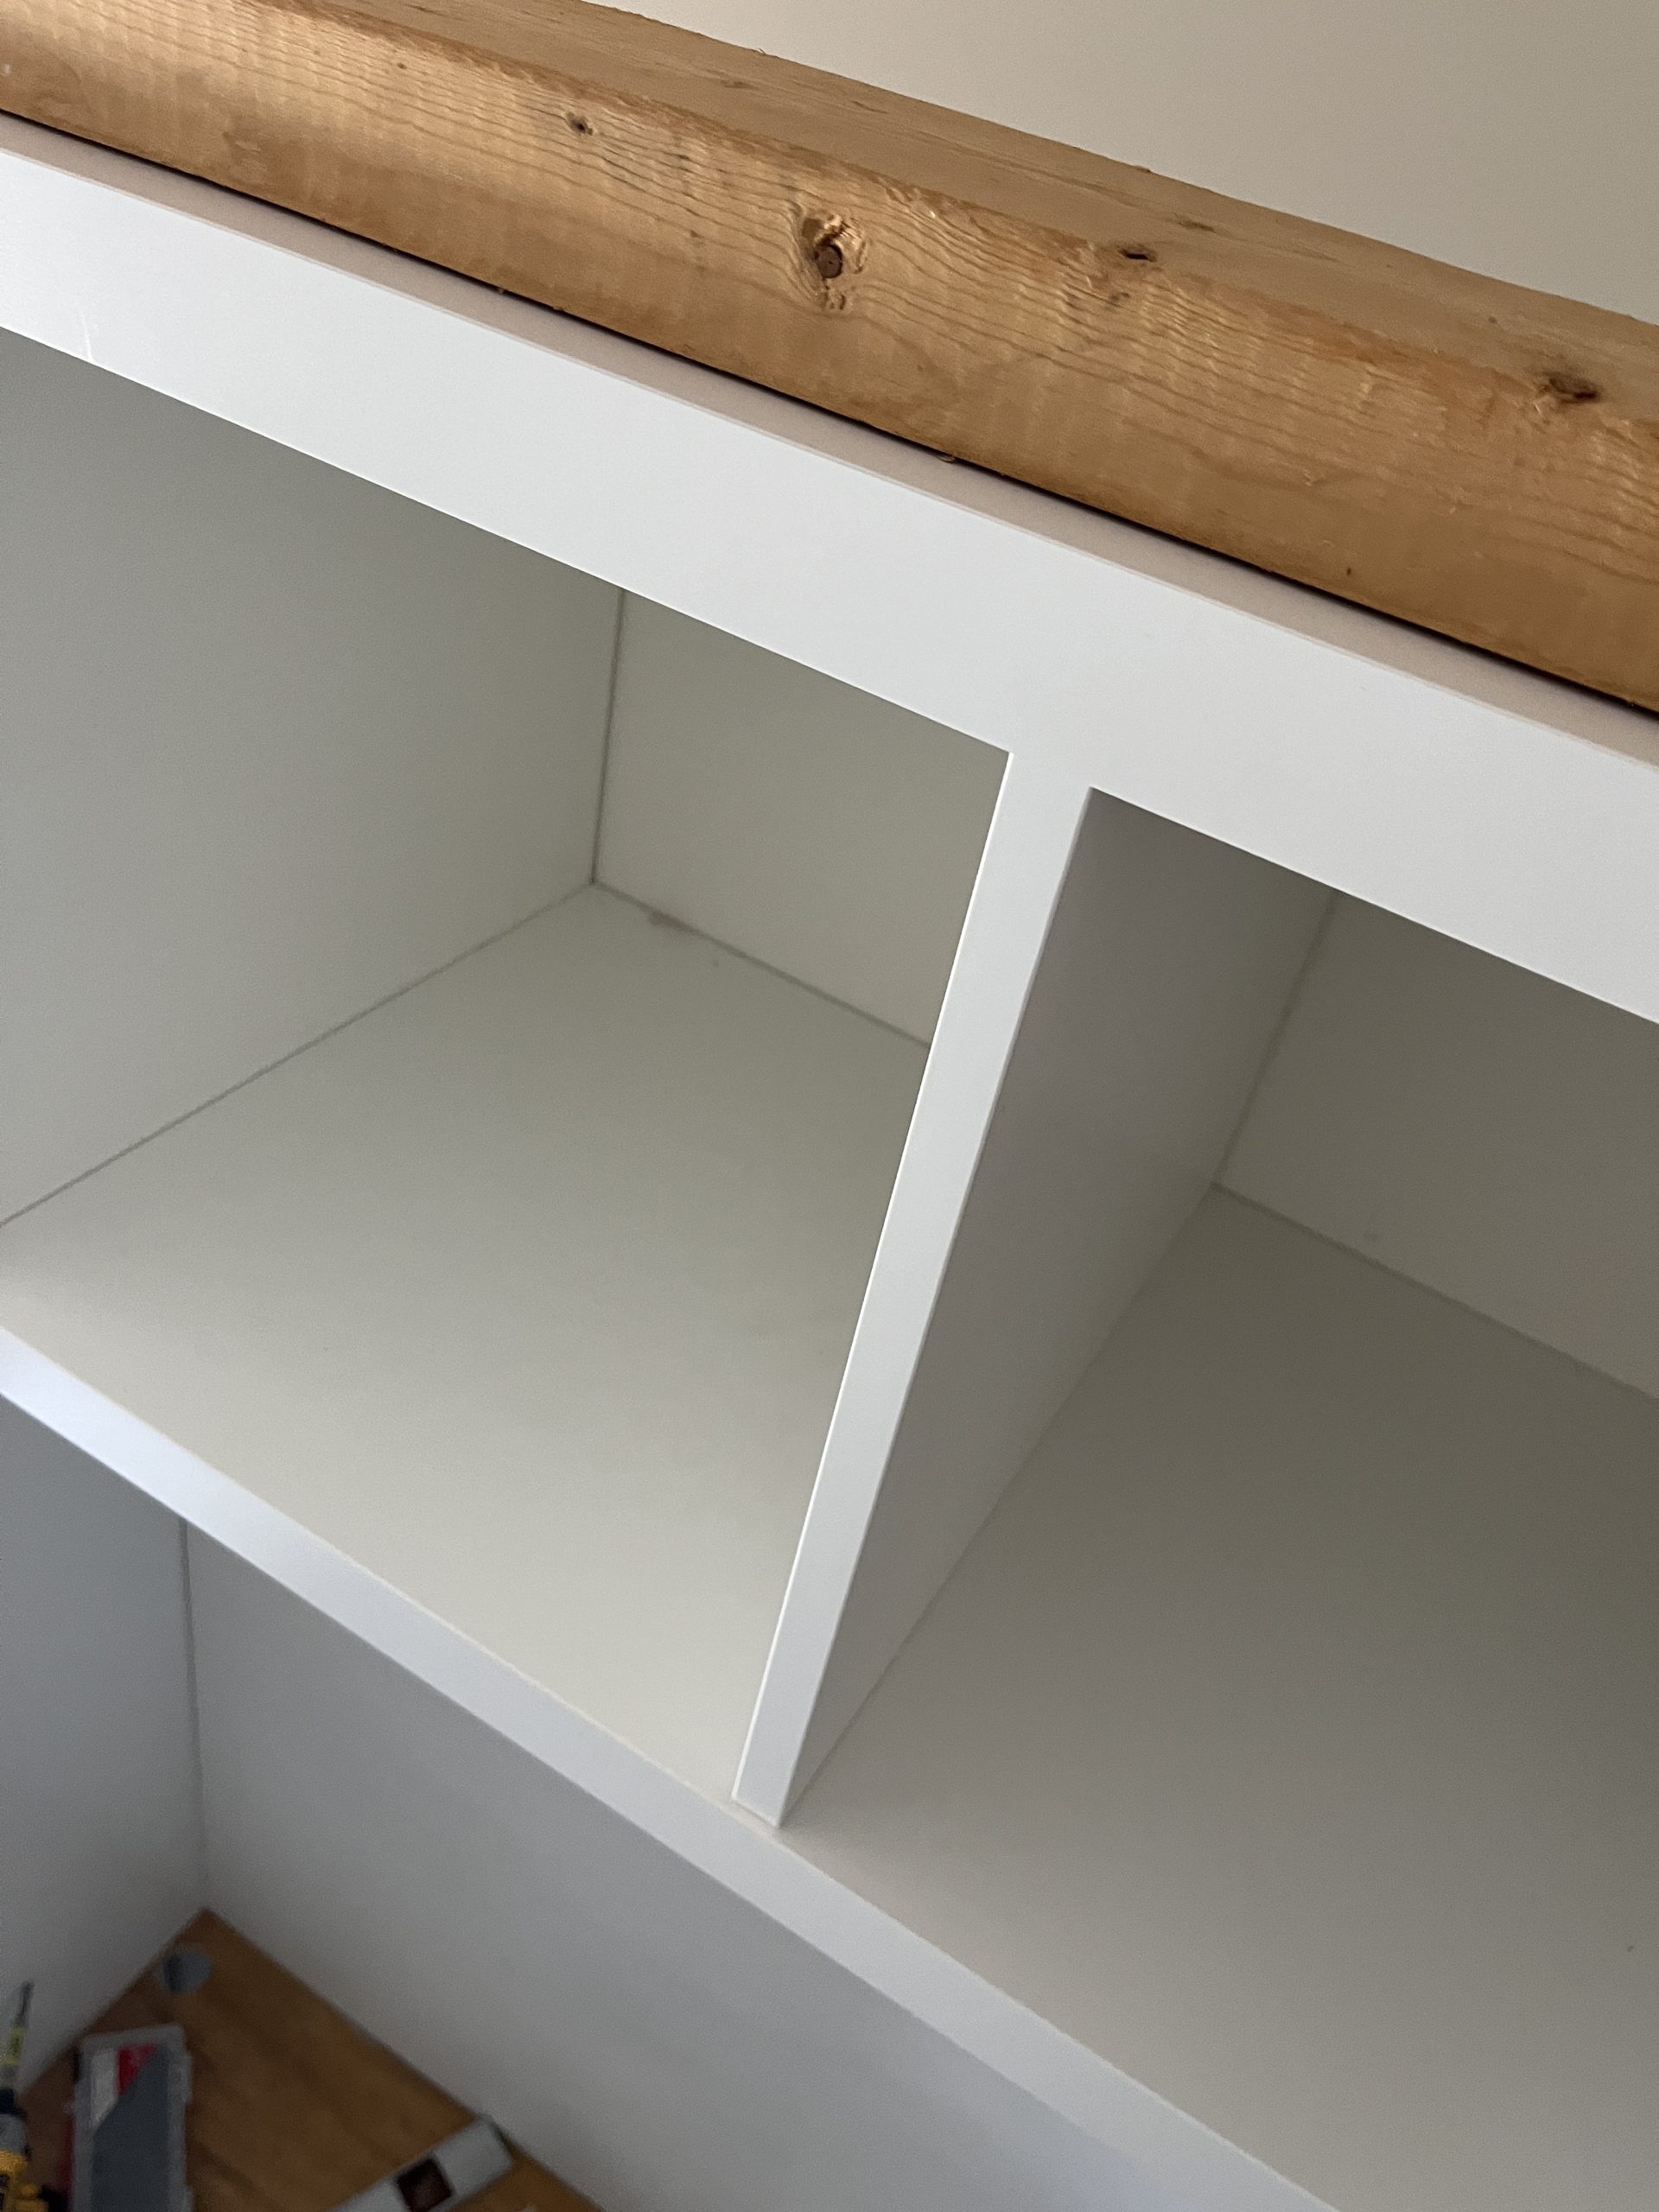
To make this truly look like a built-in, I closed this gap. To start with, I attached 2×4 lumber to the top of the KALLAX Units.
I set them back 3/4″ from the edge of the KALLAX unit to account for the thickness of the trim. I clamped by 2×4 to the unit and screwed upwards, from the KALLAX units into the wood

Next, we attached two separate trim pieces to add some character. We finished off by adding some decorative moulding to make it look more custom and high-end. You can use any style moulding you want for this part. Just make sure you’re doing a bevel cut on the ends so the corners fit together.

Complete the molding with caulking the edges to close any unsightly gaps
Step 7: Create a stylish feature wall for your IKEA built-in desk
For added flair, I installed a shiplap-like backsplash using 4-inch trim. To achieve the shiplap effect, I placed a nickel spacer in between each board. Shiplap is expensive, but this gives a similar look!

I then nailed them in using a brad nailer and ½-inch nails.

Once all seams were caulked, the backsplash and underside of the top unit were painted. I had a hard time with the color matched paint for this project, and instead used my wall color. The wall paint looked better than the color matched, which looked too grey.


Step 8: But what about the boys’ closet?
Oh, right! You may be wondering what I decided to do with the closet to the right of the workstation. The closet door could not open with the built in. Honestly, for years we’ve hated these doors in such a small room!
Luckily, I found a good solution what works well and looks good.

These sliding panel curtains hide the kids’ closet without clashing with the look of the new desk build. They were easy to install and met our needs. In such a small space, I think this was the way to go.
Step 9: Illuminate and accentuate your kids’ perfect work desk
I wanted to add lighting, but avoid cluttering the desktop. To make the desk area both functional and visually appealing, I added picture frame lighting. I got these cool lights that you don’t even need to call an electrician for install!

They screw into your wall and charge via a USB wire. They eliminate the need for hardwiring. The lights can be controlled with a remote and also have a timer (because my kids always forgot to turn off lights!)
Additionally, I introduced strip lighting as a fun touch for the kids, making the workspace more inviting and vibrant.

The Reveal of my IKEA Built-in Desk!
And here it is! The finished look! I love it, and more importantly, my kids love it too.

Creating the perfect IKEA Built-in desk is more than just assembling furniture; it’s about customizing a space that adapts to your kids’ needs. In a world where creativity and learning go hand in hand, providing your kids with a well-organized and inspiring workspace can make all the difference.

Am I jealous of my kids? Absolutely! They have a beautiful IKEA desk hack that would look stunning in a home office. I think I will have to update my home office soon too!


Budget Breakdown
Using IKEA furniture made this project easy and fast. However, it would be cheaper to make this from scratch using plywood. If you are good at woodworking, that’s the most cost effective way to go.
However, even thought I love DIY, I am not confident in my ability to make cabinets. Plus, I made this over the summer vacation when I had 3 of my kids at home with me. It would have taken me way longer! Plus, it’s so easy to build using IKEA cabinets!
The total cost including the chairs was $1326. I was a little surprised too, but when I thought about how expensive it would have been to have this custom made, I am glad I DIYed this!

Following these steps and adding your unique touches to IKEA furniture will help you design a workspace that fosters imagination and productivity. Also, building it yourself is a rewarding experience that will help your kids thrive in their personalized work area. Get ready to watch them learn and get creative in their own personalized space!
If you love this, pin it!