GNOME is the most popular Linux desktop environment and I use it as my daily driver. It comes with reasonable defaults but it can also be customized for your specific workflow.

One of the few things I always change in GNOME is the way it takes screenshots. In this article, I explain how to use gnome-screenshot and custom shortcuts in order to capture screenshots faster and how to save them in a custom location with well-formatted file names.
Table of Contents
Taking Screenshots With GUI

Using the Screenshot app is the easiest way to take a screenshot in GNOME and I bet it’s also the most popular choice among casual users and people who don’t take screenshots too often. Unfortunately, keeping things simple often means cutting corners here and there, which decreases flexibility. Here are the main downsides of using Screenshot app:
- It slows you down. You need to open the app and tell it what you need before it can do anything meaningful.
- It always offers you a predefined poorly formatted file name, something like
Screenshot from 2020-10-20 15-49-39.png.
I take screenshots often, and I need to do it fast. I also keep them in a special directory which syncs with my other devices and those devices can take screenshots too, so I’d like them to follow a common naming pattern. I prefer ISO 8601, so in my ideal scenario, screenshot file names should look like this:
2020-10-24T16:49:23+07:00.png
Taking Screenshots With Default Shortcuts
GNOME developers recognize the inconvenience of launching a separate app every time you need to take a screenshot and they include a set of predefined shortcuts which let you take screenshots much faster:
| Action | Shortcut |
|---|---|
| Copy a screenshot of a window to clipboard | Ctrl+Alt+Print |
| Copy a screenshot of an area to clipboard | Shift+Ctrl+Print |
| Copy a screenshot to clipboard | Ctrl+Print |
| Record a short screencast | Shift+Ctrl+Alt+R |
| Save a screenshot of a window to Pictures | Alt+Print |
| Save a screenshot of an area to Pictures | Shift+Print |
| Copy a screenshot to Pictures |
As you can see, there are three common types of screenshots:
- Whole screen (includes all physical displays!)
- Active window
- Any custom area of the screen which you’ll have to specify
Now we’re talking. This way of taking screenshots is faster since you don’t need to open the Screenshot app, and you can choose among three different modes of operation which should give you enough flexibility for most of your needs. Although, I still have a couple of issues with this approach:
- I can’t change the default save path. It saves everything to
Picturesbut I need it to save all of my screenshots to/home/igor/nextcloud/screenshots. - There is no way to change file names, it’s still
Screenshot from 2020-10-20 15-49-39.pngwhich I don’t like.
CLI: gnome-screenshot
To see what’s under the hood of that fancy GUI, you can open Terminal app and type:
man gnome-screenshot
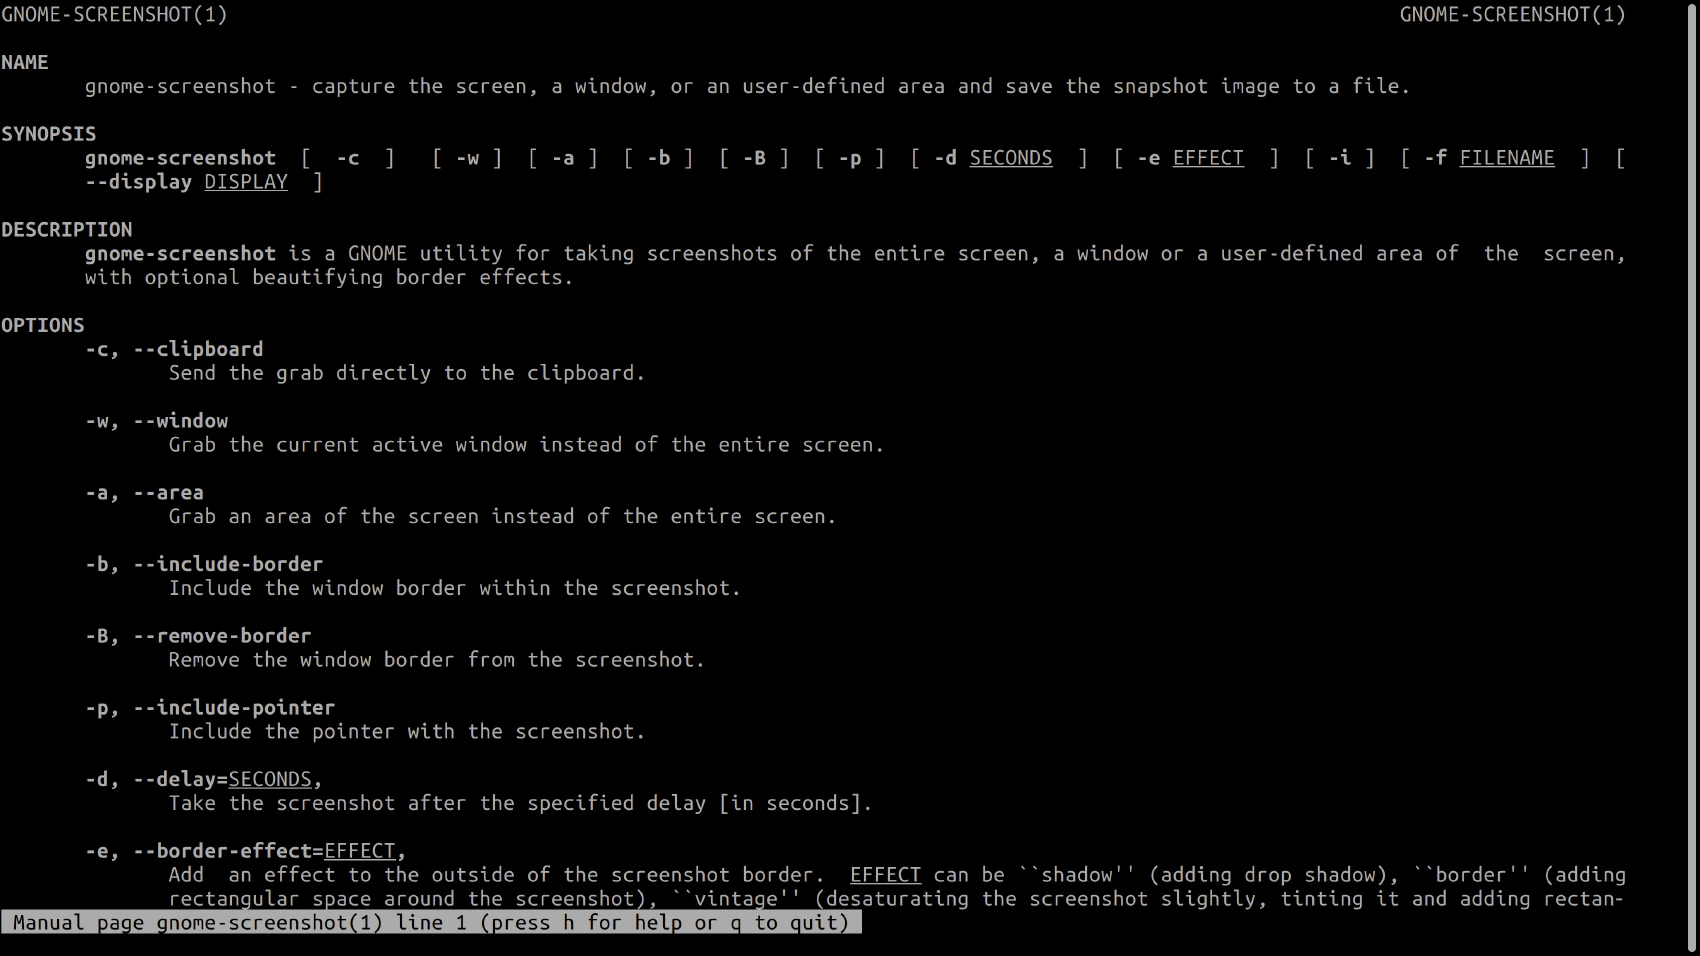
That’s a really short and handy manual and it tells us how to take screenshots via the command line. Note that it has the following options:
--windowfor capturing only the current window--areafor grabbing a custom area on the screen--filethat option allows us to save the resulting screenshot to a custom path with a custom file name
Calling gnome-screenshot --window is the equivalent of Alt + PrtScr shortcut and gnome-screenshot --area leads to the same result as Shift + PrtScr. What about just PrtScr? You can call gnome-screenshot without any options to capture everything on all of your displays.
That’s a nice and flexible way of taking screenshots and it can cover all of my needs. The only problem is the fact that I need to use Terminal each time I want to make a screenshot and the command itself would be pretty long to type every time. GNOME allows us to solve such problems by adding custom shortcuts which can be mapped to any command or a set of commands we wish to invoke.
Custom Shortcuts
Obviously, the most efficient way to take a screenshot is to use a shortcut but using default shortcuts means you have no control over where your screenshots will be saved and what file name format they will follow. Luckily for us, it’s easy to map shortcuts to Terminal commands, which allows us to have the convenience of dedicated shortcuts and the flexibility of the command line interface.
| Action | Shortcut |
|---|---|
| Take screenshot (all) | Ctrl+1 |
| Take screenshot (window) | Ctrl+2 |
| Take screenshot (area) | Ctrl+3 |
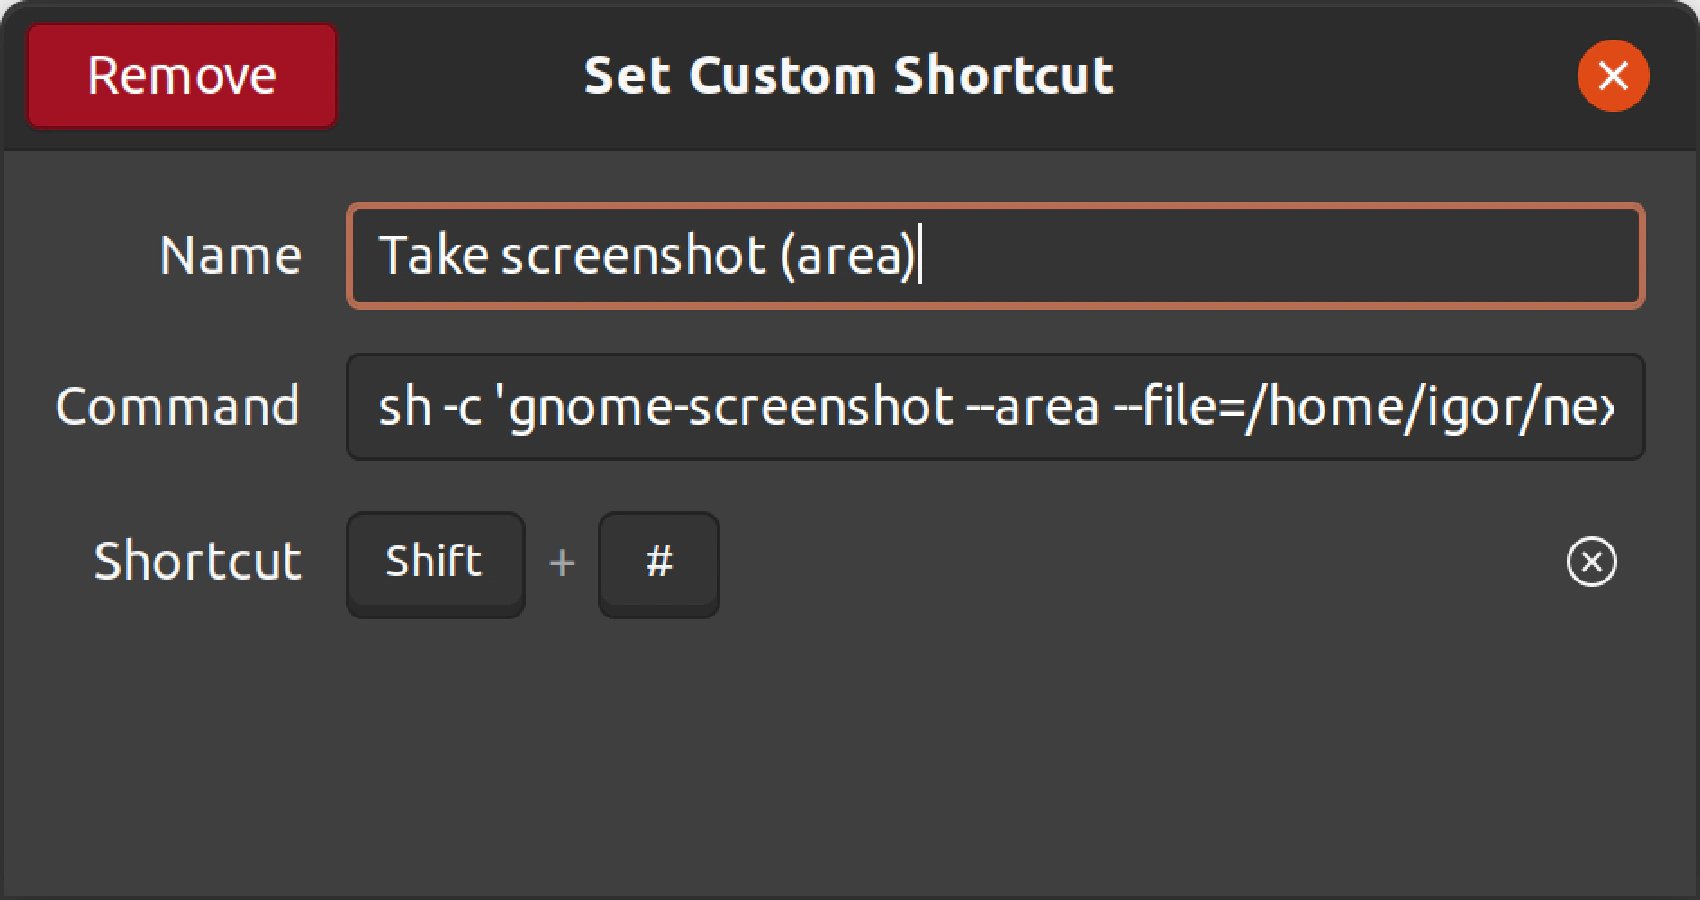
Here is an example of a command that can be used to take an “area” screenshot and save it in a custom directory under a custom name:
sh -c 'gnome-screenshot --area --file=/home/igor/nextcloud/screenshots/$(date --iso-8601=seconds).png'
We need to generate an unique name for each screenshot, and that can be done with the following sub-command:
date --iso-8601=seconds
It gives us the following output:
2020-10-20T17:32:30+07:00
At this point, I have nothing to complain about. Those custom shortcuts do exactly what I need.
Conclusion
Command-line interface is the ultimate source of productivity in any Unix-like system and custom shortcuts allow us to utilize the flexibility of a terminal while working outside it. I don’t have any other custom shortcuts except for screenshot-related ones but there are many potential use cases for binding your favorite commands and scripts to specific shortcuts, so they can serve as a bridge between a terminal and a graphical interface.